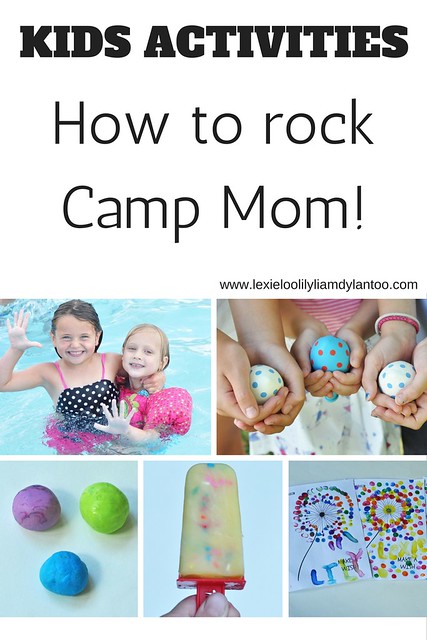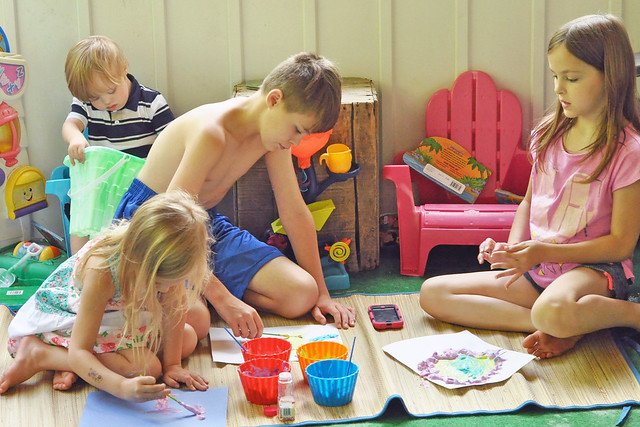
Our Five Ring Circus: Search results for Camp Mom
Showing posts sorted by relevance for query Camp Mom. Sort by date Show all posts

Tuesday, August 16, 2016

Beach Themed Kids Activities - Camp Mom Week 10

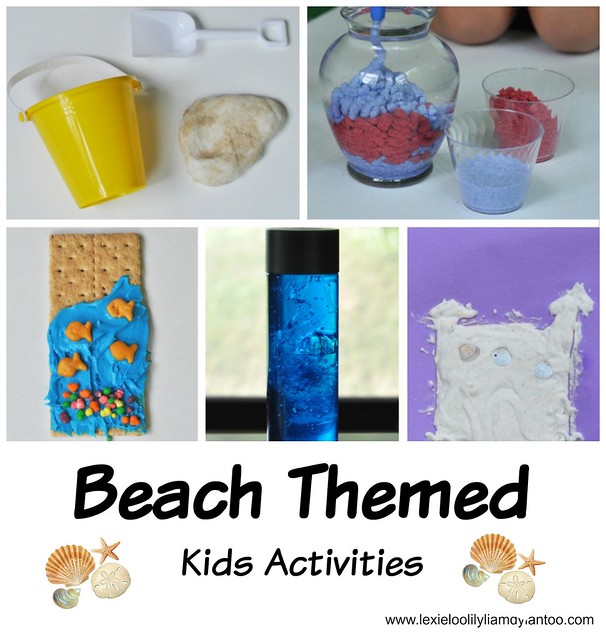
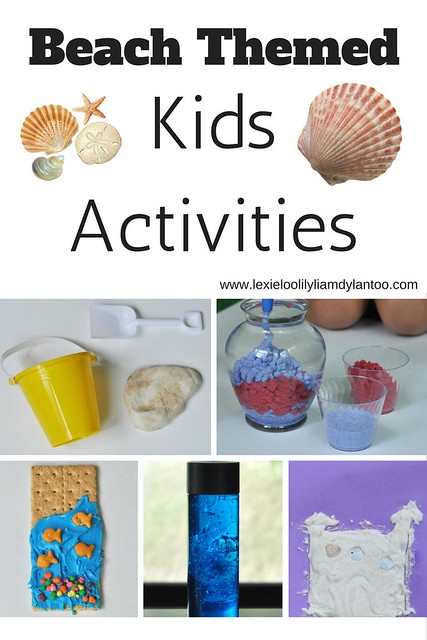
 Beach Themed Kids Activities

Happy Tuesday, my friends! I can't believe it, but this is officially our final week of Camp Mom. When I came up with the idea I never expected to make it through the entire Summer, but we made it 10 weeks! 50 incredibly fun kids activities are now documented on my blog!


It was a LOT of work, but such a great experience. Lexie keeps telling me that I'm the coolest mom ever because I did so many fun things with them this Summer. She's on the verge of the tween years and being annoyed by me, so all that hard work and dedication to our Summer project was well worth it!

Our final week of Camp Mom was definitely our favorite. We decided to have a week full of beach themed activities to prepare us for our beach vacation in a few days.  Trust me when I say that the activities this week are the coolest!

 Here's a recap of our final week of Camp Mom kids activities: 


Jellyfish in a Jar - Camp Mom Day 46 
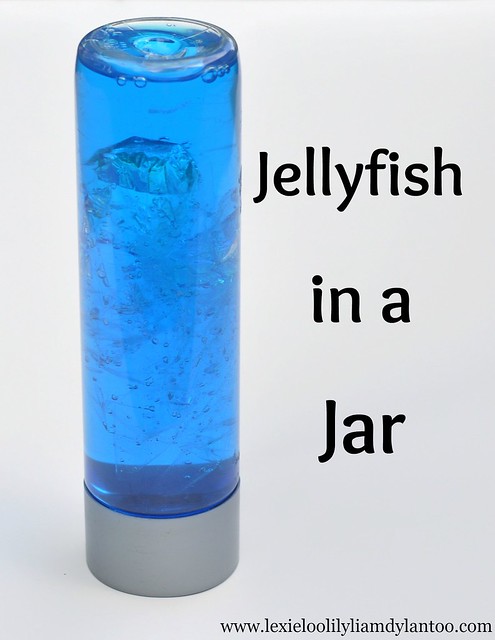


Jellyfish in a Jar

My mom posted this activity on my Facebook wall years ago but we never got the chance to try it. I knew it would be perfect for our beach theme!
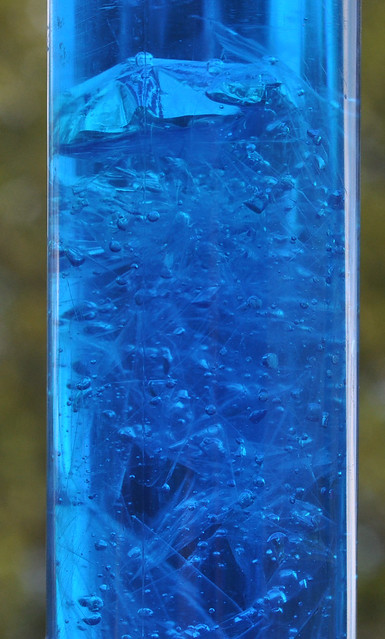
My Pet Jellyfish

Supplies:
  • Empty Water Bottle with the label removed (I like Voss water bottles)
  • Water
  • Food Coloring
  • Scissors and Thread
  • Clear Bread Storage Bags (a fold top sandwich bag would work for a smaller version)
Directions:
  1.  Fill the empty water bottle with water. 
  2. Add a drop of blue food coloring and shake to disperse.
  3. Grab the sandwich bag and make a jellyfish head by bunching the closed end together. (It should look like a ghost.) 
  4. Tie a thread loosely around the "neck." The hole needs to remain slightly open right now so you can fill it with a little bit of water and air.
  5. Make tentacles by trimming the end of the bag with the scissors. You can also trim the bottom a bit so it fits inside the water bottle.
  6. Fill the head half full with water, blow in some air and close the hole tightly with the thread.
  7. Drop your jellyfish into the water bottle, seal the lid tightly and watch it float around as you flip and turn the bottle.
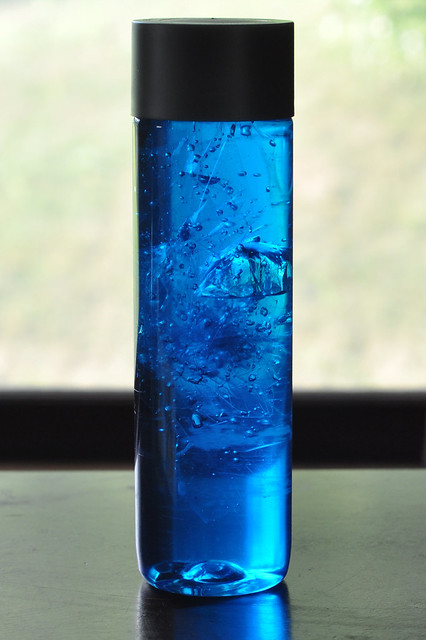
The end result is really cool!

Jellyfish


Puffy Paint Sand Castles - Camp Mom Day 47 
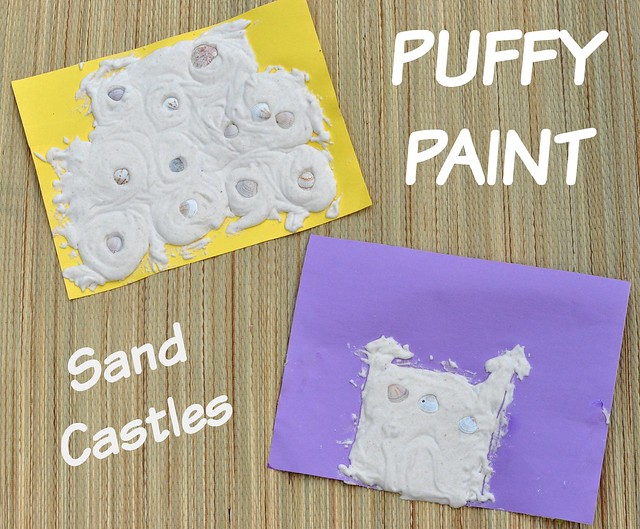
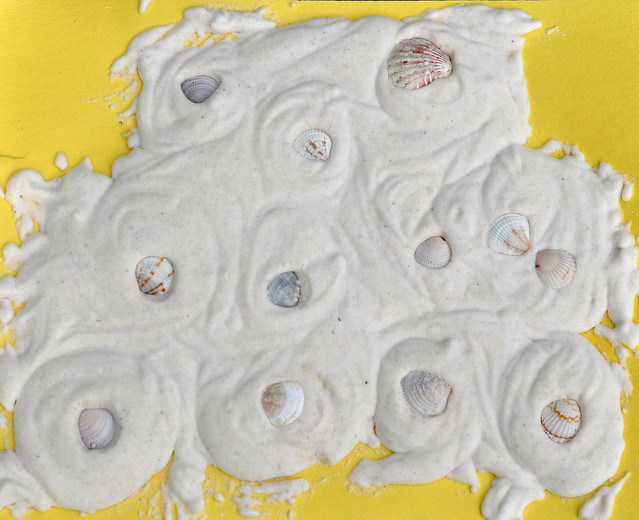
Puffy Paint Sand Castles

This craft is very similar to the puffy paint ice cream cones we made a few weeks ago. The kids love puffy paint so much that we had to do it again with a beach twist!

Supplies:
  • Construction Paper
  • White School Glue (4 oz)
  • Shaving Cream
  • Sand
  • Paint Brushes
  • Shells
 Directions:
  1. Empty the glue into a bowl, squirt in an equal amount of shaving cream and blend together. 
  2. Start pouring in sand by the handful until you get the desired consistency. We used a lot! 
  3. Paint a sandcastle onto the construction paper. Make sure to use a thick layer of sandy puffy paint!
  4. Decorate the sand castle with shells by pressing them gently into the puffy paint. 
  5. Lay flat to dry.
Puffy paint is always a hit with my kids and they loved this beach-themed project!

Puffy Paint


Under the Sea Graham Crackers - Camp Mom Day 48 
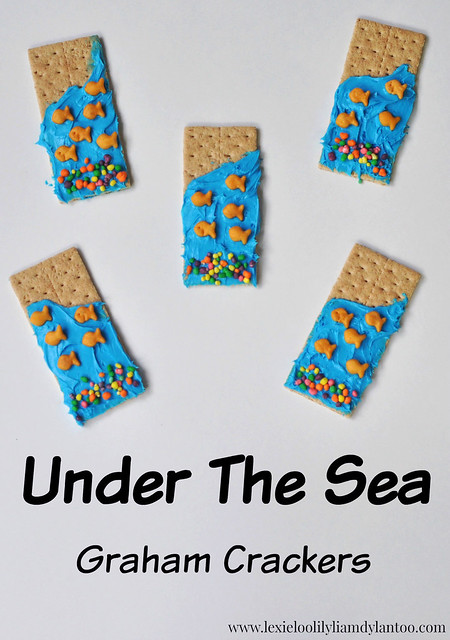
Under The Sea Graham Crackers 

I planned this activity back in the Spring and it must be a popular idea! Lily went to a birthday party recently and received a similar one as a favor. She ate it before her siblings could see it, so they still had fun making this snack!

Supplies:
  • Graham Crackers
  • Blue Frosting
  • Baby Goldfish
  • Nerds
Directions:
  1. Spread a thick layer of blue frosting on a graham cracker.  
  2. Sprinkle a handful of Nerds on the bottom.
  3. Decorate with Baby Goldfish (or Swedish Fish).
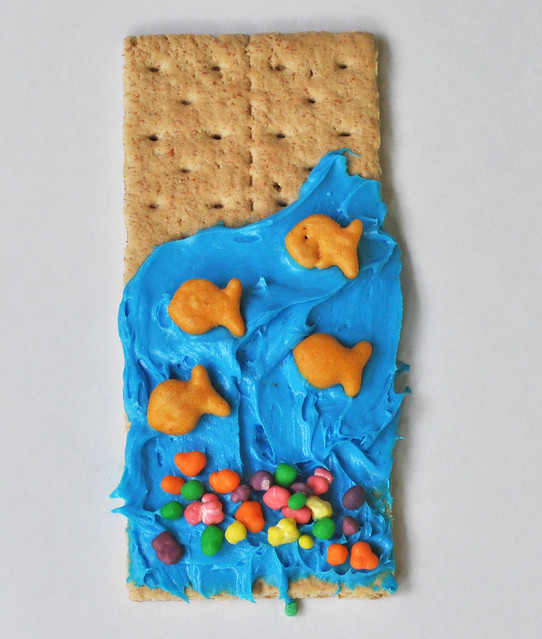
This was an easy snack to make and all of my kids loved it!

Under the Sea Graham Crackers


Sand Slime - Camp Mom Day 49 

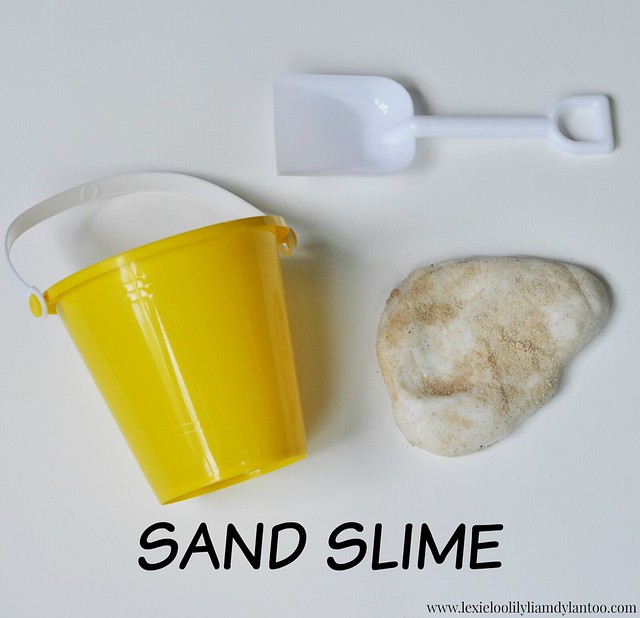
Sand Slime

Our slime recipe is very quick and easy to make. We wanted to see what happened when we added sand to it!

Supplies:
  • 1/2 tsp Borax 
  • 1/2 cup Water
  • 4 oz white glue
  • Two bowls and a spoon to mix
  • Sand
Directions:
  1. Mix 1/2 tsp Borax (found in the laundry aisle) in 1/2 cup warm water. 
  2. Empty bottle of glue into separate bowl. 
  3. Pour Borax mixture into glue and begin to knead the slime.
  4. Add the sand by the handful as you knead the slime in the borax solution. Repeat until you get the desired texture.
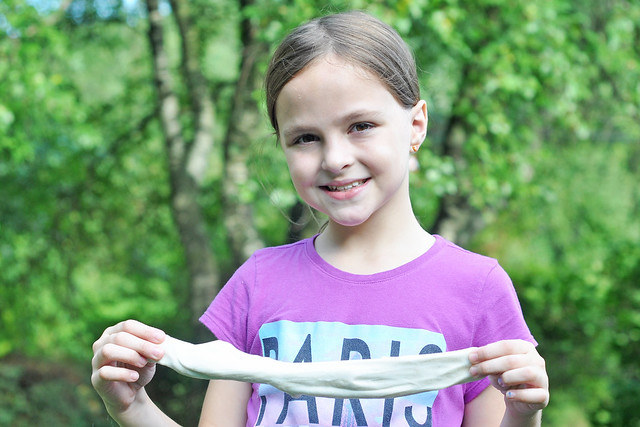
It turned out to be a neat hybrid of slime and dough. The kids thought it felt like textured Flubber!

Sand Slime


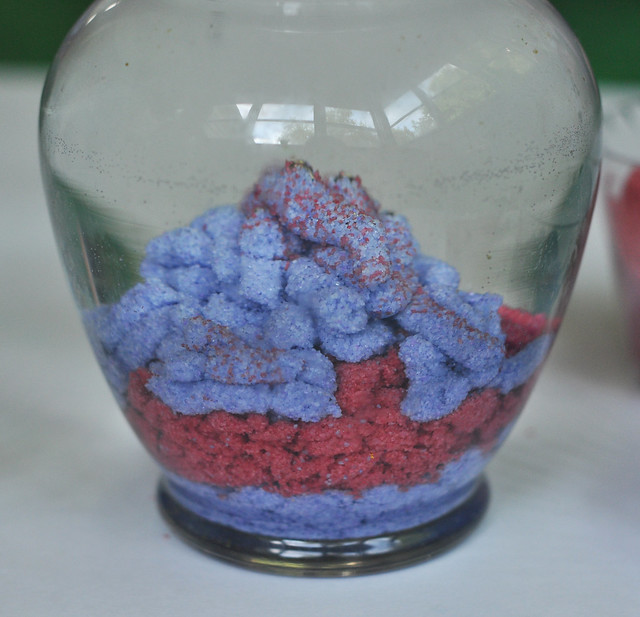
DIY Aqua Sand - Camp Mom Day 50

DIY Aqua Sand

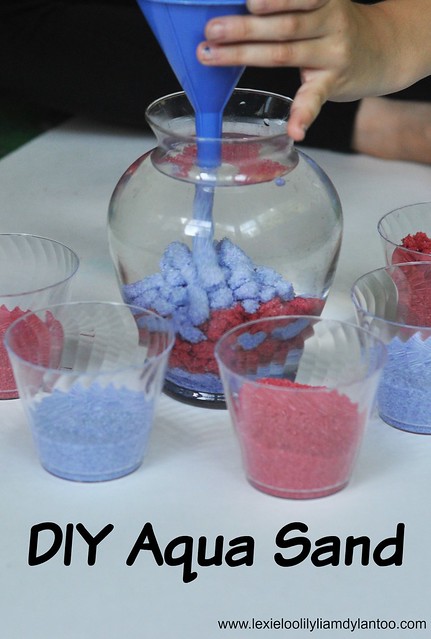
This activity was voted the most favorite in Camp Mom history!  I actually agree with my kids. It was really neat to watch!
Aqua Sand

Supplies:
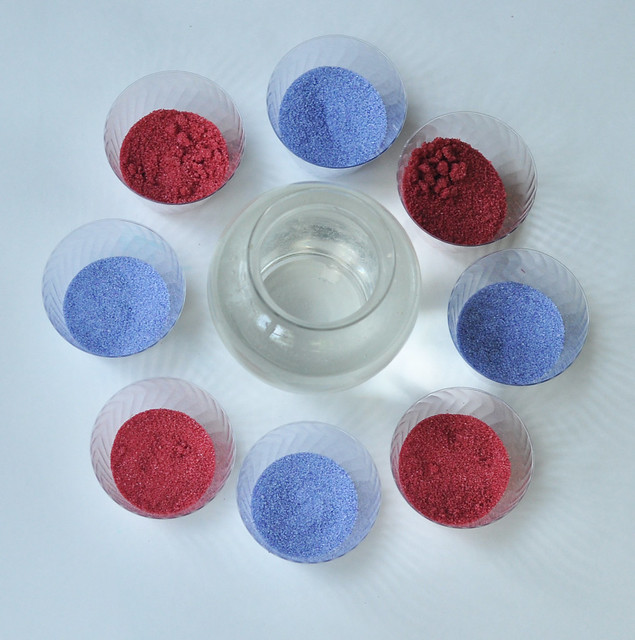
  •  Sand (I bought colored sand from Dollar Tree)
  • Large Container
  • Scotch Guard Fabric Protector
  • Cups
  • Foil and large freezer bags
  • Funnel
 Homemade Aqua Sand

Directions:
  1.  Put individual sheets of aluminum foil down on a large piece of cardboard. 
  2. Dump each color of sand into large freezer bags.
  3. In a very well-ventilated area, with your nose and mouth covered, spray the Scotch Guard into the freezer bag until the sand is saturated.  Zip the bag shut and shake to disperse.
  4. Sprinkle the sand into a thin layer on one sheet of foil and allow to dry overnight. 
  5. After it dries, dump the sand into small cups. 
  6. Fill a large container with warm water.
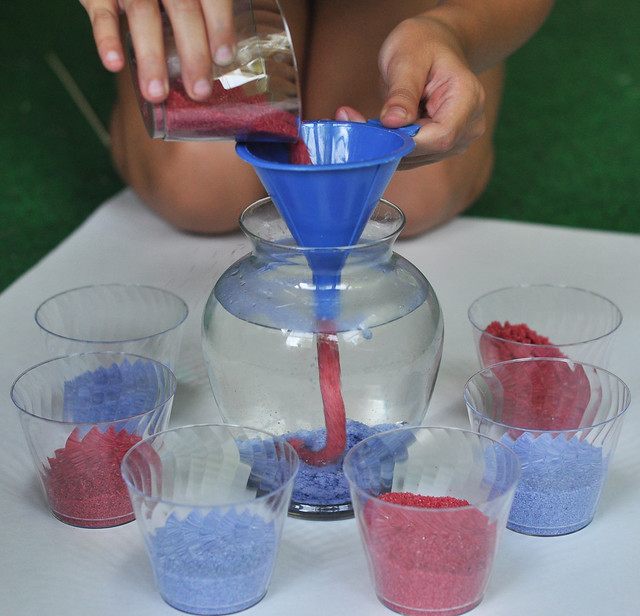
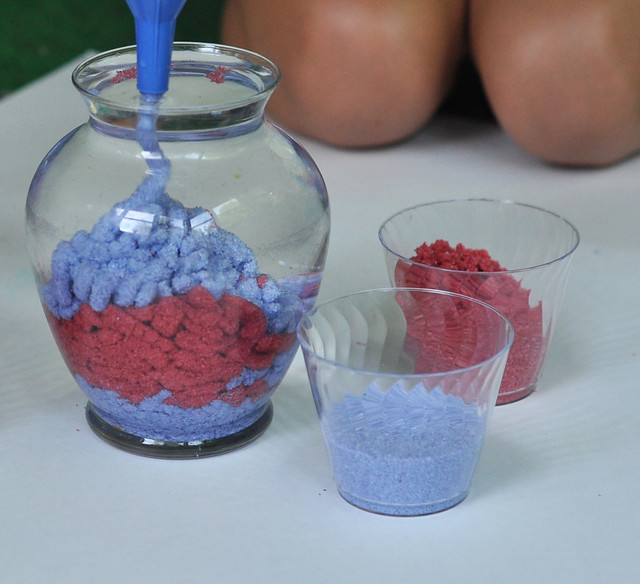
  7. Hold a funnel over the top of the container, and pour each color of sand through the funnel and into the container. 
  8. Continue with each color and try to make designs along the way!
 Aqua Sand

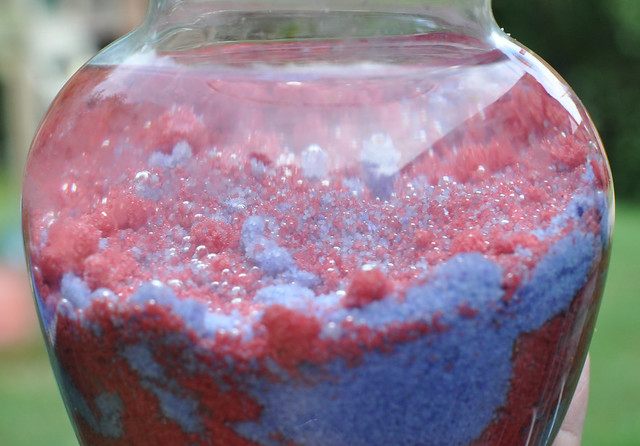
The best thing about DIY Aqua Sand is that you can use it over and over again! Simply drain the water out of the container and store the sand. When the aqua sand stops repelling water, refresh it with the Scotch Guard and allow to dry overnight again.
DIY Aqua Sand

This activity was so much fun!

Homemade Aqua Sand

Camp Mom was a HUGE success! We're really sad to see it end. My kids had a blast with all of these kids activities and they made some great memories along the way!
Camp Mom - Beach Theme Kids Activities

Thank you SO much for following along with us! I hope you were able to try out some of these kids activities. What was your favorite kids activity from Camp Mom?

You might also enjoy the kids activities included in these posts:

Camp Mom Week One
Camp Mom Week Two
Camp Mom Week Three
Camp Mom Week Four 
Camp Mom Week Five 
Camp Mom Week Six 
Camp Mom Week Seven 
Camp Mom Week Eight
Camp Mom Week Nine 

Let's Be Friends!


Linking up for Tuesday Talk.  

Tuesday, August 2, 2016

Summer Activities for Kids: Camp Mom Week 8

Happy August!

I truly can't believe that we're in our final month of Summer Break! Summer just flew by. We just completed our eighth week of Camp Mom and sadly, we only have 2 more weeks left of our scheduled weekly Summer activities. 


The final two weeks of Summer Break will be too busy to for any additional activities. Packing for vacation, celebrating Liam's birthday, spending a week at the beach and preparing for back to school will consume those final days of Summer.

Our days are already getting busier as we wrap up Summer and prepare for the school year ahead. This week, we had to cram a few of our kids activities into one day, but we still had fun!

Here's what we did for Camp Mom Week 8!

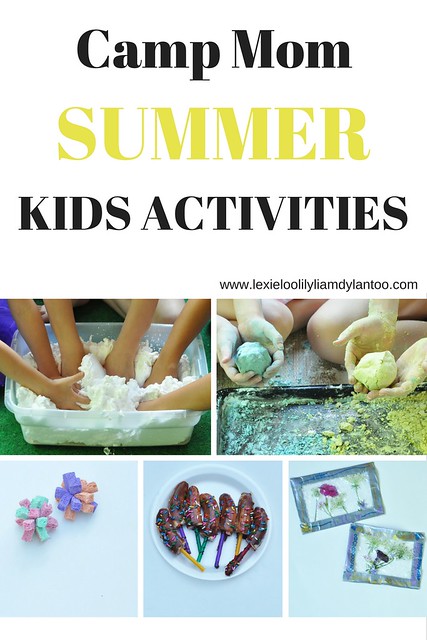
CAMP MOM

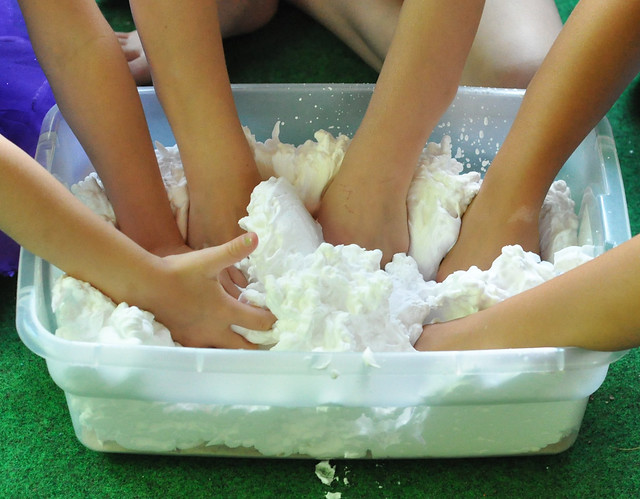
Sand Foam- Camp Mom Day 36

Sand Foam

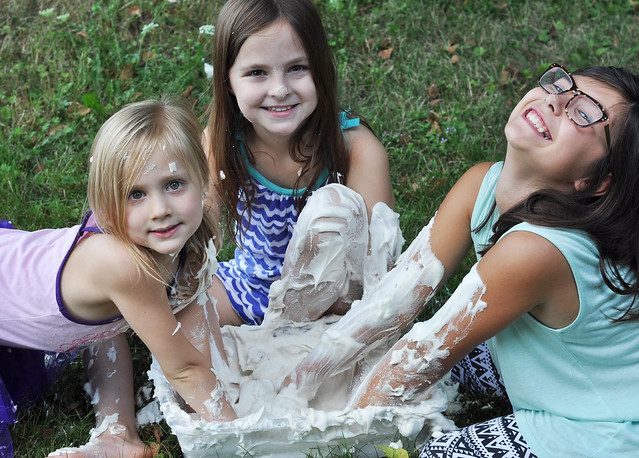
This was the favorite activity of the week! It was easy to prepare and the kids just loved it! Mix 10-12 cups of sand with a full can of shaving cream in a large container. Sit back and watch as the kids dig in. It has such a neat texture!

Sand Foam

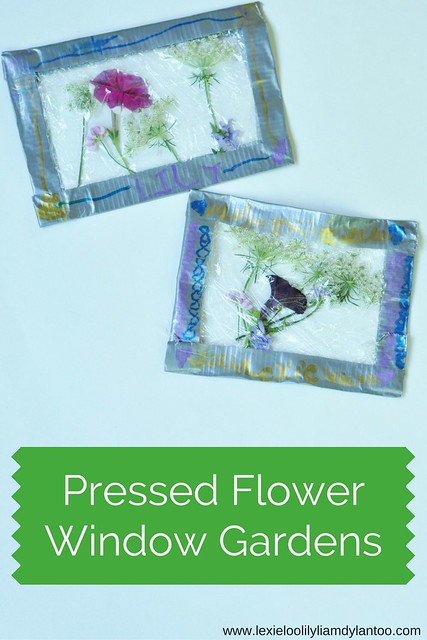
Pressed Flower Window Gardens - Camp Mom Day 37

Pressed Flower Window Gardens

I'm a big fan of simple crafts that older kids can do themselves. Minimal supplies is a plus, too!

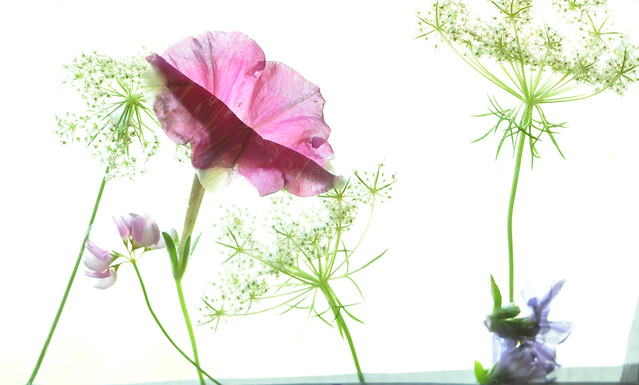
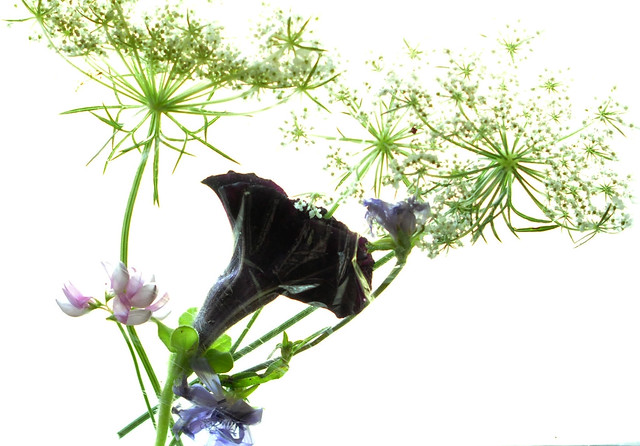
I sent the girls on a scavenger hunt to find flowers in our yard. When they returned, I had each of them make a garden on top of a sheet of smoothed-out plastic wrap. Once their garden was arranged, they folded the plastic wrap in half over the flowers and made a frame around the edges with duct tape. We couldn't find our fancy duct tape, so we used regular and I had the girls decorate it with metallic sharpies. Once they were finished, we hung them in a window. They look beautiful with the sunlight shining through!

Pressed Flower Window Gardens

Sponge Water Bombs - Camp Mom Day 38

Sponge Water Bombs

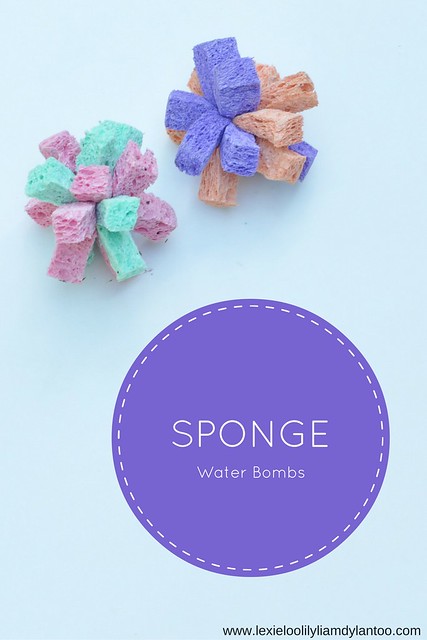
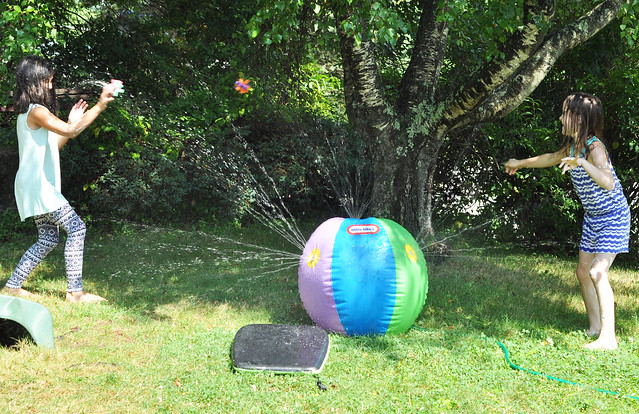
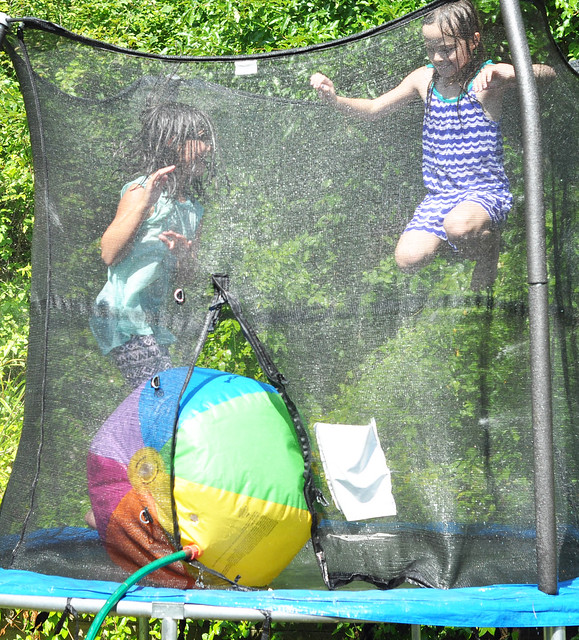
Sponge Water Bombs are easy to make and so much fun to play with! Buy inexpensive sponges from the dollar store, cut into strips lengthwise, bunch 10-12 strips together and tie tightly in the middle with rubber bands. Fill a bucket with water, toss in the sponge bombs and let the kids have a sponge bomb battle!

sponge water bombs

Bonus creativity points for moving everything onto the trampoline!

 summer activities for kids

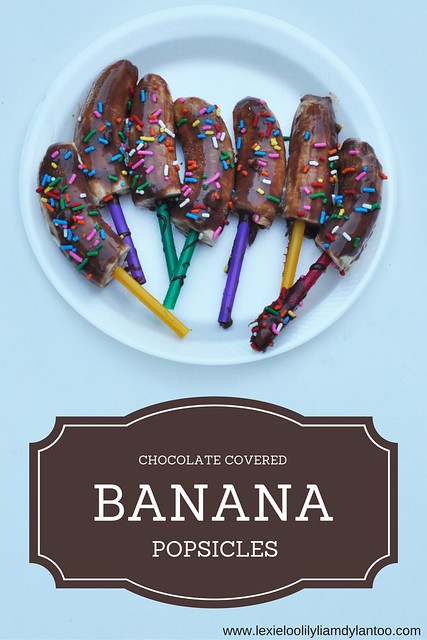
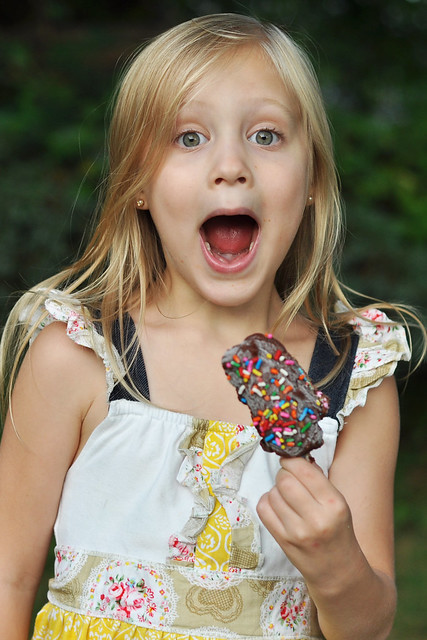
Chocolate Covered Banana Popsicles - Camp Mom Day 39

Chocolate Covered Banana Popsicles

For this activity, I sat out the ingredients and let my future chefs/bakers do all the work!

  • Cut bananas in half and place them on a stick. Popsicle sticks are preferable but we used skewers with straws over them.
  • Melt 1 bag of chocolate chips in the microwave with 1/2 cup shortening. 
  • Dip bananas into the chocolate or drizzle with chocolate. 
  • Place on a cookie sheet and decorate with sprinkles. 
  • Freeze for 4-6 hours.
Enjoy!

chocolate covered banana popsicles

Shaving Cream Play Dough - Camp Mom Day 40 

Shaving Cream Play Dough

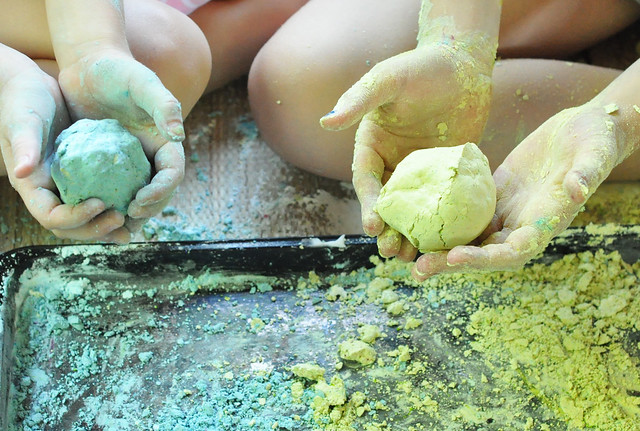
This is a simple sensory play dough recipe using just two ingredients: corn starch and shaving cream! Mix 1 cup of corn starch with 3/4 cups shaving cream. You can add more shaving cream or corn starch as needed until you get a dough-like consistency. Knead with your hands then add in a few drops of food coloring if you prefer colors. This super soft play dough has such a neat texture!


Camp Mom is so much fun that we are going to continue doing at least one weekly activity throughout the school year!

You might also like the kids activities in these posts:

Camp Mom Week One
Camp Mom Week Two
Camp Mom Week Three
Camp Mom Week Four 
Camp Mom Week Five 
Camp Mom Week Six 
Camp Mom Week Seven 

What activities do you have planned for the final days of Summer? 

LET'S CONNECT!


Linking up for Tuesday Talk.

Tuesday, August 9, 2016

Kids Activities: Camp Mom Week 9

Summer Break is coming to a rapid end! It's hard to believe that we only have one more week of Camp Mom ahead of us. We've been having so much fun with all of these kids activities and I'm really going to miss having all of my kids at home. 


This week was full of some really fun DIY kids activities! We made and enjoyed some delicious Party Pudding Pops. I found a really cute thumbprint dandelion printable and it ended up being a simple afternoon activity. We made stress balls and bouncy balls. We spent an afternoon at the pool with friends, celebrating Lily's birthday.  It was a great week!

Here's a recap of all the kids activities for Camp Mom Week 9:


Kids Activities - How To Rock Camp Mom


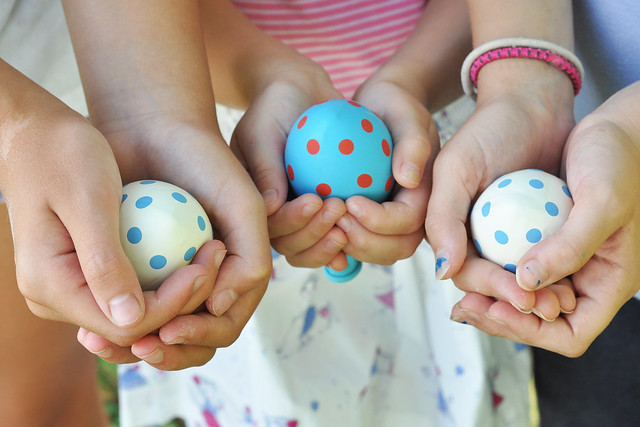
DIY Stress Balls - Camp Mom Day 41 


004

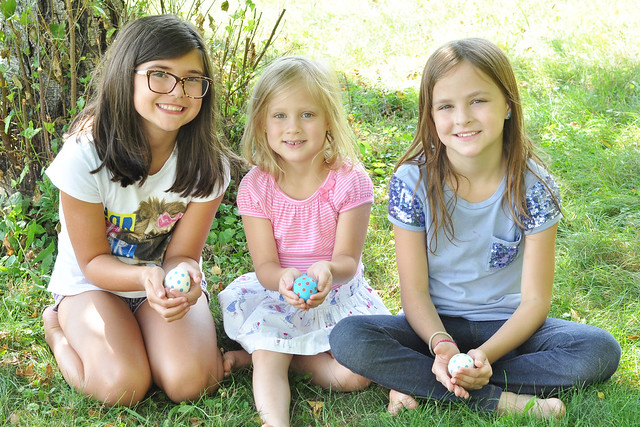
Lexie couldn't wait to do make DIY Stress Balls! It ended up being a very simple and easy activity and the kids decided to make a few extras.

Supplies:
  • Balloons
  • Flour
  • Water
  • Funnel
 Directions:
  1. Place the end of a large funnel inside the opening of a balloon. 
  2. Fill the funnel with flour and either shake the funnel or use a straw to push the flour inside the balloon. Fill it with as much flour as it will hold.
  3. Add 1-2 TBSP of water and tie the balloon.
  4. Knead to disperse the water. 
    *Using less water will make it feel more like flour while more water will give it a slime-like texture.
     
    007


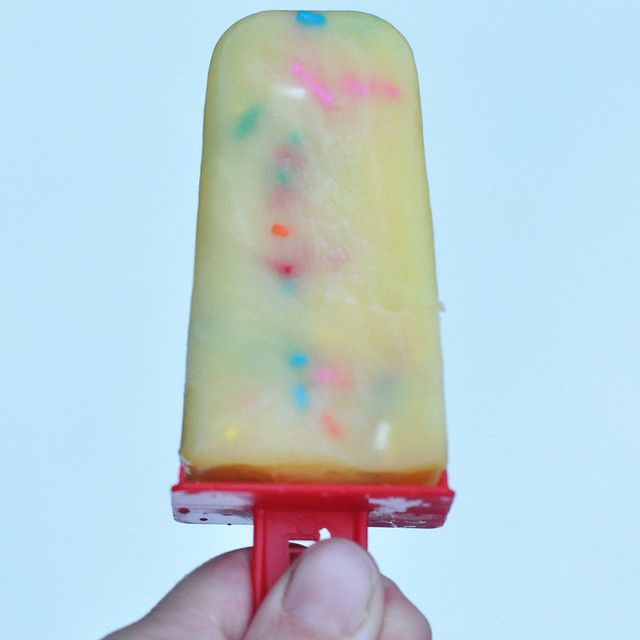
    Party Pudding Pops - Camp Mom Day 42


    142

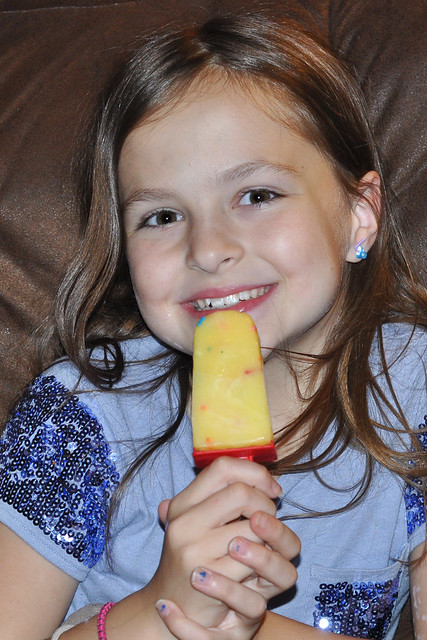
    My kids love popsicles! I'm fairly certain it's one of their most favorite things about Summer. We decided to make some pudding pops for our treat this week!

    Supplies:
    • Vanilla Pudding Mix
    • Milk
    • Sprinkles
    • Bowl and Whisk 
    • Popsicle Mold
     Directions:
    1. Prepare pudding according to the directions.
    2. Mix in the sprinkles.
    3. Pour into the molds.
    4. Freeze for 4 hours.
    5. Run warm water on the bottom of the mold when it's time to eat the pudding pops and they will slide out easily!
    Two other winning combinations? Chocolate pudding with white chocolate chips and banana pudding with chocolate chips!

    143


    Homemade Bouncy Balls - Camp Mom Day 43


    017

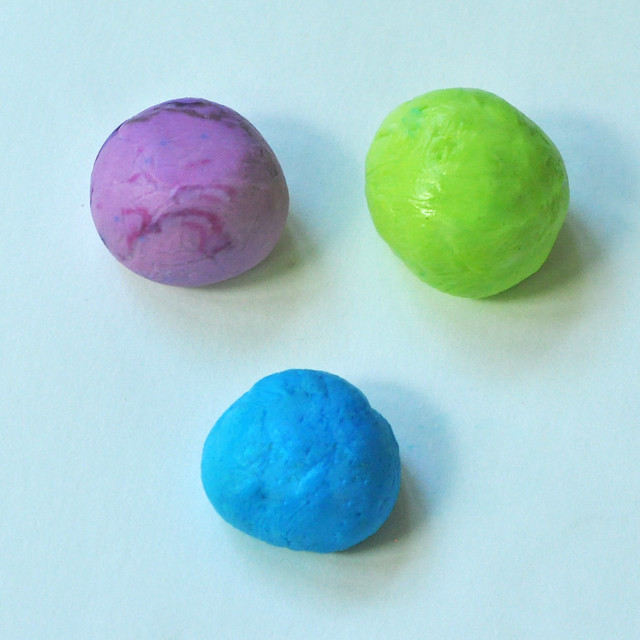
    This idea was so easy and so much fun! It's very similar to the slime recipe I make, but has an added ingredient: GLUE!

    Supplies:
    • 1 tbsp Borax
    • 1/2 cup warm water
    • 2 tbsp white or clear school glue (they both have different finishes)
    • 1 tbsp cornstarch
    • Food coloring 
    • A fork and bowls
    Directions:
    1. Mix Borax and warm water in a bowl.
    2. In a separate bowl, mix the glue, cornstarch and 2-3 drops of food coloring.
    3. Pour the glue solution into the Borax mixture.
    4. The glue solution will begin to harden immediately. Scoop the glue solution out quickly with a fork then begin to knead. If it's too sticky, dip it quickly in the Borax solution again. The substance will begin to harden as you roll it into a ball. 
    5. Repeat steps 1-4 for each color.
    *Make 1 batch for each color you would like to make. Each batch will yield 3 small balls.

    The balls don't bounce very high, but they do bounce! You can store the balls in a plastic storage bag and reshape them when it's time to play.


    Thumbprint Dandelions - Camp Mom Day 44


    008

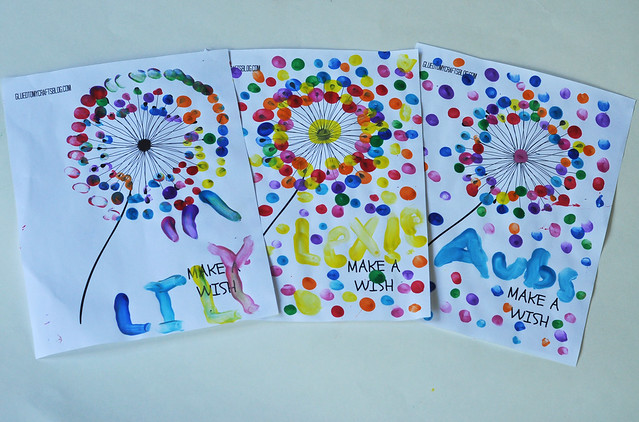
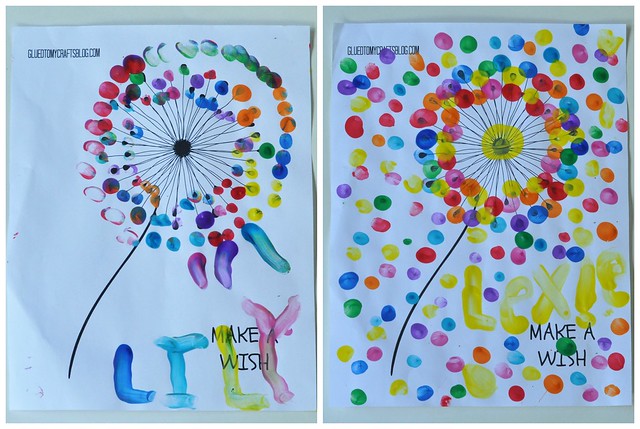
    I found a really cute thumbprint dandelion printable while browsing Pinterest one day. Just search for thumbprint dandelion on Pinterest and it will show up. I knew it would be an easy craft that my girls would love!

    Print out the dandelion, grab some washable paint, give each kid an ice cube tray with a different color in each section and let them go crazy! It turns out to be a really cute keepsake!

    Thumbprint Dandelion Craft


    Pool Day - Camp Mom Day 45


    009

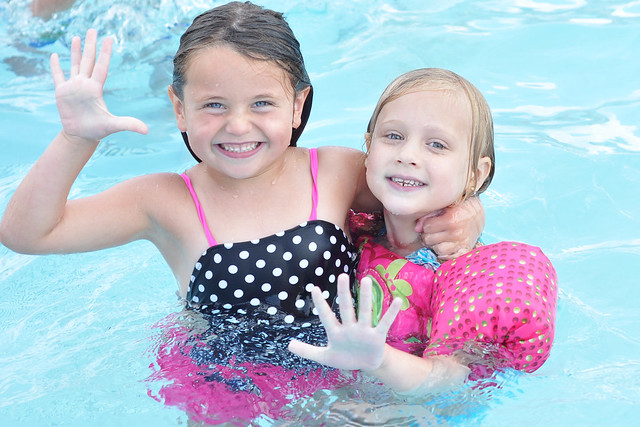
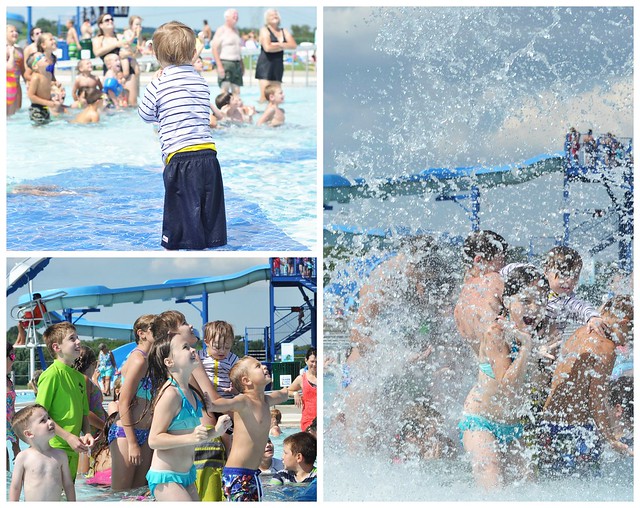
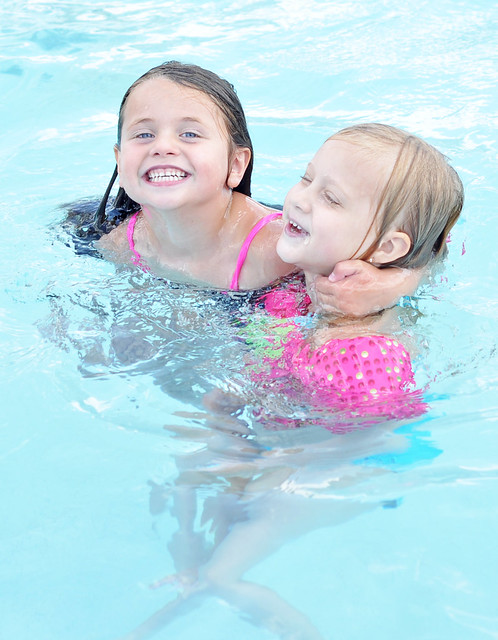
    We spent the afternoon at the pool with our friends on Lily's 5th Birthday! It was a great way to celebrate Lily's birthday and definitely the ultimate Summer activity. We all had so much fun!

    Swimming
    076
    North Boundary Water Park
    016

    It was such a fun week!

    You might also like the kids activities included in these posts:


    Camp Mom Week One
    Camp Mom Week Two
    Camp Mom Week Three
    Camp Mom Week Four 
    Camp Mom Week Five 
    Camp Mom Week Six 
    Camp Mom Week Seven 
    Camp Mom Week Eight

    We have a week of beach-themed activities planned for next week leading up to our trip to the beach! Here's what we'll be doing:

    • Sand Dough
    • Sand Slime
    • Under-the-Sea Graham Crackers
    • Aqua Sand
    • Ocean Craft

    What was your favorite kids activity this Summer?


    Let's Be Friends!


    Linking up for Tuesday Talk.
    Tuesday, July 19, 2016

    Kids Activities: Camp Mom Week 6

    When I started coming up with ideas for my Camp Mom Summer project, I honestly didn't think we would be able to complete more than one full week of kids activities.  Surprisingly, we managed to complete 6 weeks already and my kids are loving it!

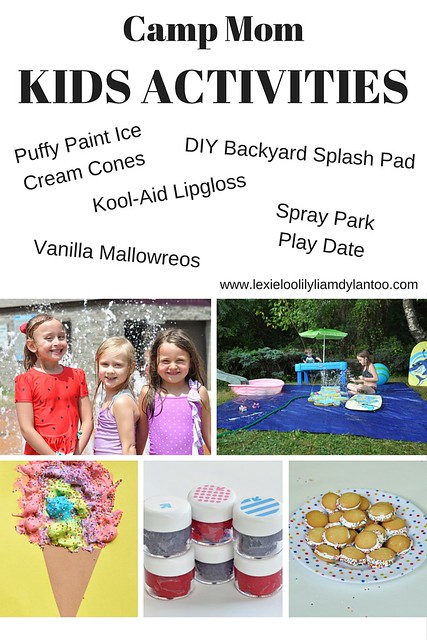
    There were so many fun kids activities this week and my kids declared it the best week of Camp Mom so far! The girls whipped up their own Kool-Aid lipgloss, we beat the heat with a play date at the spray park, Lexie created a vanilla mallowreos recipe (FYI-she named them!), we set up our own DIY backyard splash pad and the kids made adorable puffy paintings.  It really was a fun week!

    We did have one fail, though!  We originally put a backyard foil river activity on our schedule and ended up replacing it after a fail of epic proportions.  Even heavy duty aluminum foil didn't hold up. After 3 incredibly frustrating tries, we gave up and opted for a DIY backyard splash pad, instead. That was MUCH more fun!

    Here's a quick recap of the kids activities we did for Camp Mom Week 6 (Recipes and Instructions included): 

    Kids Activities for Camp Mom


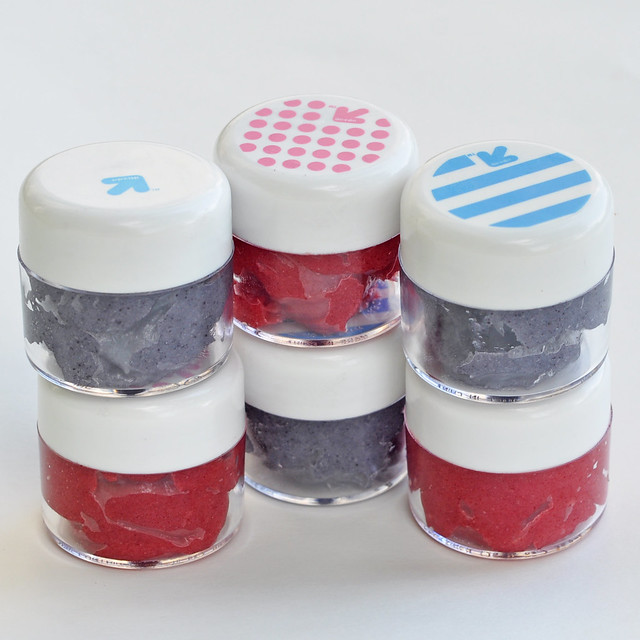
    Kool-Aid Lipgloss {Camp Mom Day 26}

    Kids Activities Kool-Aid Lipgloss

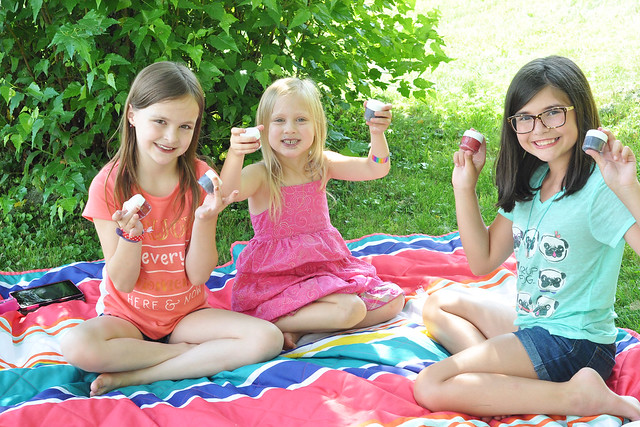
    My girls are a bit obsessed with lipgloss. They definitely get it from me! Lexie has been asking to make her own lipgloss for months, so we bought a few supplies and we finally completed this easy project!


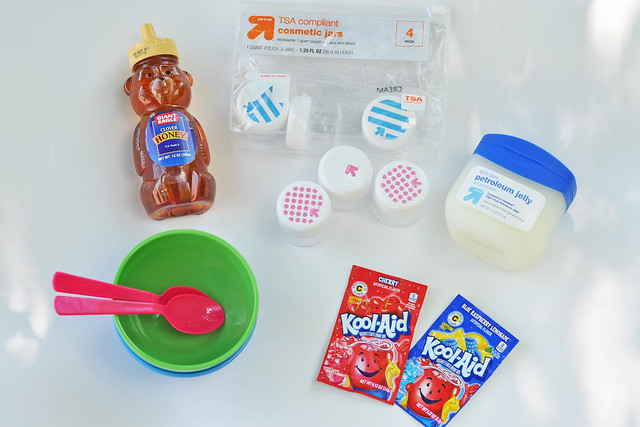
    Supply List:

    • Small cosmetic jars (found in the travel section)

    • Large jar of Vaseline

    • Packets of Kool-Aid

    • Honey

    • Bowls and spoons for mixing


    Kids Activities Kool-Aid Lipgloss

    Instructions:

    1. Divide the amount of Vaseline you will need to fill your jars between 2-4 bowls.

    2. Empty a Kool-Aid packet into each bowl.

    3. Add a few drops of honey (for flavor) to each bowl. 

    4. Mix thoroughly.

    5. Carefully spoon the mixture into each jar.

     Kool-Aid Lipgloss

    This was a quick and easy project that the girls were able to complete on their own. The jars are reusable so they will be able to make another batch and refill their jars in a few weeks!

    Spray Park {Camp Mom Day 27}


    Kids Activities Spray Park

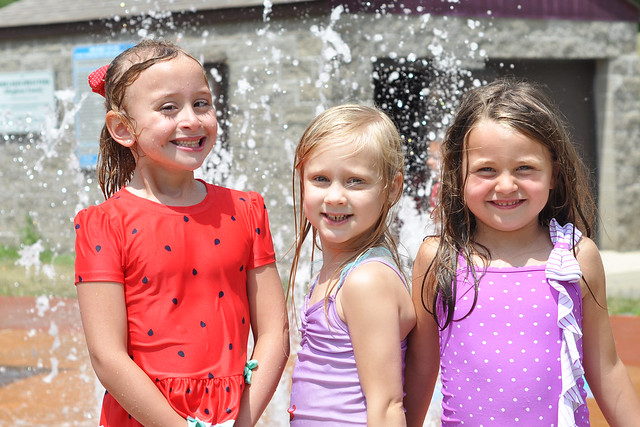
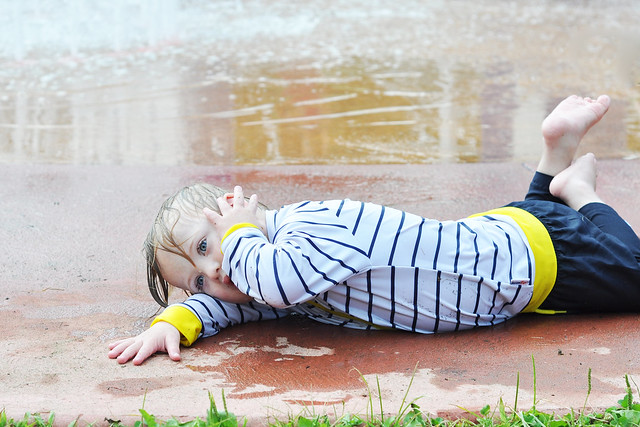
    When the weather heats up, head to a local spray park! There's a great one about 25 minutes away from our house and it's free. We love to meet our friends at the spray park for play dates! 

    We had a great time at the spray park, but I'm going to save all those pictures for another post!

    Spray Park

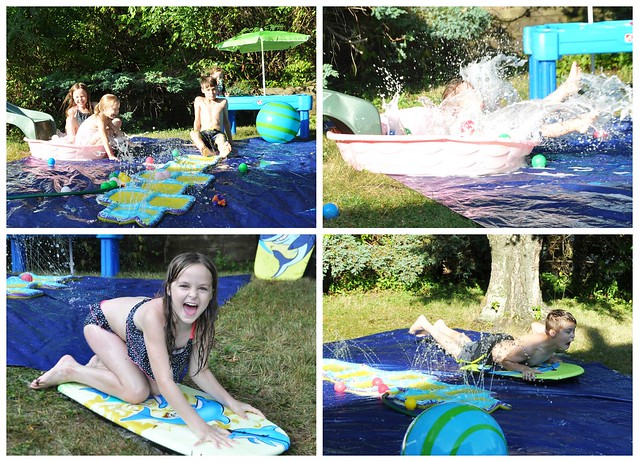
    DIY Backyard Splash Pad {Camp Mom Day 28}


    Kids Activities DIY Backyard Splash Pad

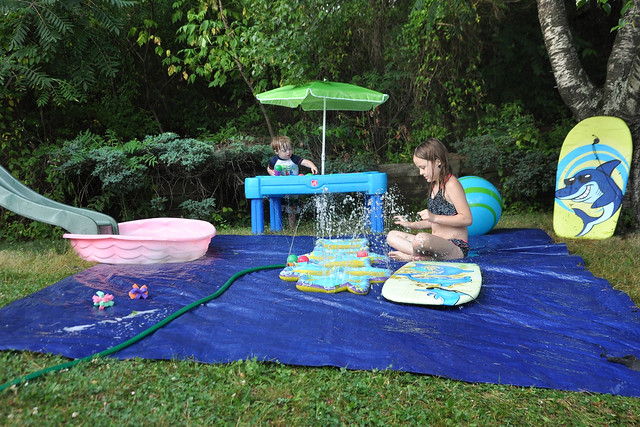
    This was a really simple idea that turned out to be a lot of fun! My kids were occupied for hours!

    Supplies:

    • Large Tarp

    • Baby Pool

    • Bubble Bath 

    • Slide

    • Sprinkler

    • Water Table

    • Sponge Bombs

    • Boogie Boards

    No instructions needed! Just put down a large tarp in your backyard, gather up your outdoor water toys (pool, sprinkler, water table, etc) and set them up on or around the tarp! Make sure you place the sprinkler in the middle because that's what turns the tarp into a giant slip and slide! We opted to place the tarp next to the slide, so we could put the baby pool full of bubbles and balls at the bottom of the slide. 


    DIY Backyard Splash Pad

     It was a great way to spend a Summer day!


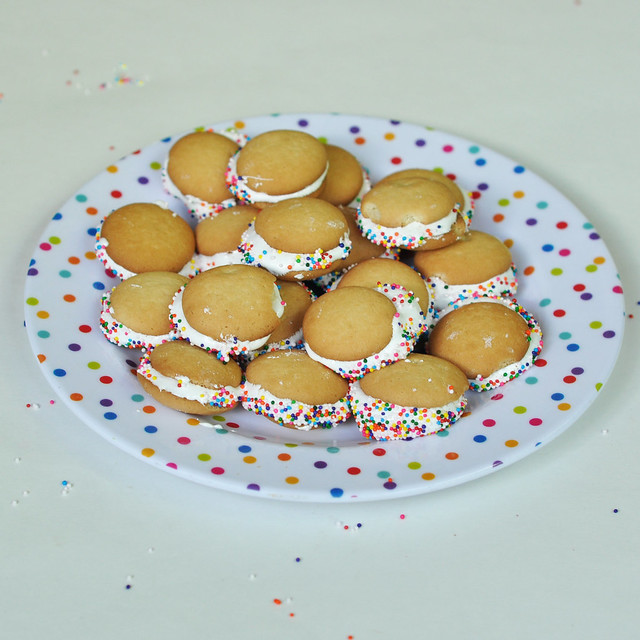
    Vanilla Mallowreos {Camp Mom Day 29}


     Kids Activities Vanilla Mallowreos


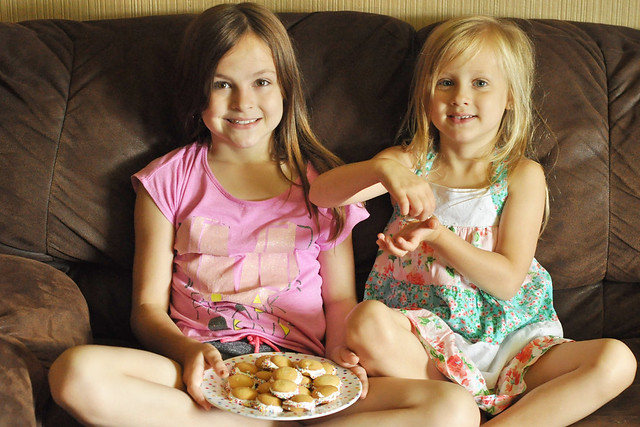
    Lexie loves to bake and she's always concocting simple no-bake recipes on her own! When she goes grocery shopping with me she always picks up a few extras for her concoctions. She came up with an idea for a sandwich cookie using vanilla wafers and marshmallow fluff and it actually tasted really good!  She lovingly dubbed this recipe Vanilla Malloweos, because she said it tastes like a vanilla wafer version of golden Oreos!


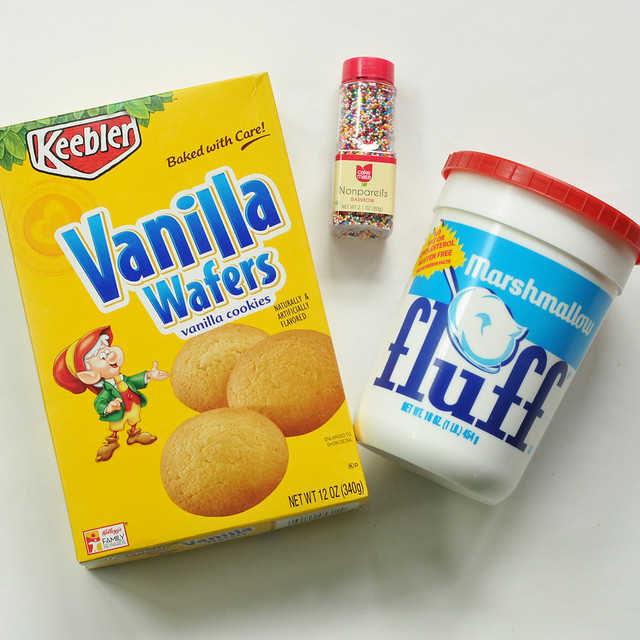
    Ingredients: 

    • Vanilla Wafers

    • Marshmallow Fluff 

    • Rainbow Sprinkles

    No Bake Cookie Recipe


    Directions:

    1. Place a glob of marshmallow fluff on the bottom of a vanilla wafer. 

    2. Place another vanilla wafer on top to make a sandwich.

    3. Empty the sprinkles onto a plate and gently roll the outside of the vanilla wafer sandwich cookies in the sprinkles.

    Enjoy! 


    Kids Activities


    Mom Confession: I'm secretly hoping that Lexie takes over the cooking one day! 


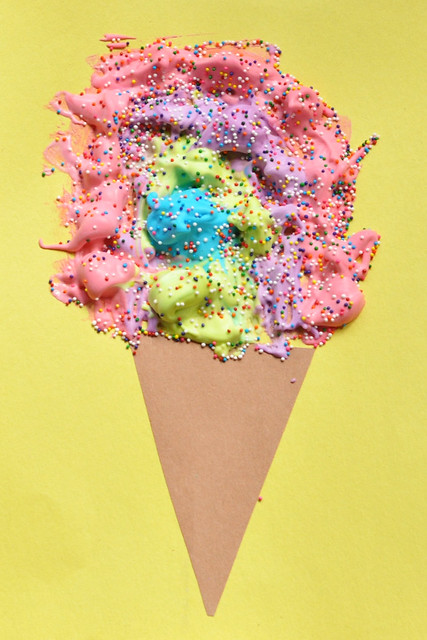
    Puffy Paint Ice Cream Cones {Camp Mom Day 30}


    Puffy Paint Ice Cream Cone Craft


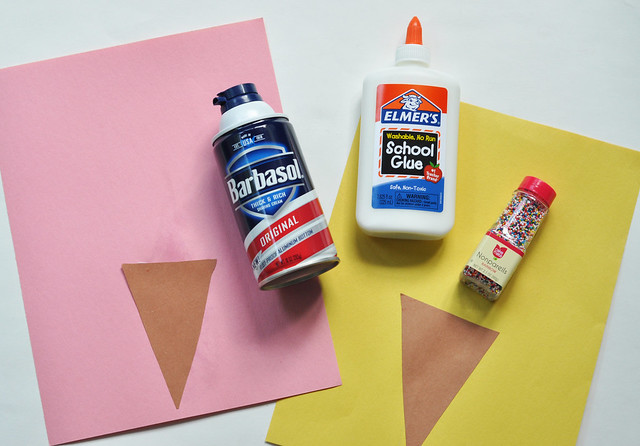
    My kids are huge fans of puffy paint! It's such a simple recipe that leaves behind the softest texture after it dries. Painting with Puffy Paint is a fun sensory experience!


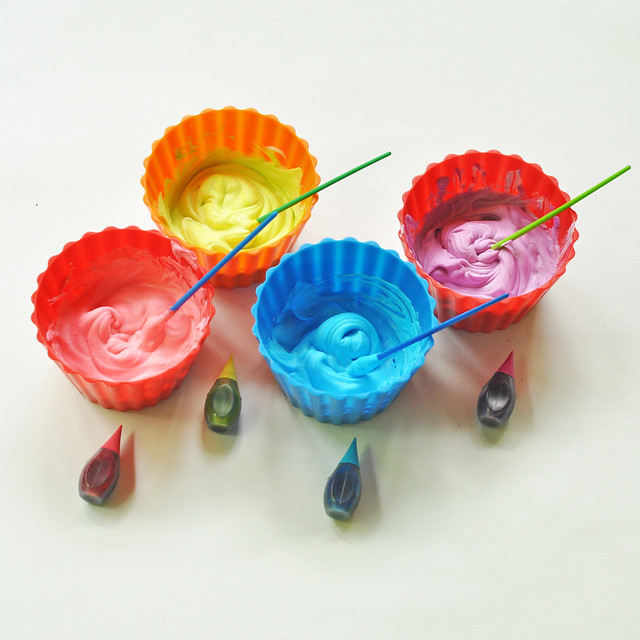
    Supplies:

    • Construction Paper

    • Cones cut out of brown construction paper

    • Large bottle of white school glue

    • Can of white shaving cream

    • Food Coloring

    • Sprinkles 

    • Bowls and Paintbrushes


    Kids Activities Puffy Paint Crafts


    Directions: 

    1. Mix equal parts glue and shaving cream in the bowls. 

    2. Add drops of food coloring to each bowl and mix.

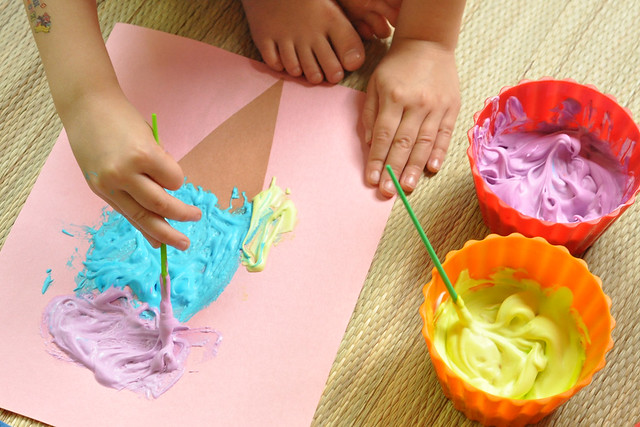
    3. Glue the brown construction paper cone onto the sheet of construction paper. 

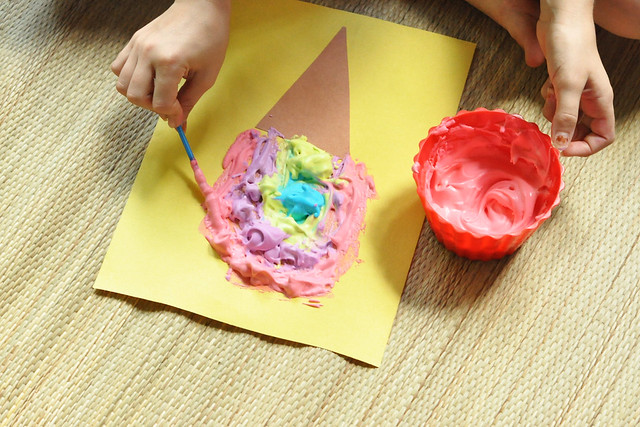
    4. Paint the ice cream on top of the cone.

    5. Shake sprinkles all over the puffy paint.

    6. Dry overnight.


     Puffy Paint

    Kids Activities

     Kids Activities


    A sure sign that kids love this activity? My too-cool tween actually joined in!

    Kids Activities

    That, my friends, is how we rocked Camp Mom this week!


     Coming up next week:


    • Golfish Bag Slime

    • Jello Cup Aquariums

    • Field Trip

    • Aquarium Sensory Bottles

    • Foil Fish Craft


    You might also like the kids activities in these posts:

    Camp Mom Week One
    Camp Mom Week Two
    Camp Mom Week Three
    Camp Mom Week Four 
    Camp Mom Week Five

    What activities are you doing with your kids this Summer?


    LET'S CONNECT!


    Linking up for Tuesday Talk.