Our Five Ring Circus: Fun/Creative Activities
Showing posts with label Fun/Creative Activities. Show all posts

Thursday, July 2, 2015

4th of July Roundup

Happy July!

The month of June flew by, and here we are, just days away from the 4th of July!  Since we LOVE the 4th of July, the kids and I have been busy celebrating and preparing for the big day!

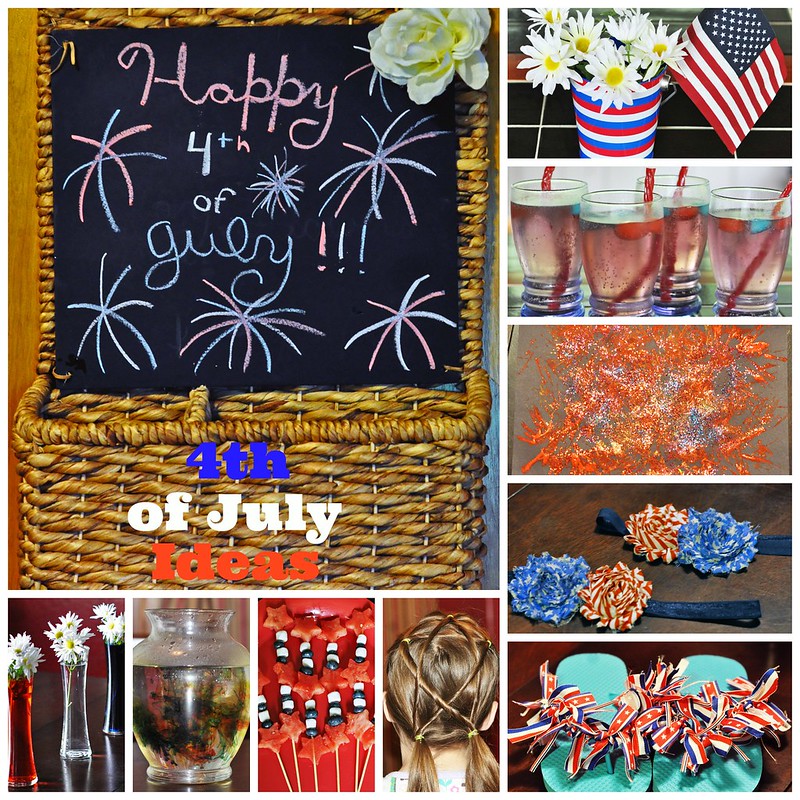
I put together a list of a few of our favorite 4th of July-themed ideas.  Although the food is yummy, the kids love the very last idea the most!  

Enjoy!!!

EAT.

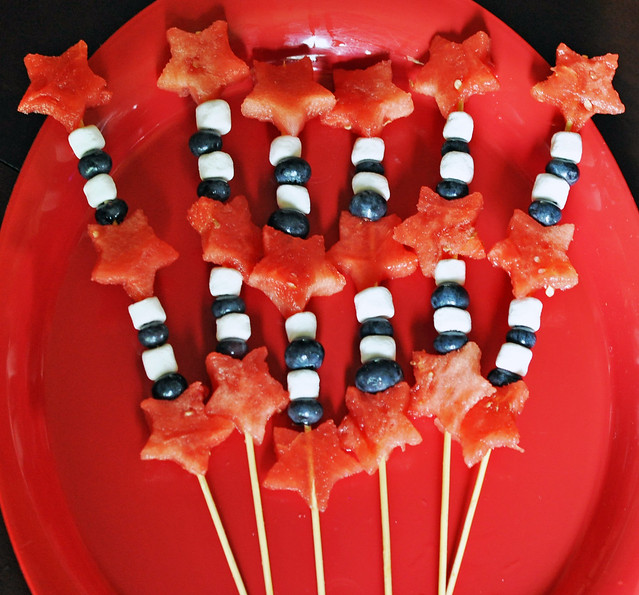
Patriotic Fruit Kabobs
080

Dylan and Lily are obsessed with these!  They've been eating them all week!  I cut up the watermelon at the beginning of the week, and stored all the extra stars in a big bowl in the fridge.  To make the stars, just slice the watermelon into thin slices, then use a cookie cutter to cut out the shapes. Put them on a skewer along with blueberries and mini marshmallows.

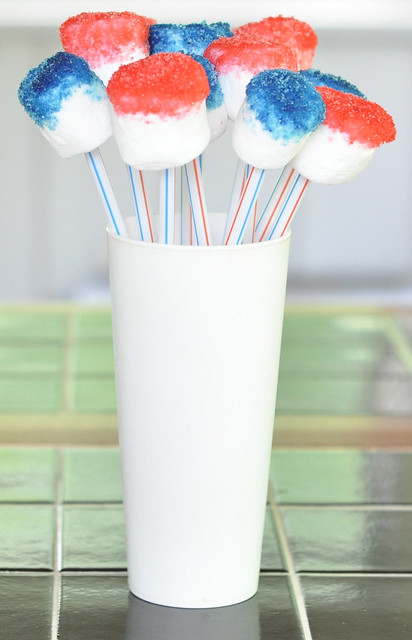
Patriotic Marshmallow Pops
073

My mom made these for my kids before, but I didn't realize just how easy they were! Just put a marshmallow on a straw, dip one end in water, then dip in colored sugar. {Here's a great tip: Make your own sugar. It's cheap and easy! Put 1/2 cup sugar in a bowl, add a few drops of food coloring, and stir until all the clumps of food coloring mix into the sugar!}

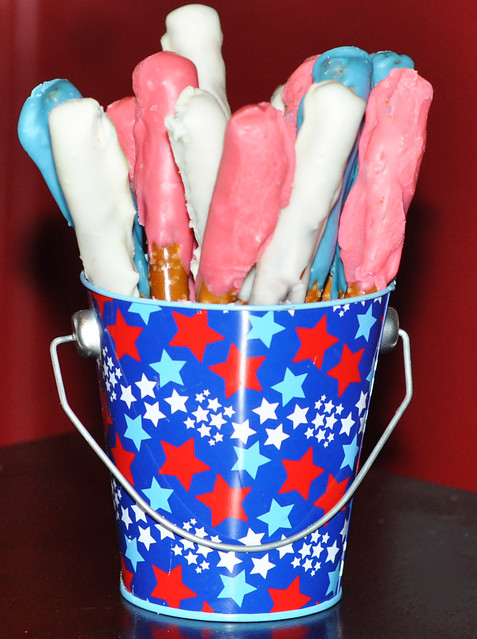
Patriotic Pretzel Rods
088

These didn't turn out as pretty as they normally do (I blame the generic white chocolate chips!), but they were REALLY good.  We made 24, and between 2 adults, and 5 kids, they didn't even last 24 hours! We make these for every holiday because they're so easy.  Just melt white chocolate chips in the microwave, stir, then divide into 3 bowls.  Add red food coloring to one bowl, blue food coloring to another, and leave the third bowl white.  Dip half of the pretzel rod into one bowl of chocolate, then place on wax paper to dry.  You can add sprinkles or colored sugar, but we opted not to this time!

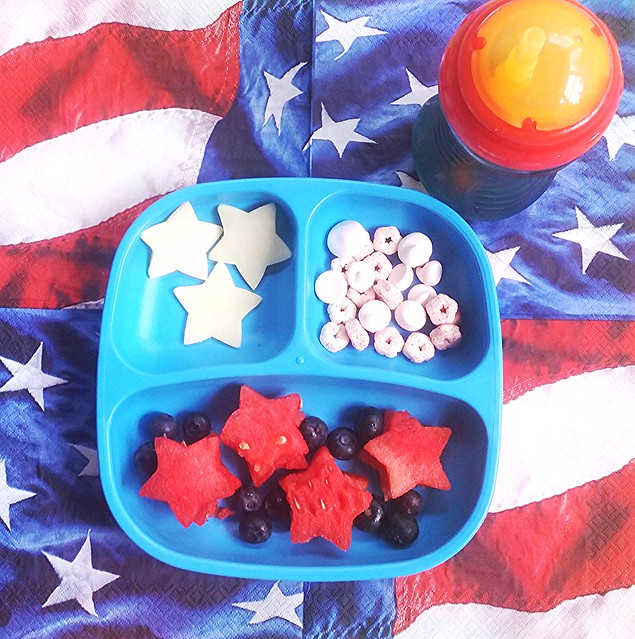
Patriotic Toddler Meals
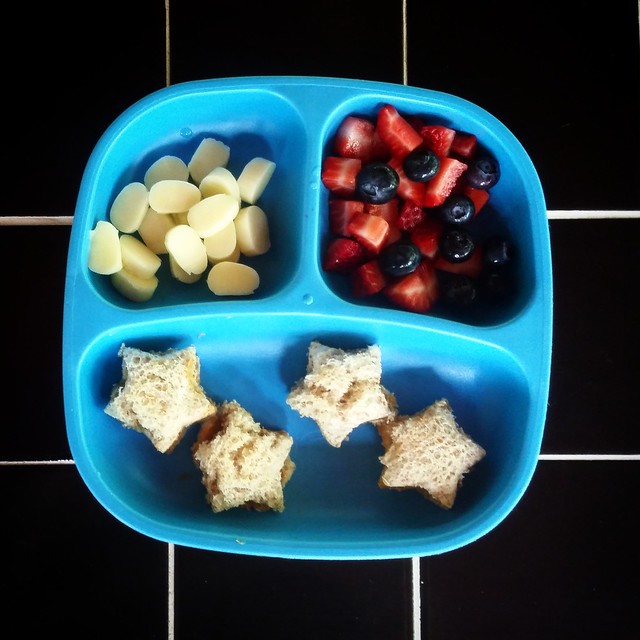
IMG_20150630_14415020150701_165423-1

Liam FINALLY stopped tossing his dishes and utensils off his highchair tray!  I was so excited to be able to use our Re-Play plates.  (Check out the link!  We LOVE them!) I started using them yesterday, and fed Liam a few 4th of July themed meals! The older kids were jealous and want their own Re-Play plates now!

DRINK.
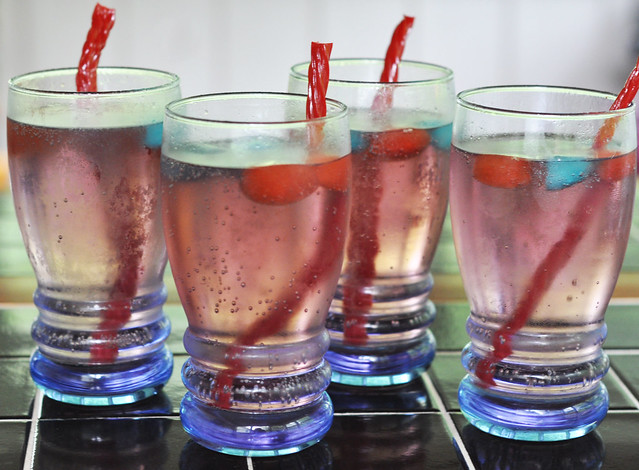
064

Freeze red juice and blue juice (or Kool-Aid) in ice cube trays.  Fill a cup with Sprite or ginger ale and add the frozen cubes.  Cut the ends off a red Twizzler and use it like a straw!
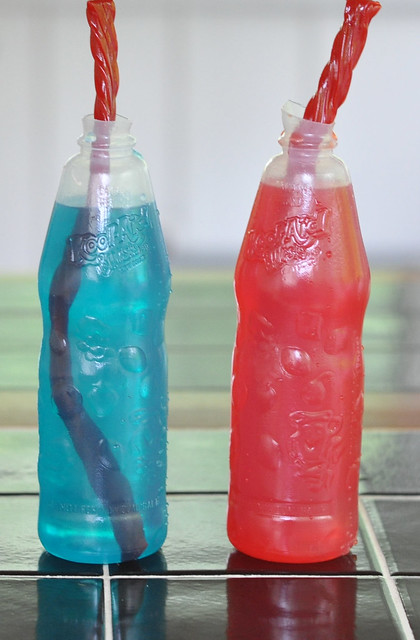
072

OR just keep it easy for the kids and buy red and blue Kool-Aid Bursts.  Cut the tops off and put in a Twizzler straw!

DECORATE.
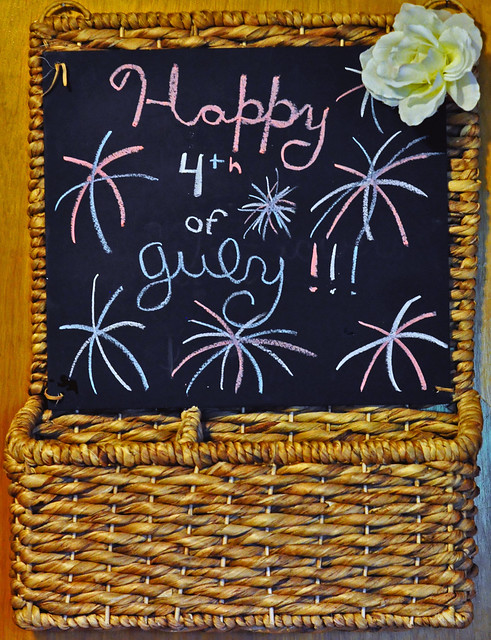
056
decorate
016

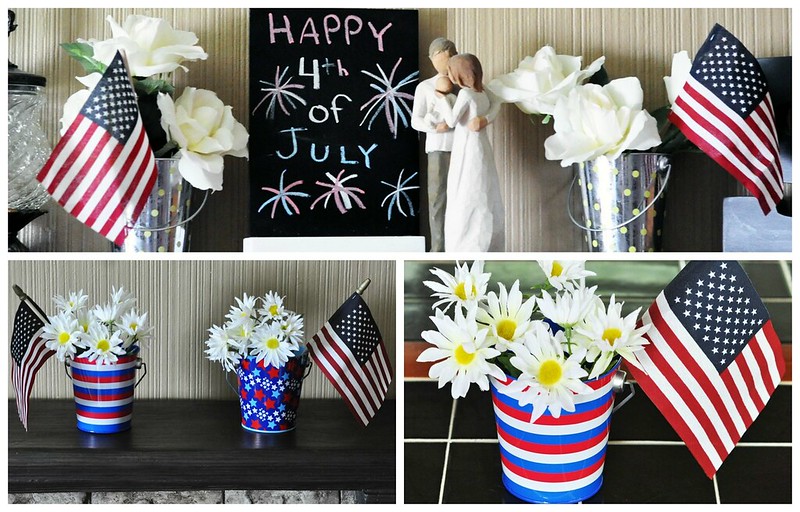
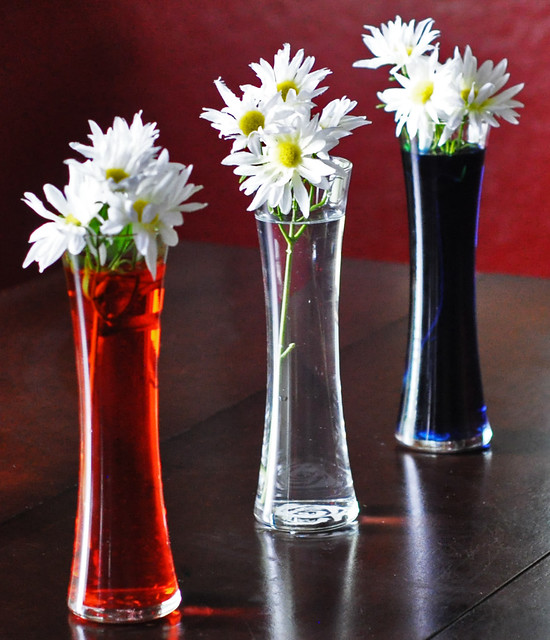
I'm going to be honest.  I didn't do much this year! I put wreaths on the doors, and put a few flags in outdoor plants on our porch and in our yard.  I wrote on the chalkboards, put some flowers in mini patriotic pails, and added a few mini flags to the all the pails and vases in my house.   I did borrow my friend's idea of coloring the water in vases with red and blue food coloring (she does this for every holiday).  It's so simple, and I love it!

MAKE.

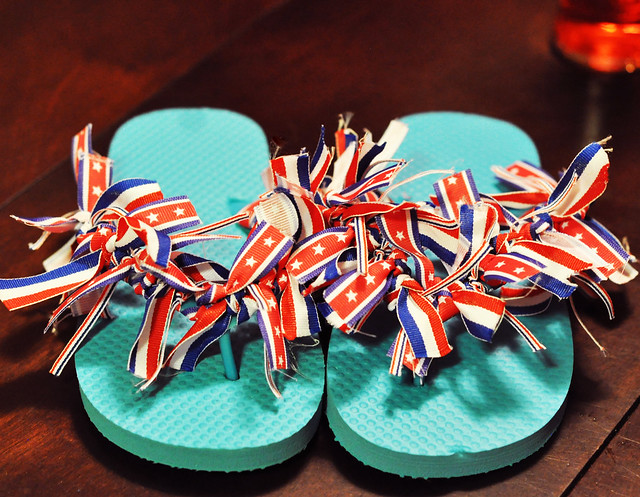
 4th of July Ribbon Flipflops
136

The girls needed new ribbon flipflops for the 4th.  I managed to finish Lexie's, but I burned my hand yesterday, and couldn't finish Lily's.  I'm going to try to finish them by Saturday!

I've been making fancy flipflops since Lexie was 3.  I started with balloon flipflops, then moved on to ribbon flipflops.  They're SO easy to make! I always buy 3 different styles of ribbon.  Cut the ribbon to a 6 inch length, then double-knot each strip of ribbon around the flipflop.  Tie the knot on top and use an alternating pattern.  Trim excess ribbon when you're done.

I know some people use clear nail polish on the ends of the ribbon to keep them from fraying, but the flipflops get so dirty that it's hard to reuse them anyway.  It's best just to buy a pair for less than a dollar the following year and remake them!

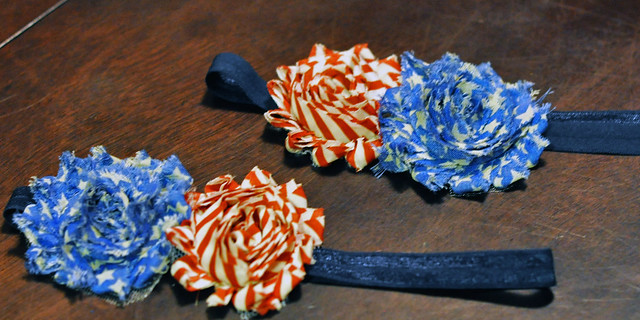
Patriotic Headbands
139

This is another easy DIY!  I buy the shabby flowers and elastic headbands from The Hairbow Company, then quickly stitch the flowers onto the elastic headband.  I made 2 headbands in less than 10 minutes!

CREATE.

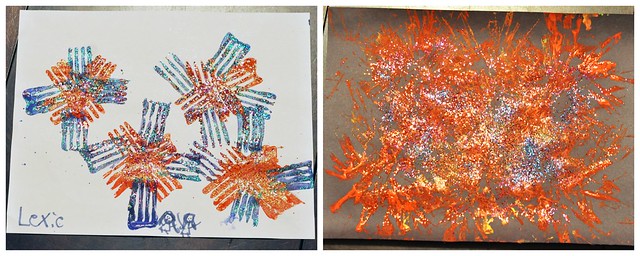
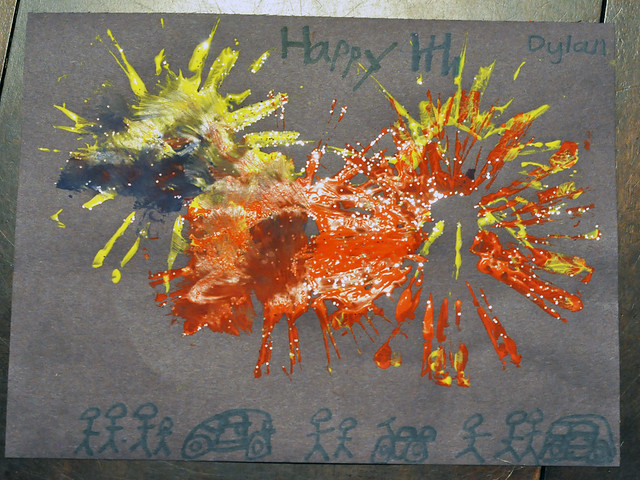
Fireworks Paintings
148

Dylan kept it simple, but added a few personal touches!
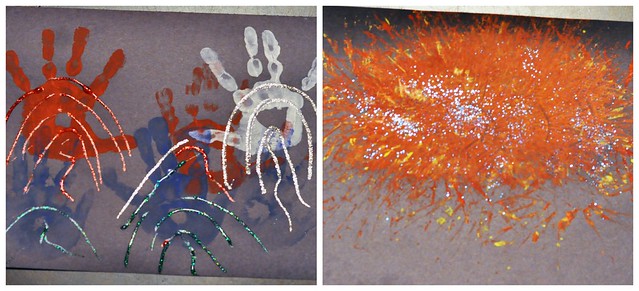
Lilyart

Lily got CRAZY!

Lexieart

And Lexie piled on the glitter!

We used forks and toilet paper tubes (with the end cut into strips) for the brushes.  A quick Google image search will give you many more ideas!

STYLE.
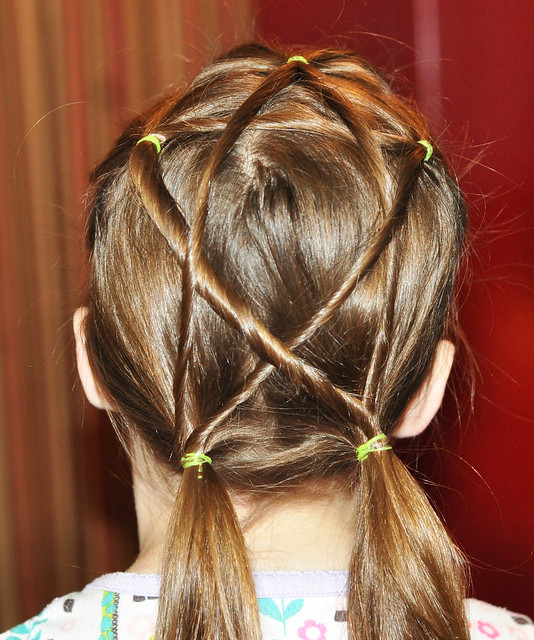
Star-Styled Hair
141

This one was actually from a list of hairstyle ideas I bookmarked a long time ago.  I recently saw it on Pinterest while I was searching for birthday party ideas, so I decided to give it a try.  It's really cute and not difficult to do!

EXPERIMENT.

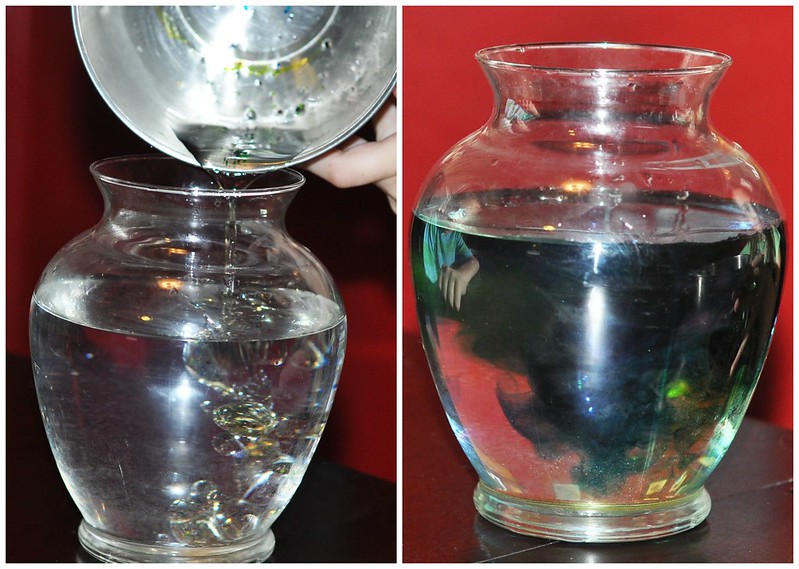
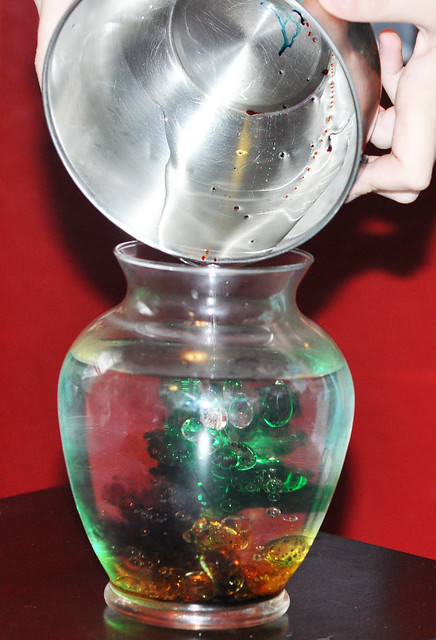
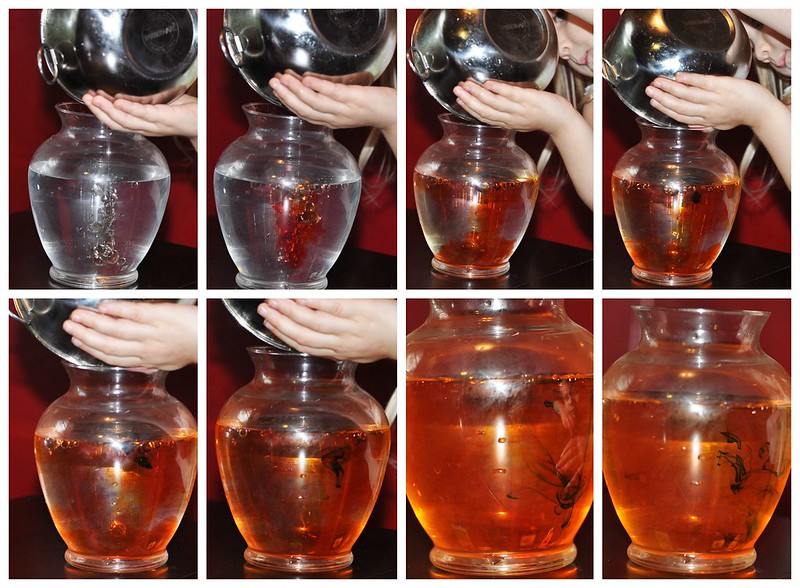
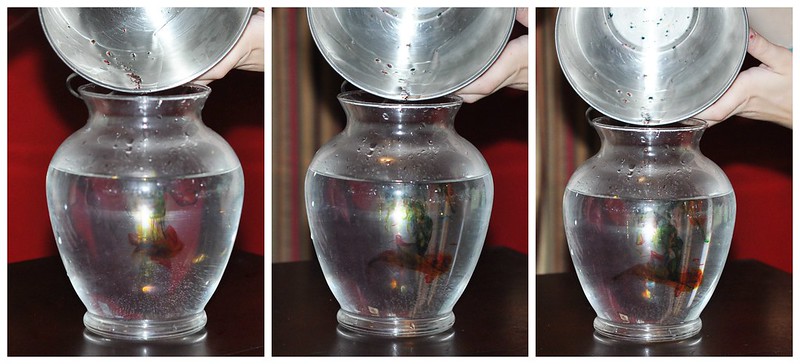
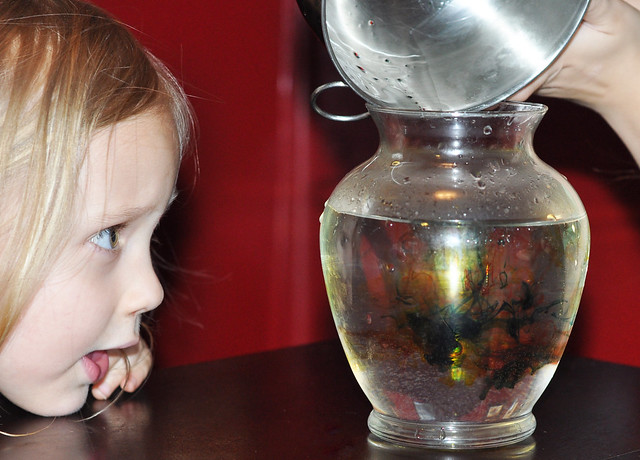
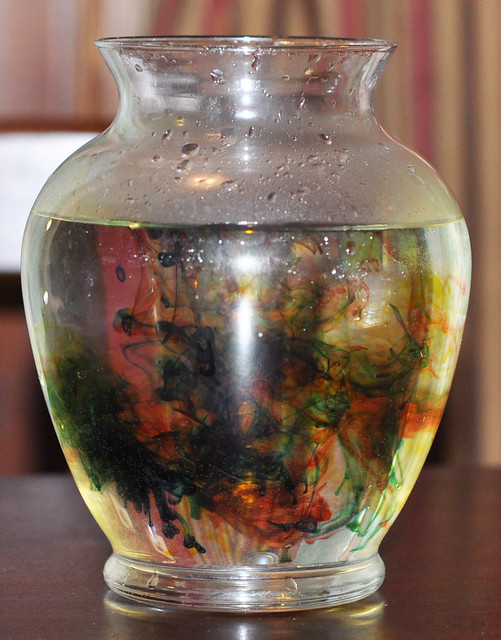
Fireworks in a Jar
125
fireworksinajar1
097
fireworksinajar2
fireworksinajar3
fireworksinajar4

Dylan did this in school a few years ago.  He brought home a paper with the instructions, but I filed it away and never thought about it again. This was another thing that popped up in my Pinterest feed while searching for party ideas, so I decided to find the paper and give it a try!

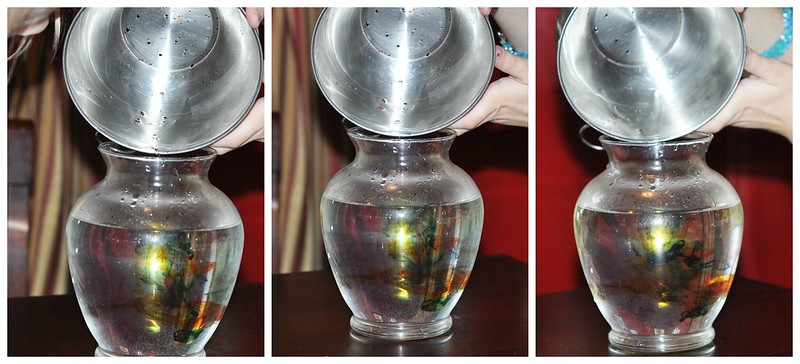
Just fill a large jar (or cup) almost to the top with water.  In a separate small bowl, add 2-4 tbsp of oil (just enough to cover the bottom).  Use 4 different colors of food coloring.  Add 3 drops of each color to the oil. Use a fork to gently smash the drops of food coloring so that each drop separates into smaller drops.  Now S-L-O-W-L-Y pour the oil mixture into the water.  If you dump it in, it will blend really fast.  The slower you go, the longer it takes to mix, and the better it looks!

It was so simple, but SO captivating.  The kids did it over and over and over again!
128

We are ready for the 4th! 

We'll be celebrating all weekend! Our annual picnic is on the 4th along with a parade and fireworks, and we have a birthday party and another picnic on Sunday.  We're looking forward to a fun weekend with our family and friends!   

What are your plans?

I hope you all have a fun, safe weekend!

Happy 4th of July!
PicMonkey Collage


Linking up for The Monthly Meetup!  
Thursday, June 11, 2015

Let's Get SLIMED!

SLIME.

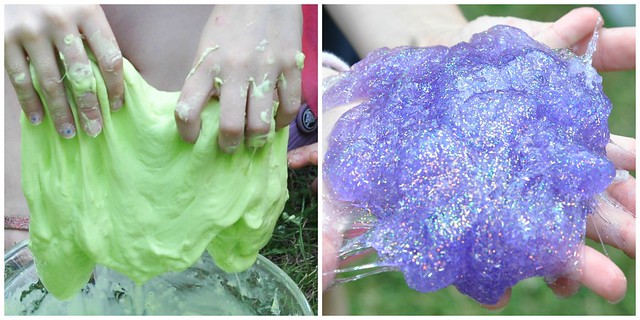
So gross, but so much fun!  It's almost impossible to resist!


slime

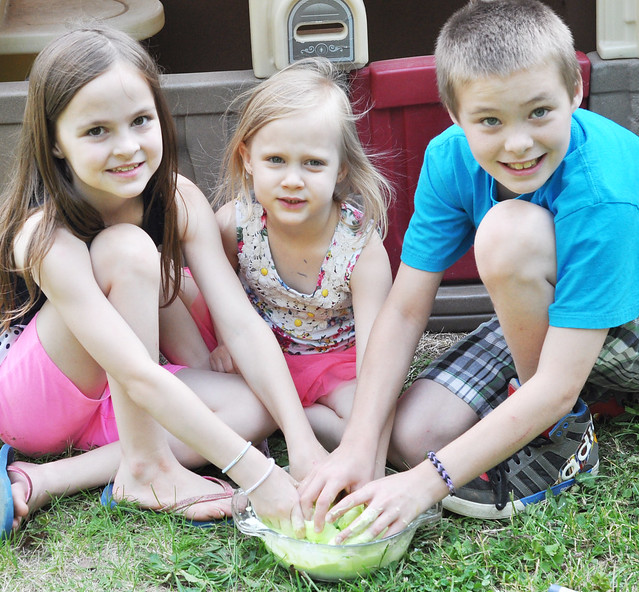
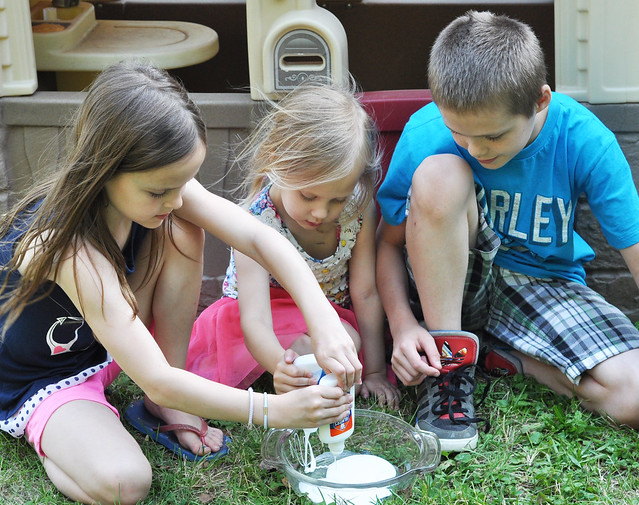
My weekly activity time with Lily just got a bit more crowded!  Now that school's out for the summer, Dylan and Lexie want to join in.  For this week's activity, Dylan, Lexie, and Lily chose "Make Homemade Slime" from our list of activities! 

We decided to make two of our favorite slime recipes.  Neon Slime for Dylan and Glitter Slime for the girls!  Both recipes are really easy to make!  Not only is it fun to do, but there's science involved!

Neon Slime

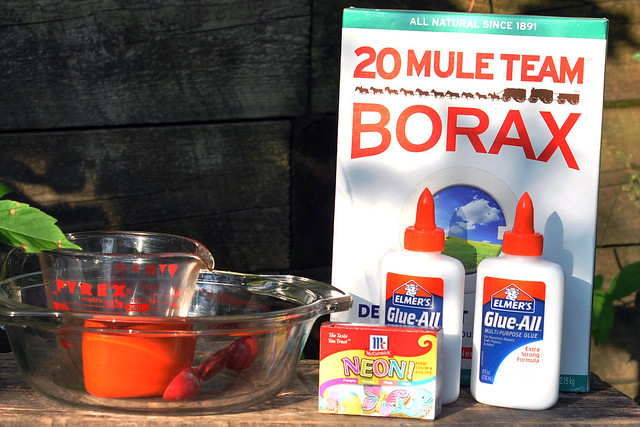
To make Neon Slime, you only need a few simple ingredients:  8 oz white glue (I used two 4 oz bottles), 1 tsp Borax (found in laundry detergent aisle), 1 cup warm water, neon food coloring, spoons for stirring, and 2 mixing bowls.

033

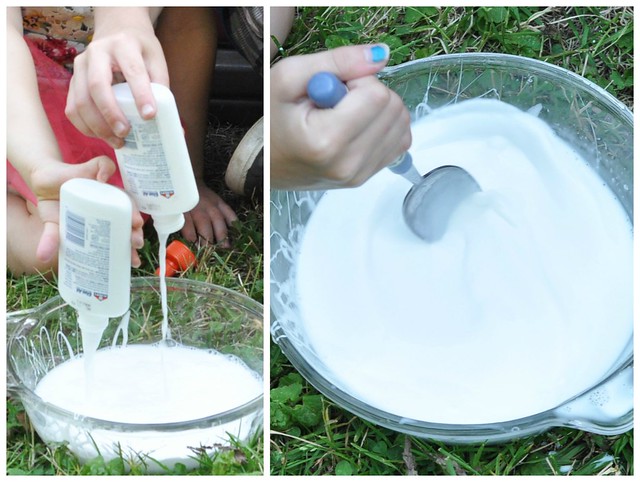
STEP ONE: Empty glue into a large bowl.

040

STEP TWO:  Fill glue bottle(s) completely with warm water (you will use 1/2 cup water), shake, then pour into the bowl that contains the glue.  Stir. 

step2

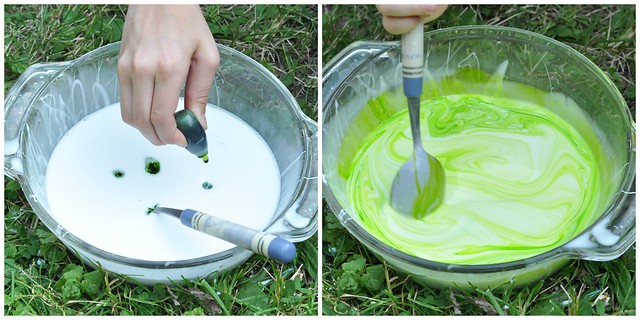
STEP THREE:  Add several drops of neon food coloring to the glue mixture.  Stir.

step3

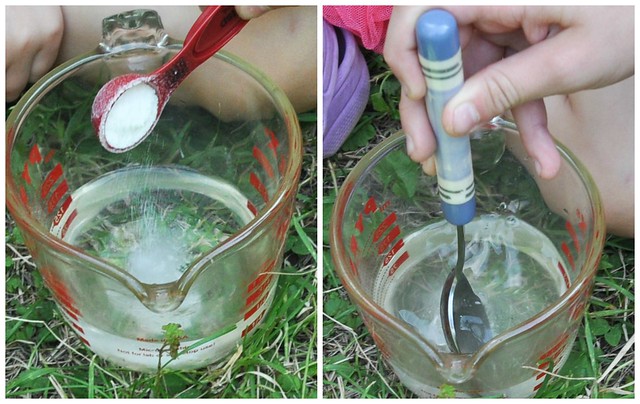
STEP FOUR:  Mix 1 tsp Borax into 1/2 cup warm water. Stir until the Borax dissolves.

step4

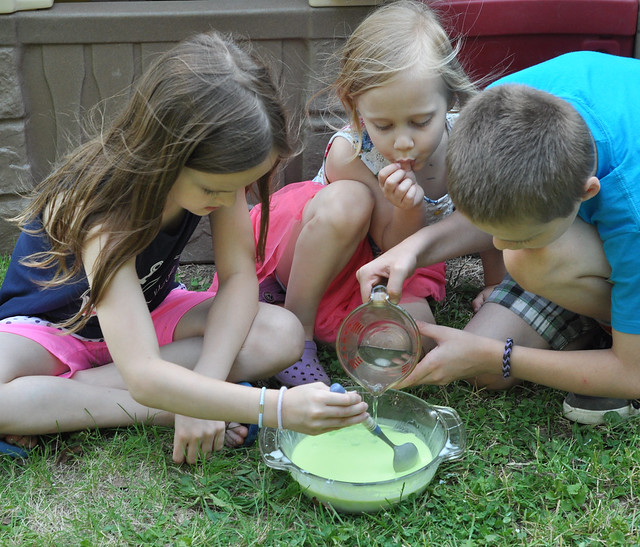
STEP FIVE:  Slowly pour the Borax solution into the glue solution while stirring. Keep a close eye on this process!  This is where the science aspect of it begins.  You will see the glue solution almost immediately begin to form into a solid as it meets the Borax solution!

076

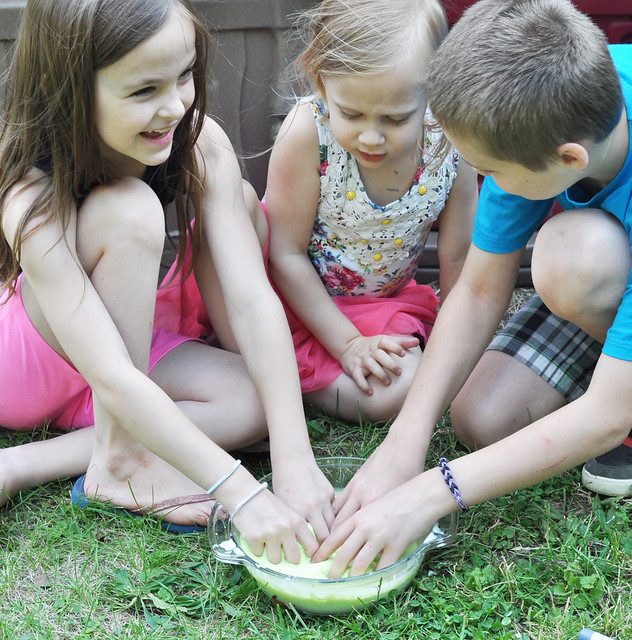
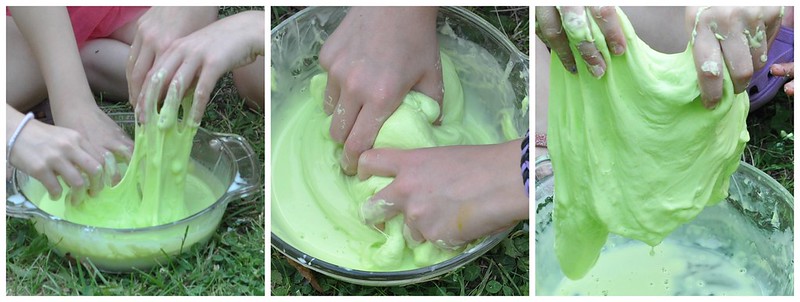
STEP SIX:  Dig in and knead the slime!

078
slime
kidsslime
113

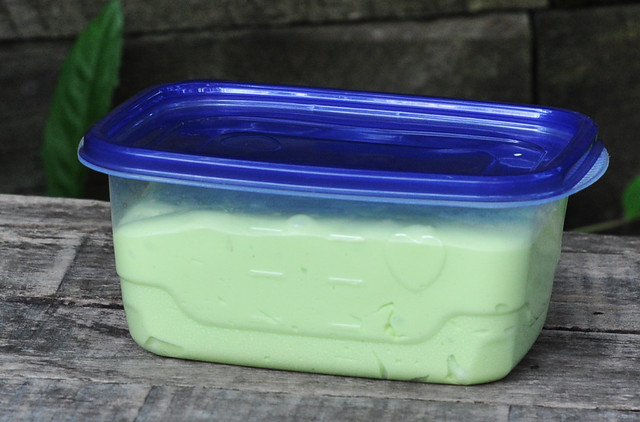
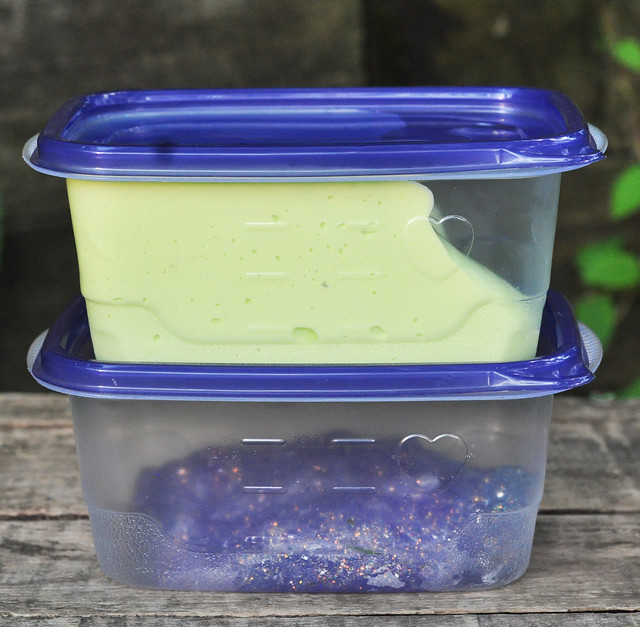
STEP SEVEN:  Store in an airtight container or a storage bag.

117

See? I told you it was easy!!!


GLITTER SLIME

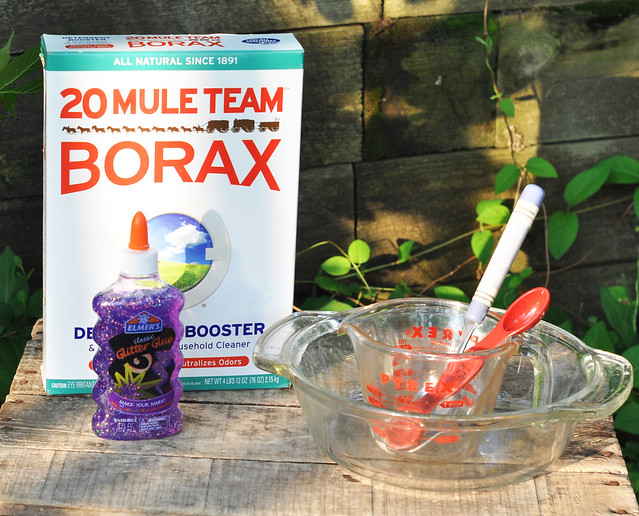
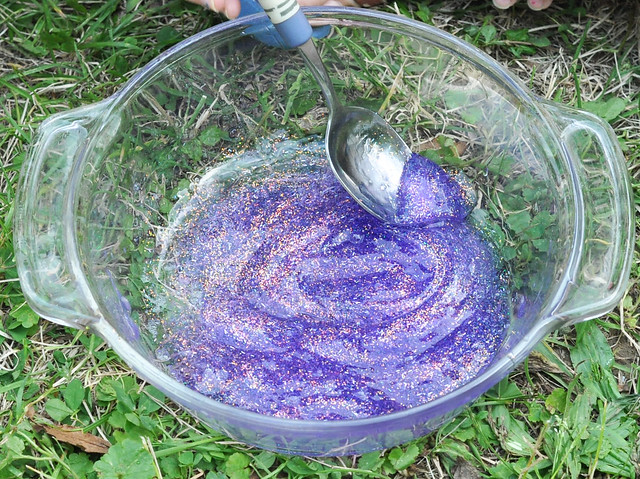
Glitter slime is a lot like Neon Slime.  For this recipe, you will need: 1 bottle of glitter glue, 1 cup warm water + 1-2 TBSP warm water, 1 tsp Borax, spoons for stirring, and 2 mixing bowls.

118

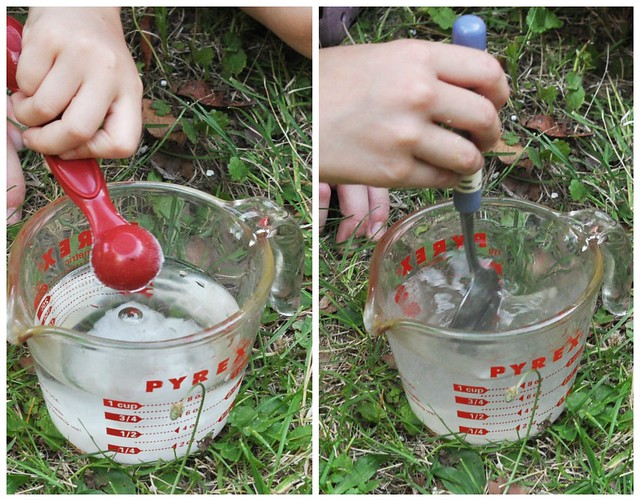
STEP ONE:  Dissolve 1 tsp Borax in 1 cup warm water.

steponeglitter

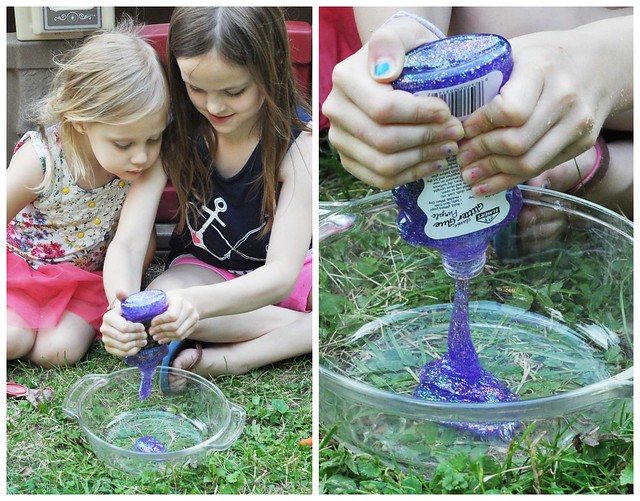
STEP TWO:  Pour glitter glue into large bowl.

glitter

STEP THREE:  Add 1-2 TBSP warm water and stir again.  Isn't it pretty?!?

glitter2
155

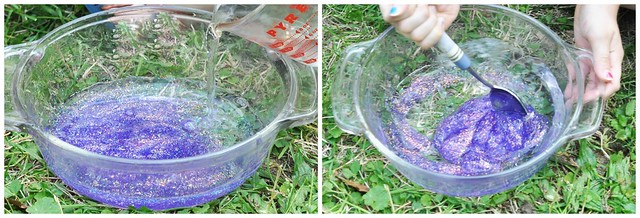
STEP FOUR:  Slowly pour Borax solution into the glue solution while stirring.  Once again, you will see the glue almost immediately start to solidify!

glittersolidify

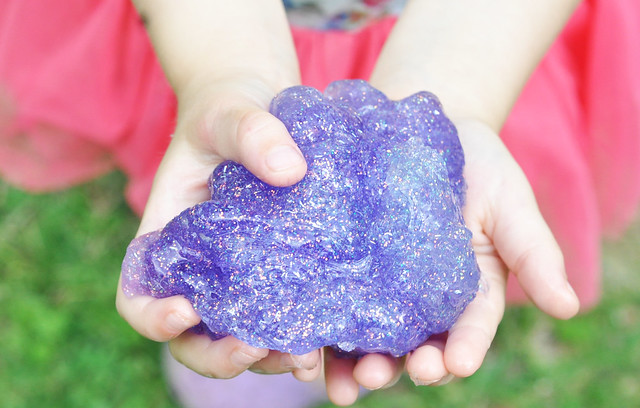
STEP FIVE:  Form a ball with the Glitter Slime and knead!

200

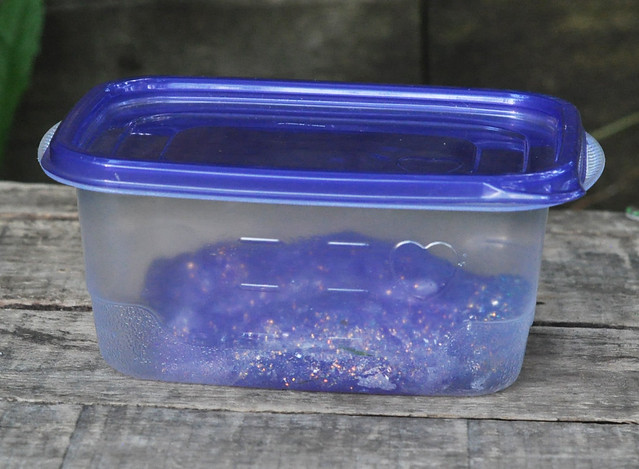
STEP SIX:  Store in an airtight container or storage bag.

228

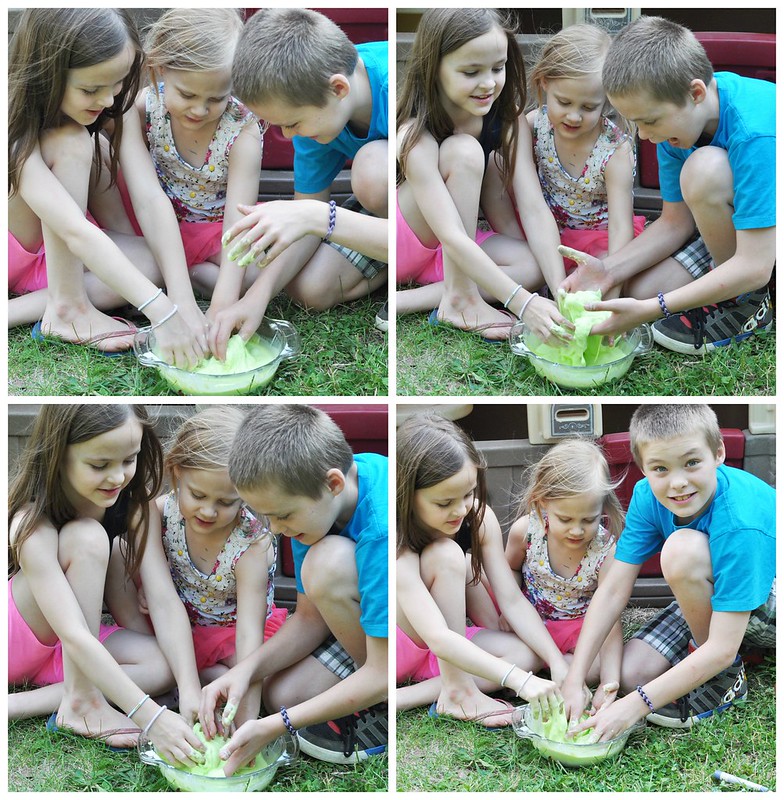
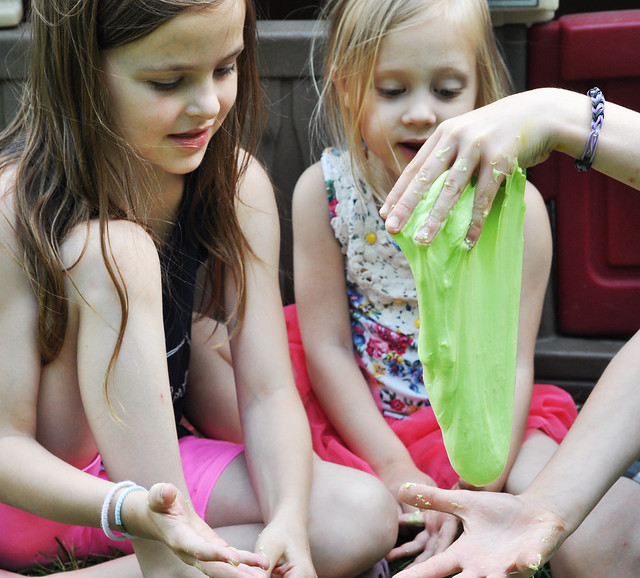
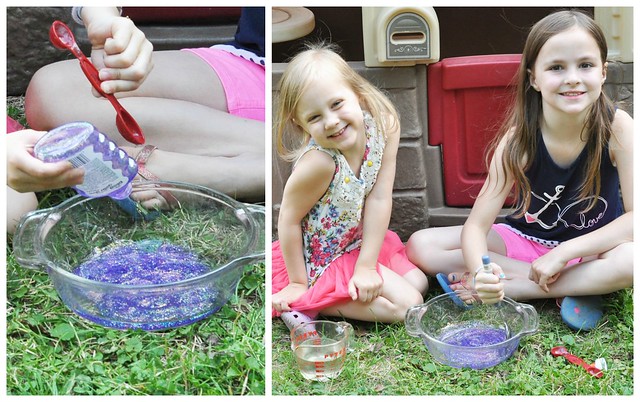
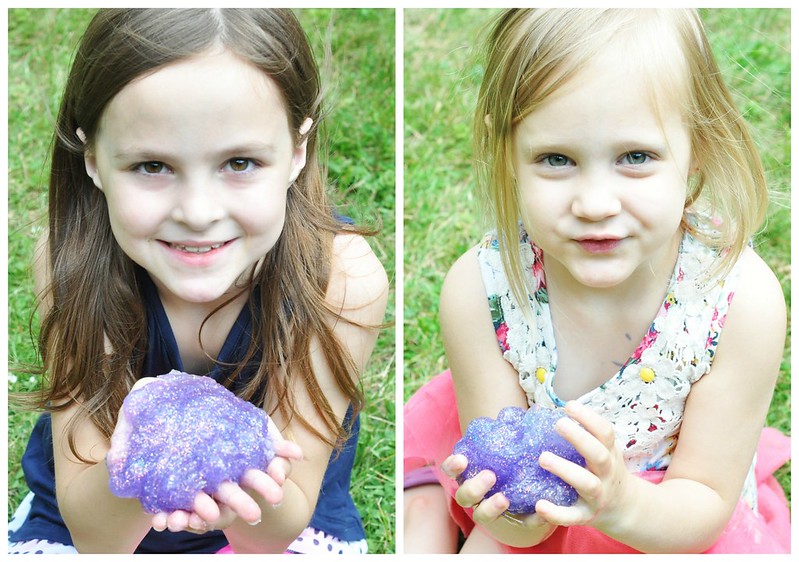
The end result?  HOURS of fun!  

lexielily

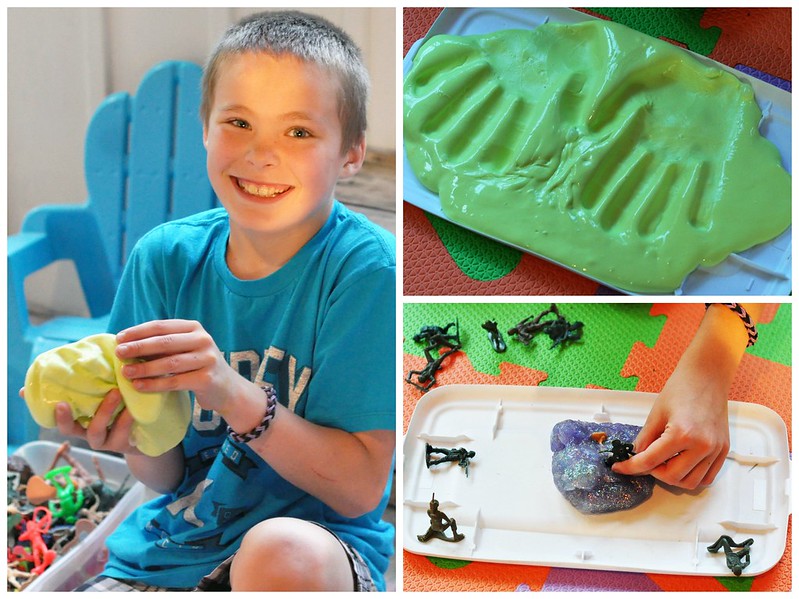
Later, you might even find your 10 year old, who is growing up way too quickly, playing with the slime!

dylan

If you keep it stored in an airtight container/bag, it will last for weeks!

231

What are you waiting for?!?  Go make some slime!!!

091

Thursday, June 4, 2015

Making the Dough

As a mom of four, it is incredibly difficult to find time to spend with each child individually.  Someone always needs something from me, and there are constant interruptions. I try desperately to give each child the attention they need and deserve!

That's why I love my weekly activity time with Lily!  We are having so much fun coming up with ideas for activities, buying our supplies, and following through with the activity!

071

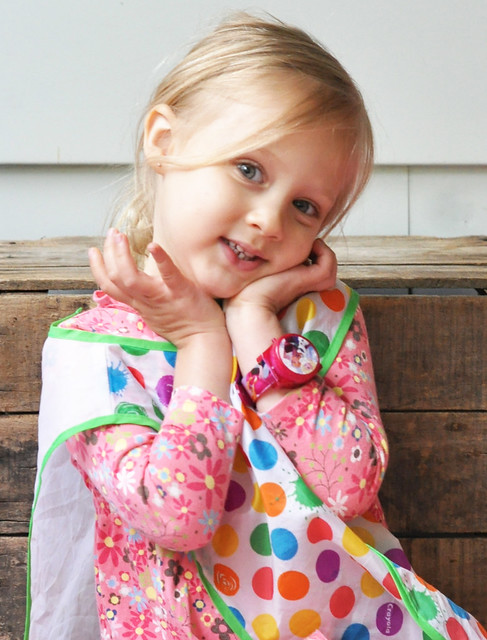
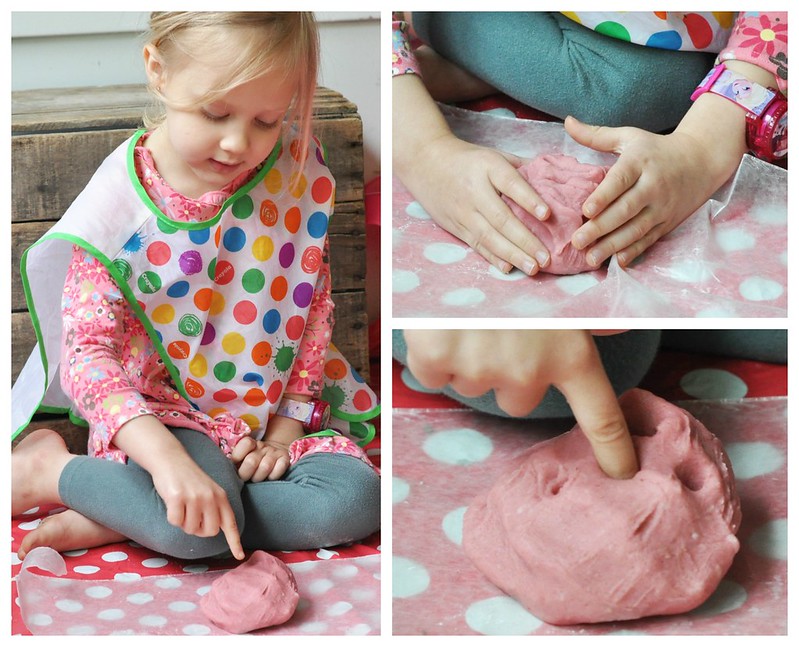
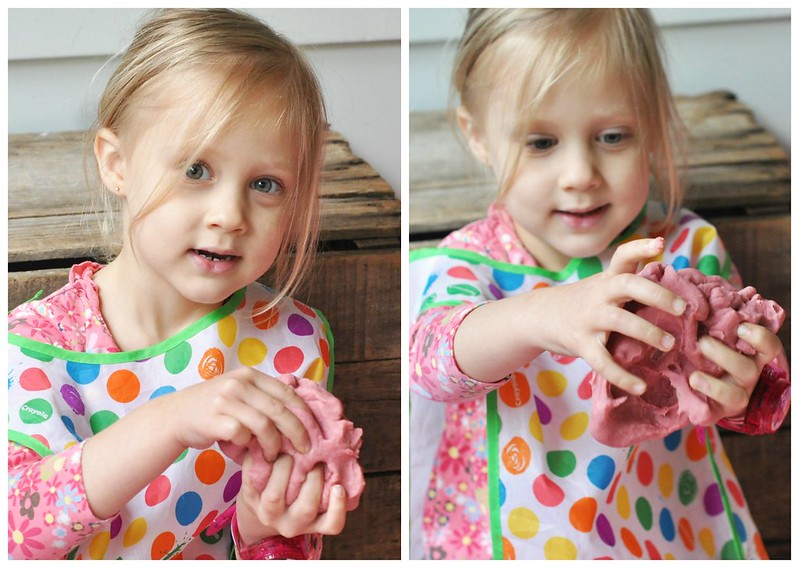
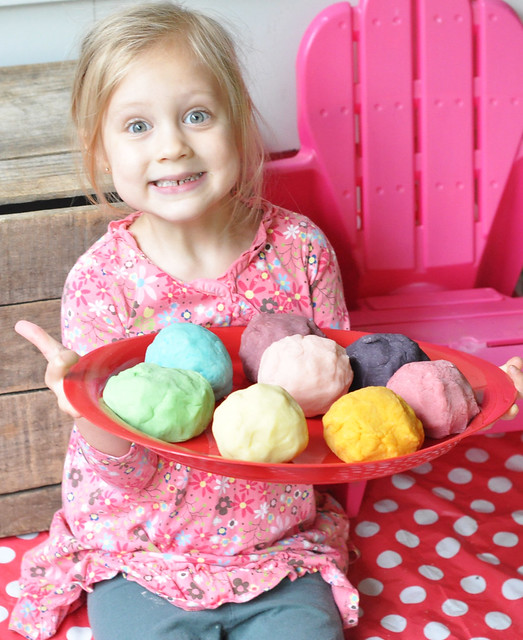
Lily LOVES playdoh!  She plays with it daily, and it keeps her busy for hours.  When I informed her that we could make our own playdough, her eyes lit up! So this week, we did just that!
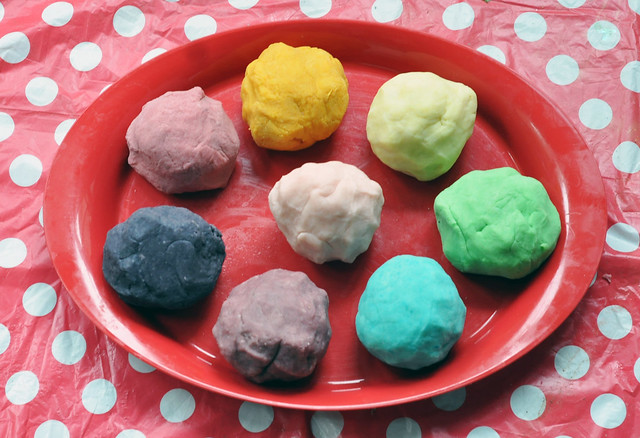
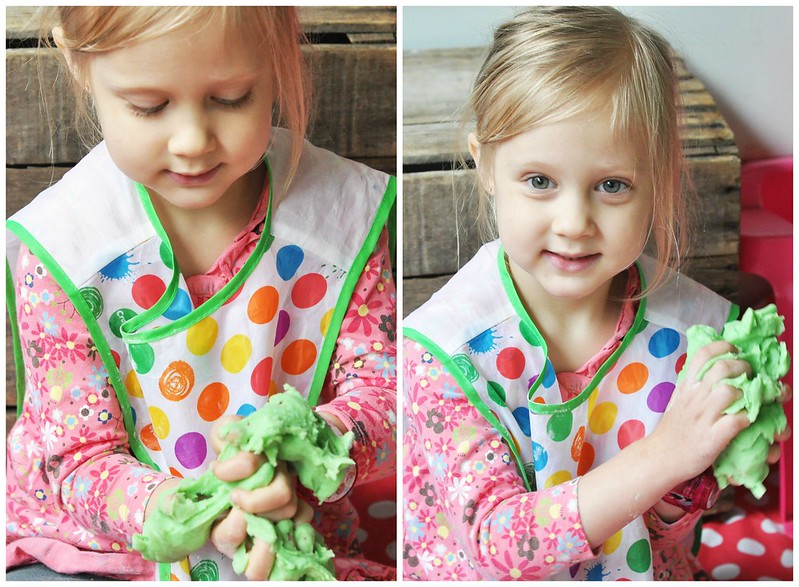
A quick Google search will confirm that there are thousands of recipes for homemade playdough.  Instead of becoming overwhelmed,  I turned to an old favorite!

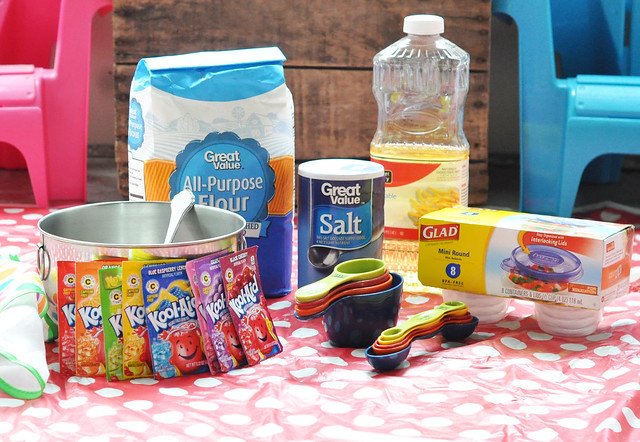
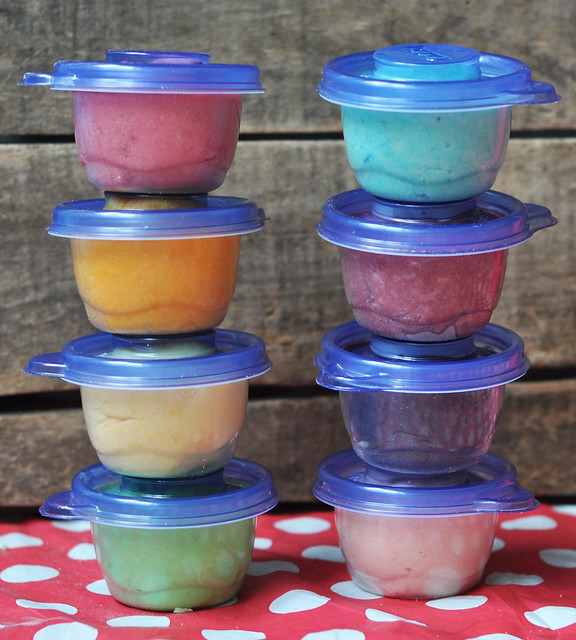
This recipe is very easy to make, and the result is the perfect amount of playdough. Not too much, but not too little! Each batch of playdough fills two 4-oz containers.  One to keep and one to give away!  We make several batches of this recipe to get a variety of colors.  This time, Lily and I made 8 batches!  She wanted a rainbow!

Kool-Aid Playdough 
  •  1/2 cup boiling water
  • 1 tbsp cooking oil
  • 1/4 cup salt
  • 1/2 cup flour
  • 1 packet Kool-Aid
We used 8 packets of Kool-Aid to make 8 batches.  Although we didn't do it this time, you can use 2 packets of Kool-Aid for each batch if you want extra vibrant color!

013 

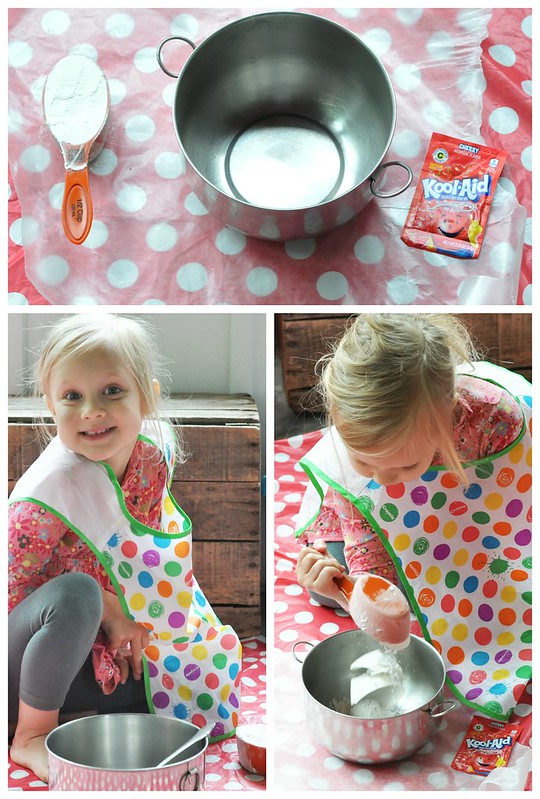
As with any activity, I highly recommend a bib or a smock and a reusable tablecloth!

Making the playdough is quick and easy!

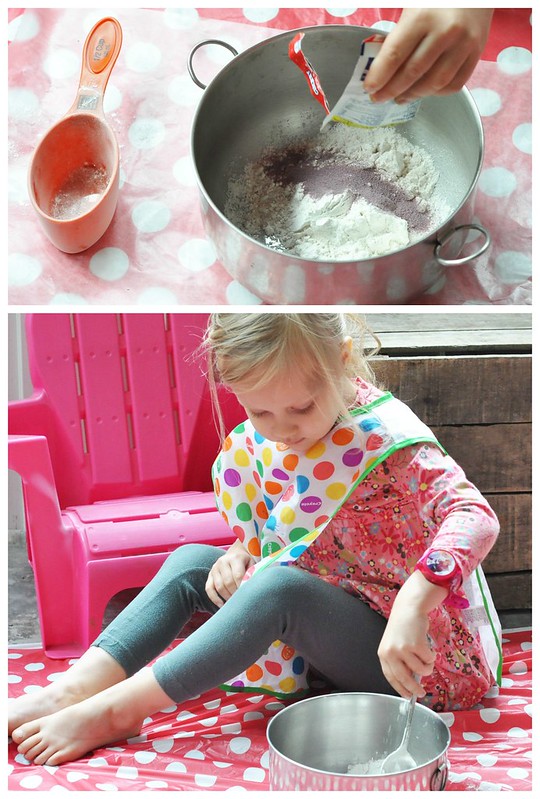
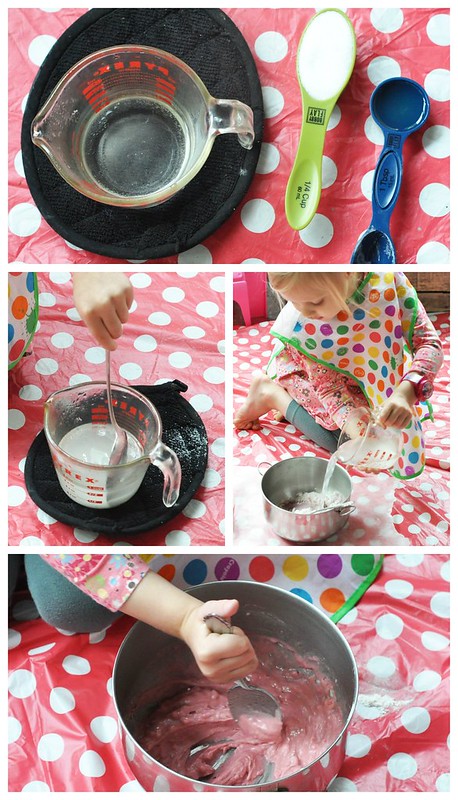
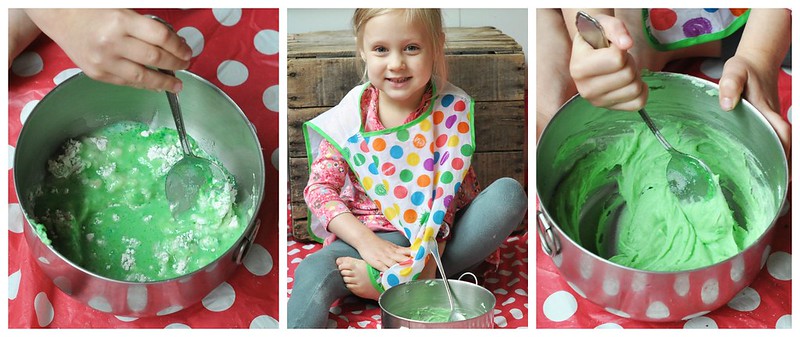
Step 1:  Measure all the ingredients and set them aside.  Grab a mixing bowl, the flour, and a Kool-Aid packet.  Dump in 1/2 cup flour and 1 Kool-Aid packet.  Stir. 

Koolaid 1
Koolaid2

Step 2:  This is the part where you will need to supervise your child or do it yourself! Boil 1/2 cup water.  (I like to put my Pyrex container of water in the microwave for 2 minutes on high.) Carefully pour 1/4 cup salt and 1 tbsp oil into the water.  Stir until salt dissolves, then pour the water into the flour mixture.  Stir until it becomes the consistency of dough. 

Koolaid3

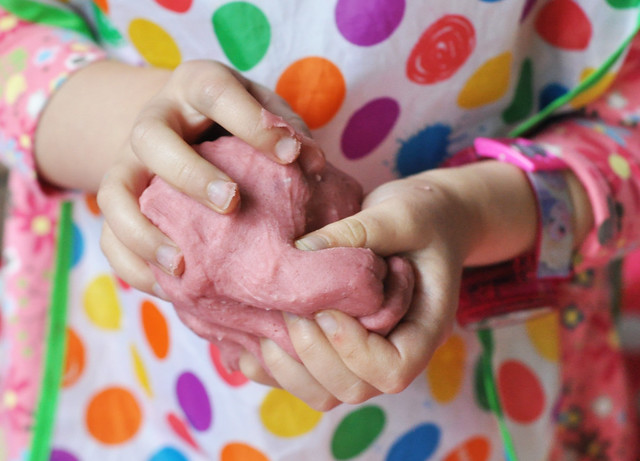
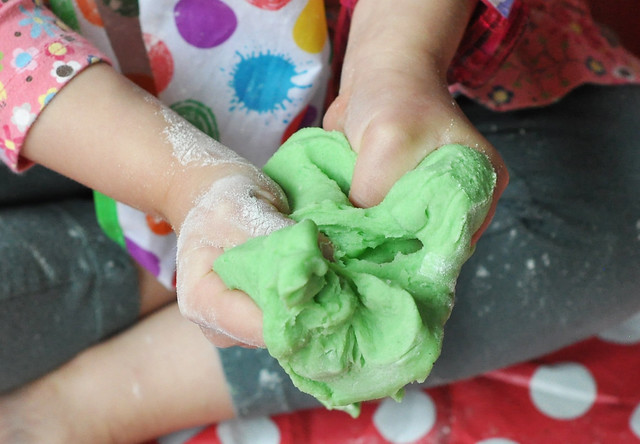
Step 3:  After a few minutes of stirring, roll the dough into a ball and start to knead.  Test the temperature first, but by this point, it should just be very warm.  This is the fun part!  A big bonus?  If you have dry hands, kneading the dough works wonders!  After several minutes of kneading, you will have soft, fruity-smelling playdough!

100
Koolaid4
Koolaid5
Koolaid6

Step 4:  Repeat steps 1-3 until you make all the colors you chose!

Koolaid7
167
193

Step 5: ENJOY!!!  

Koolaid8
Koolaid9

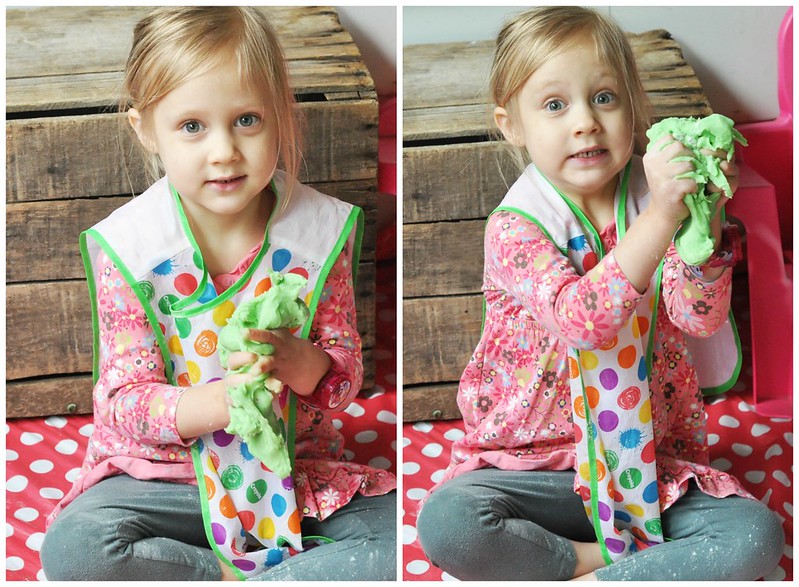
We LOVE this playdough!  Not only does it smell good, but it's incredibly soft.  It's easy to separate the colors if they get smashed together during play (and they will!).  This pleases my OCD side!

For easy storage, I use 4-oz round or square plastic containers.  You can buy them for less than $2 for 8 containers, and they keep the playdough from drying out. 

236

We hope you enjoy making this playdough as much as we do!!!

227