Now that Spring is in full swing, my entire family wants to stay outdoors 24/7! Outdoor projects are being planned, gardens are being planted, and we're preparing our yard for the months of warm weather ahead of us. The countdown to Summer has officially begun!
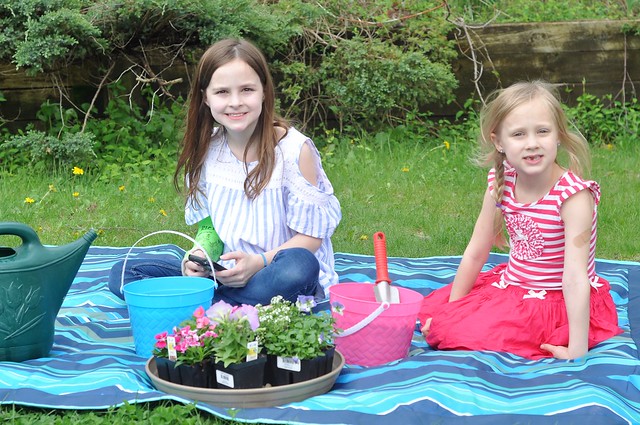
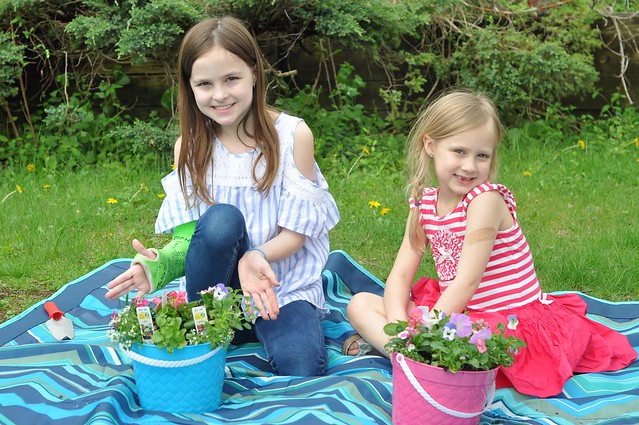
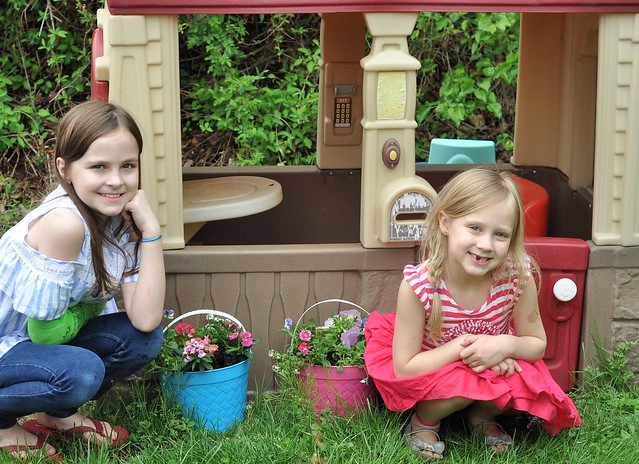
Earth Day is on Saturday, so Lily and I have been talking about all the ways we can make our world more beautiful, and brainstorming ideas on how to help save the Earth. She was full of questions and had some great ideas to share. I told her she could pick something to do in honor of Earth Day, and she said she wanted to plant a little flower garden to put in front of her playhouse.
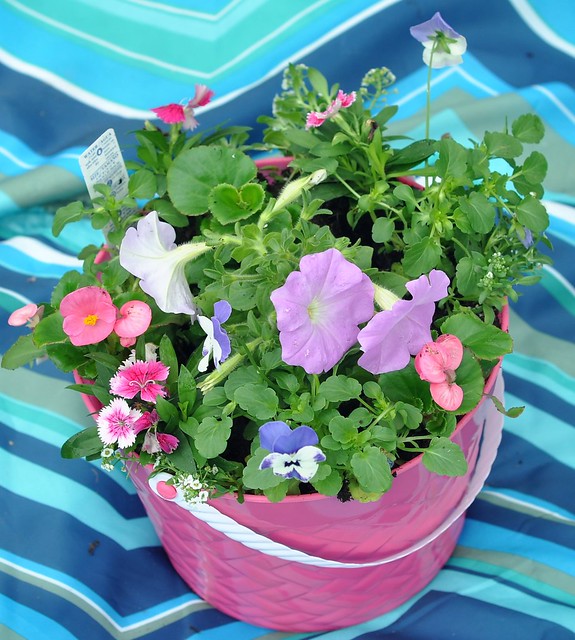
Yesterday afternoon, we headed to Lowe's and her eyes widened at the sight of the rows and rows of beautiful flowers and plants. She excitedly chose the prettiest flowers, then we added a bunch of supplies for a fun DIY play area that I will be sharing next week.
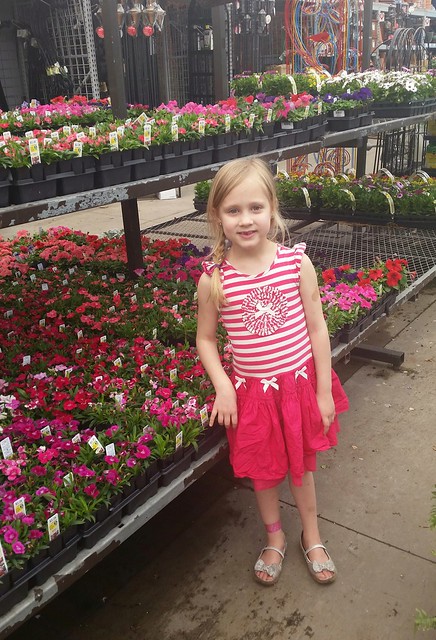
She said she loved shopping at that place...that is, until she had an encounter with a cactus. She spotted the bright flowers on the blooming cacti, and asked to take one home. I let her choose her favorite one, but after a jab on the hand, she declared that she HATES mean cacti and promptly put it back on the shelf. Although this incident caused Lily's lifelong hatred of cacti, our trip was mostly a success!
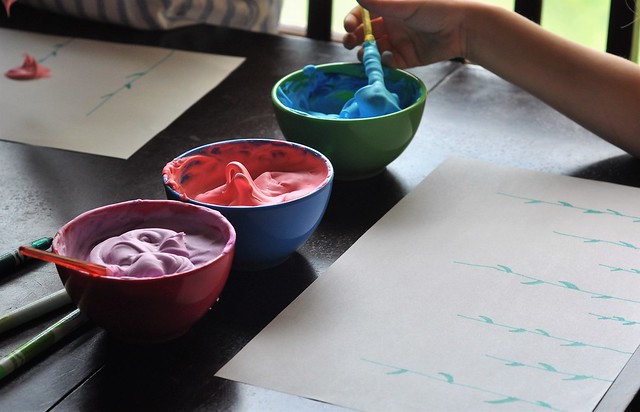
After we got home, and the drama of the cactus incident subsided, we gathered our supplies so Lily could plant a little flower garden. We then continued the fun indoors while it rained, by creating a puffy paint flower garden!
Our simple Earth Day activities were well timed! It just so happens that today is our monthly A Year of Color link party, hosted by me, Little Dove, Macke Monologues, and Work It Mommy. Each month focuses on one color and you can link up any post that revolves around that particular color: Fashion, Recipes, Activities for Kids, Crafts...ANYTHING is welcome! The link will be open for a month, so you can link up any time. We hope you will join us!

This month's theme is:

I had originally planned to share my favorite PASTEL items for today's post, but a pastel flower garden for kids and a pastel puffy paint flower garden craft seemed more fun!
Mini Flower Garden For Kids
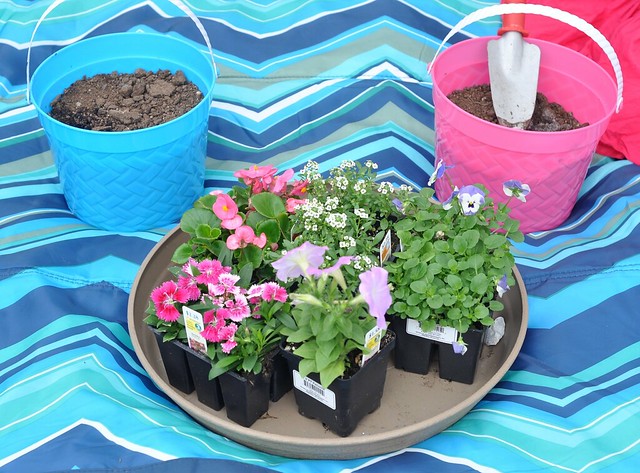
Supplies:
- Small container for planting
- Potting soil
- Flowers
- Shovel
- Watering Can
Procedure:
- Fill the container 3/4 of the way full with soil.
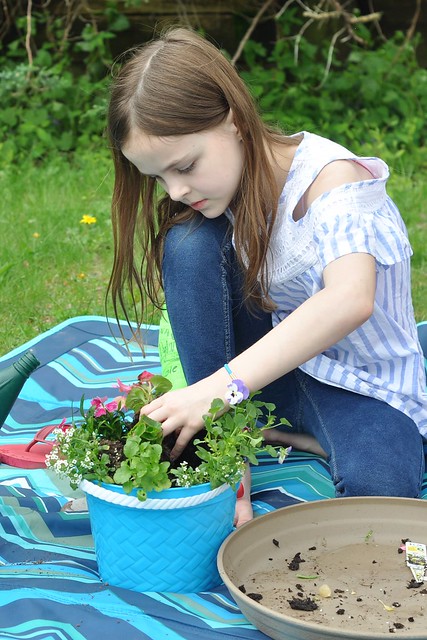
- Have your child arrange the flowers in the container.
- Help your child fill in the holes between the flowers with potting soil.
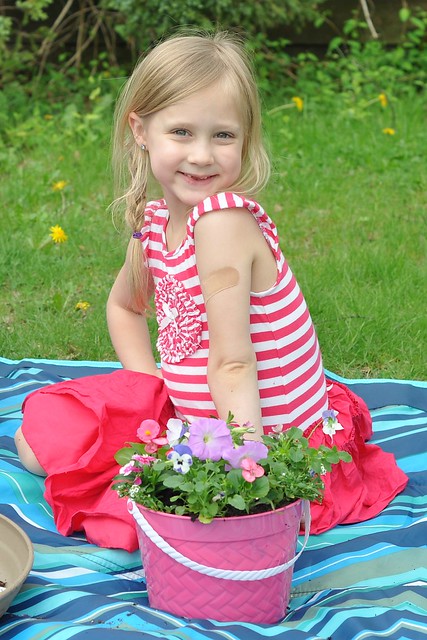
- Let your child choose the perfect spot for their mini flower garden, then give it a good watering.
- Add some worms for good measure. (Lexie did this and it disgusted me. Did I ever mention that I despise worms?)
- Have your child water their mini flower garden on the days it doesn't rain!
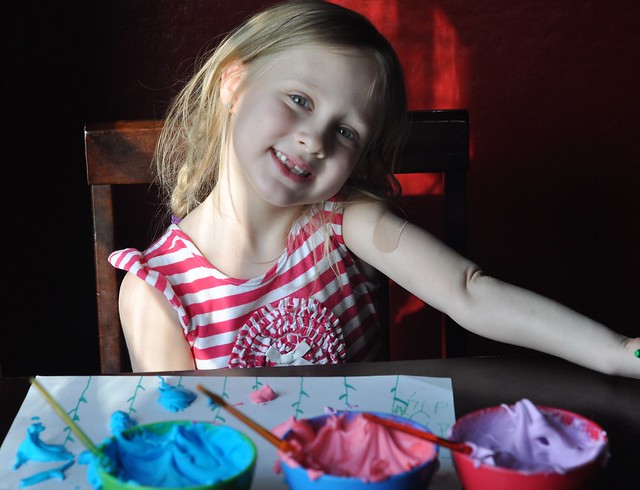
Lily and Lexie loved making their own mini flower gardens! We used our plastic Easter basket containers left over from our Lollipop Gardens and they worked perfectly!

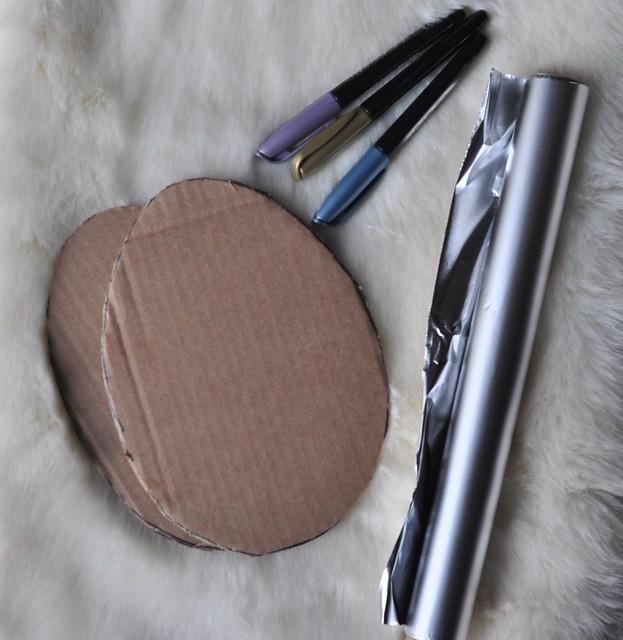
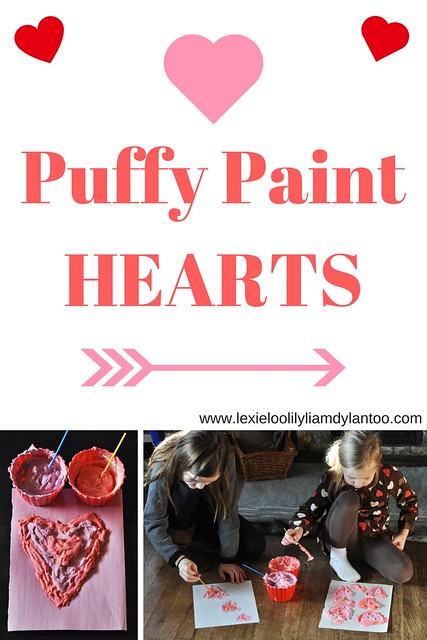
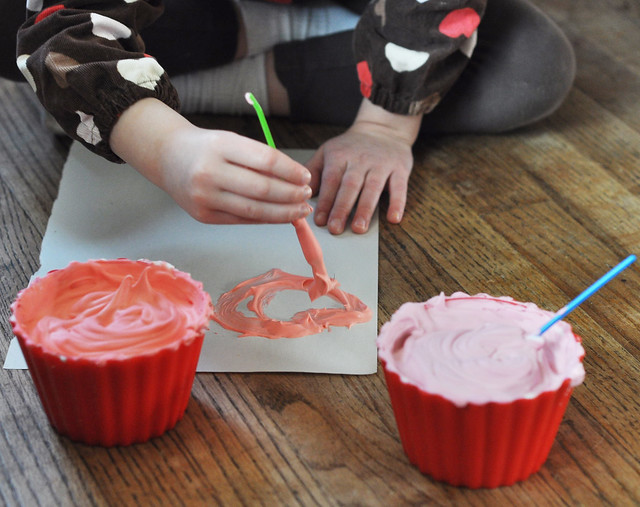
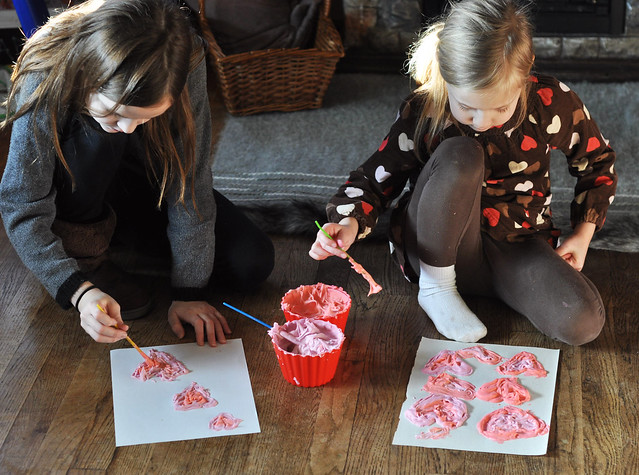
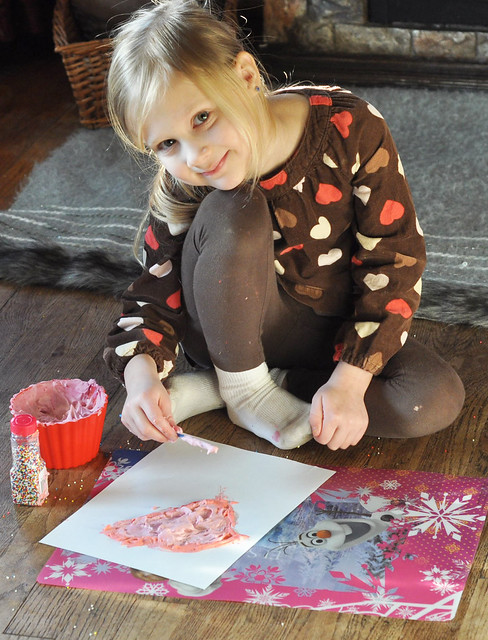
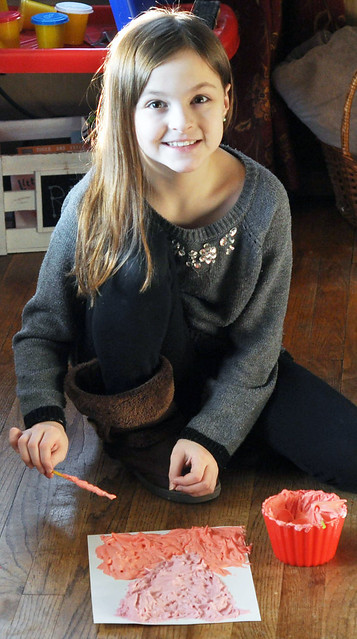
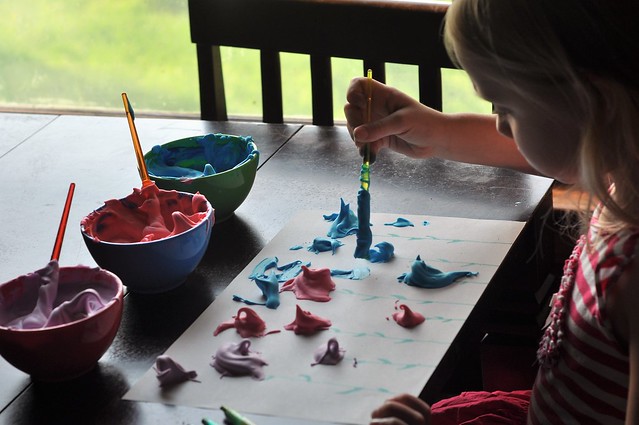
Puffy Paint Flower Garden Craft
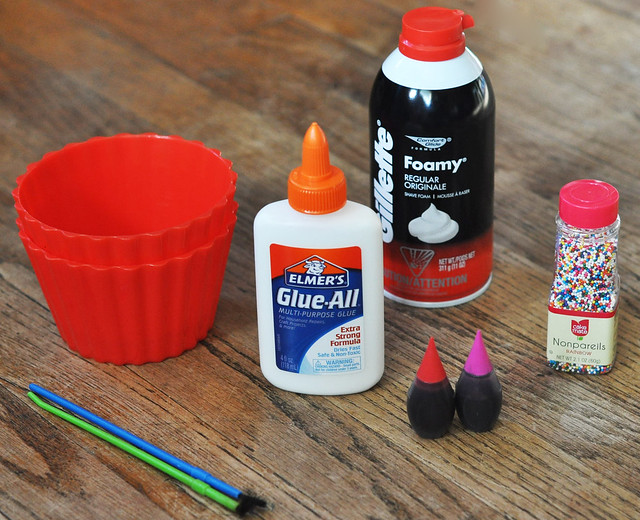
Supplies:
- Construction Paper
- Green Marker
- 1 large bottle of white school glue
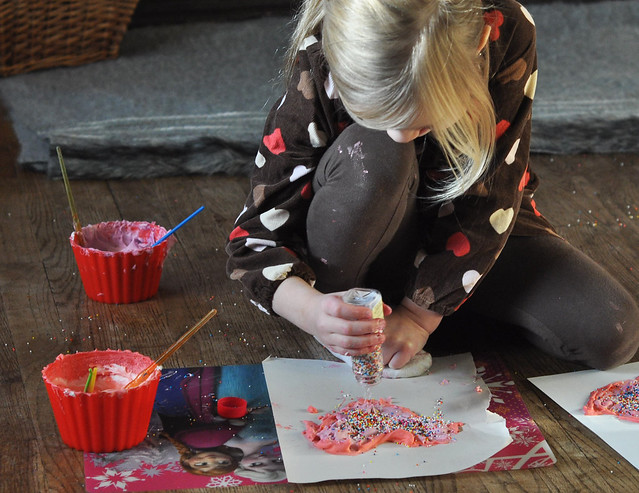
- 1 can of white shaving cream
- Food coloring
- 1 Bowl for each color of puffy paint
- Large paintbrushes
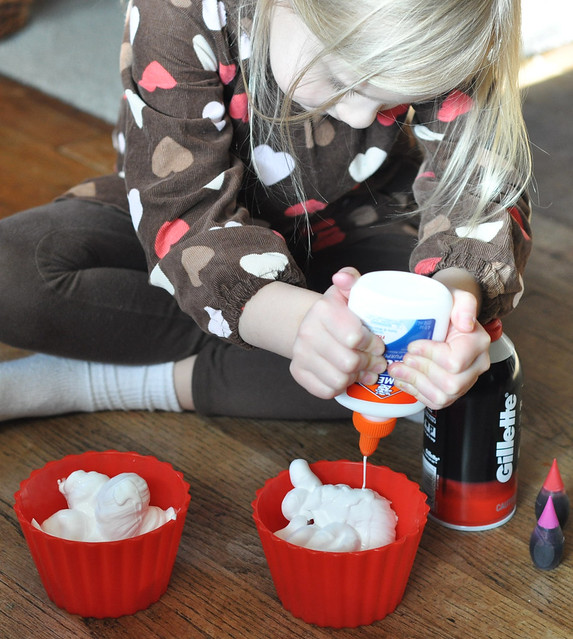
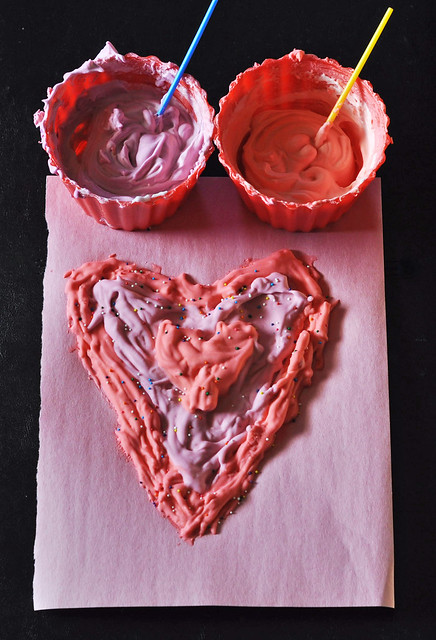
Make The Paint:
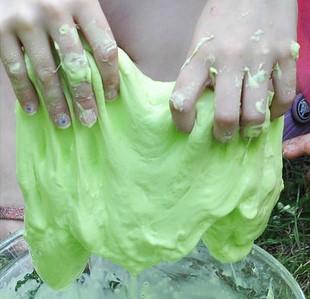
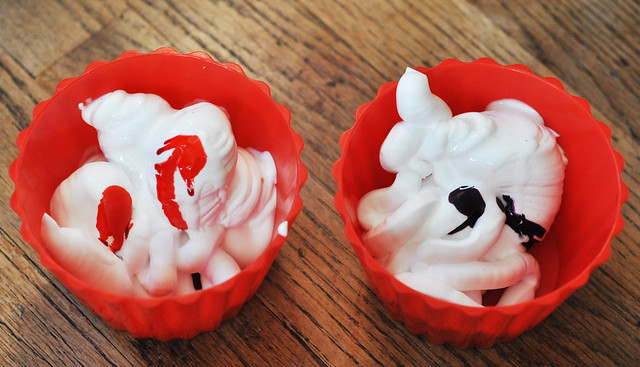
- Fill each bowl with a mixture of an equal amount of white school glue and shaving cream. (We used 1/4 cup of each.)
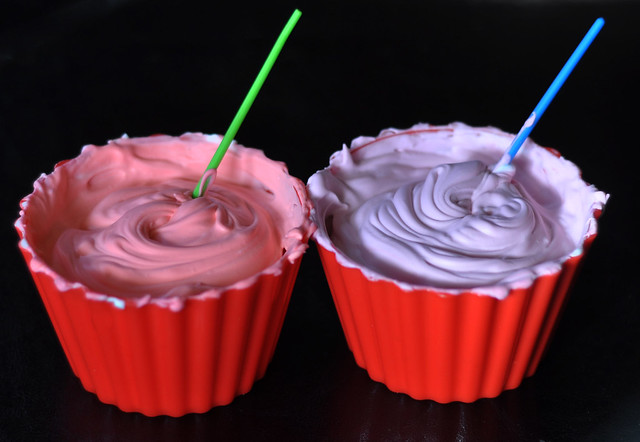
- Add 1-2 drops of food coloring to each bowl and stir. Add more if necessary. (We prefer neon food coloring!)
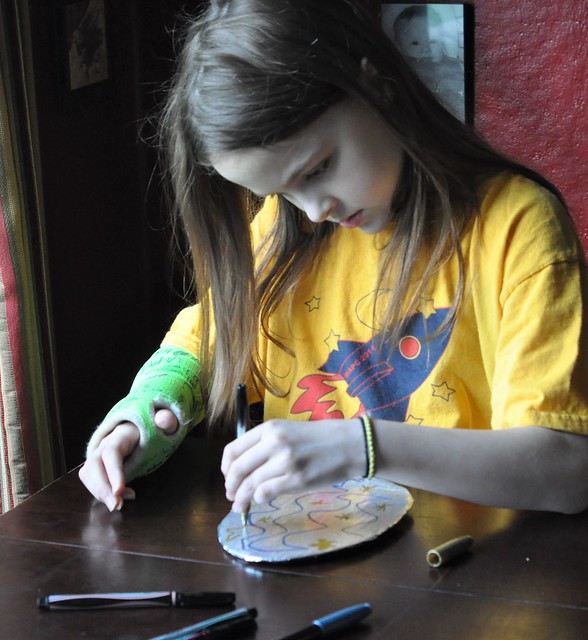
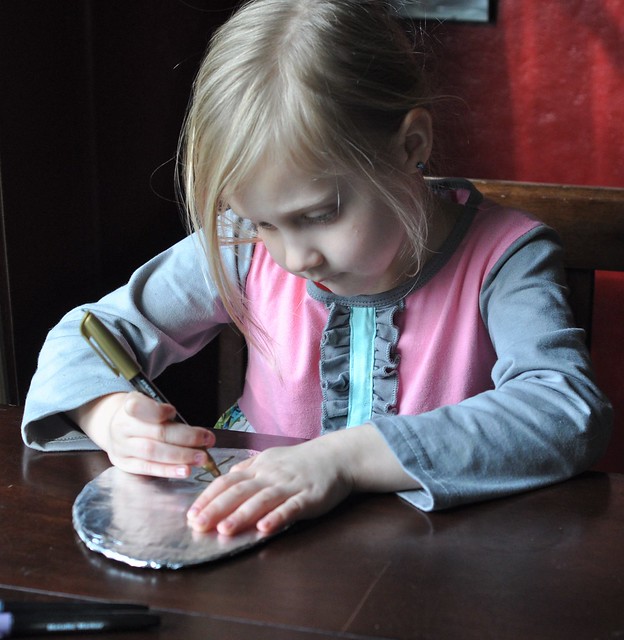
Craft:
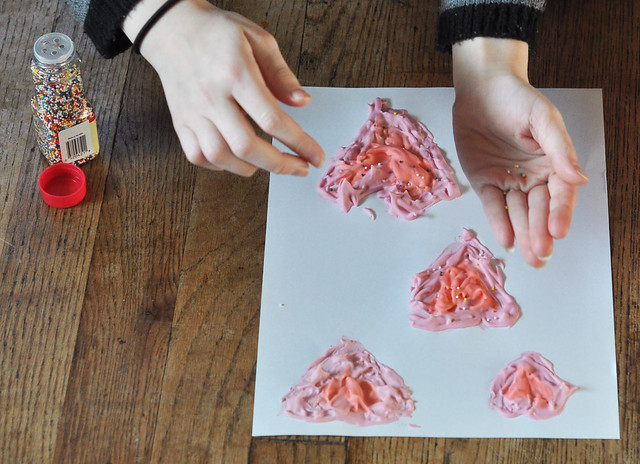
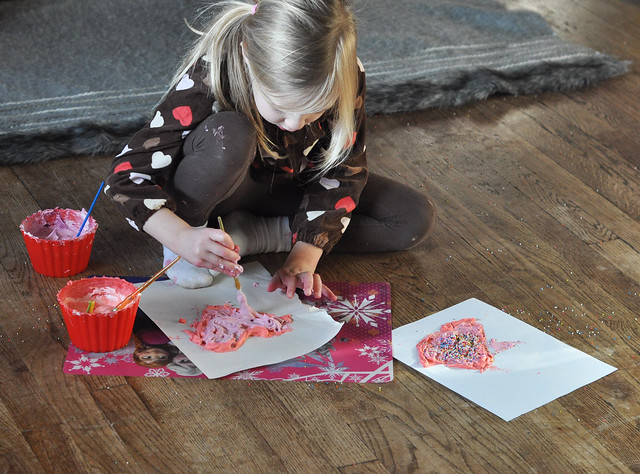
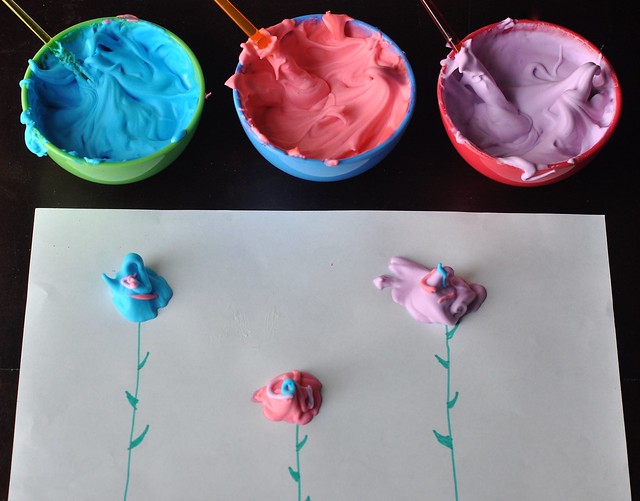
- Draw stems and leaves on the construction paper.
- Paint a flower onto each stem.
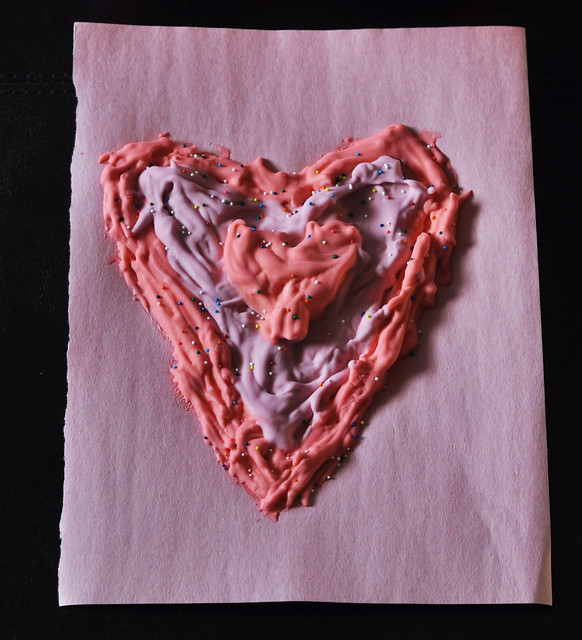
- Allow to dry for 12 hours before touching the puffy paint.
- Bonus: Add grass, trees, bugs, clouds and animals to your picture, too!
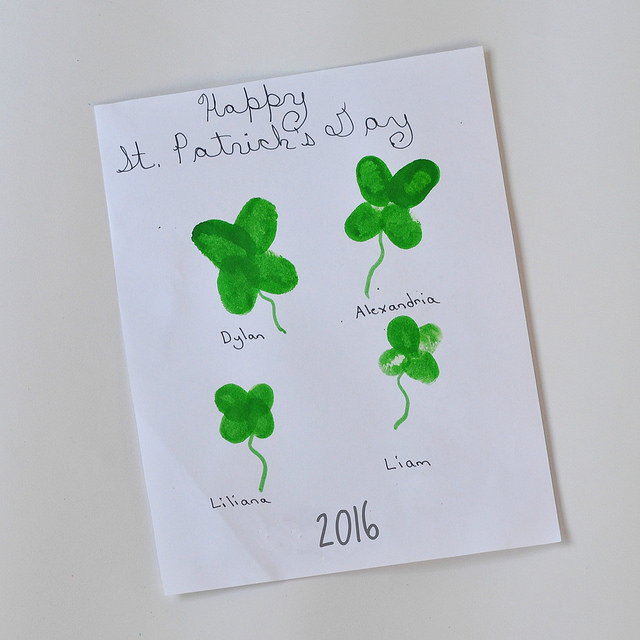
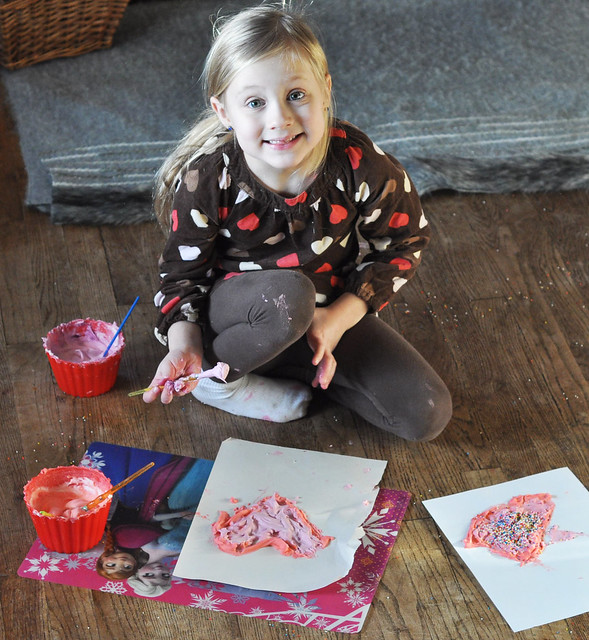
Lily and Lexie love painting with puffy paint. It's truly their favorite craft! If you haven't tried it with your kids, you need to. The texture after it dries is awesome!
What activities do you have planned to celebrate Earth Day?
Link up your "pastel" posts below and start planning your A Year of Color posts for the next few months!
May 19th
June 16th