Our Five Ring Circus: Arts and Crafts
Showing posts with label Arts and Crafts. Show all posts

Tuesday, March 28, 2017

9 Awesome Playtime Ideas for Kids of All Ages with EZPZ {Featuring The Baby Cubby}

DISCLOSURE: I received some of the products below from The Baby Cubby in exchange for this post. All opinions are 100% my own.

We are so excited that Spring has arrived! The longer, warmer, sunnier days are amazing, but it's also the start of our rainy season. While a little bit of rain doesn't chase us indoors, there are days that trap us inside all day long. This time of year, I always find myself searching for new playtime ideas to keep my crew busy on rainy days!

DSC_0219


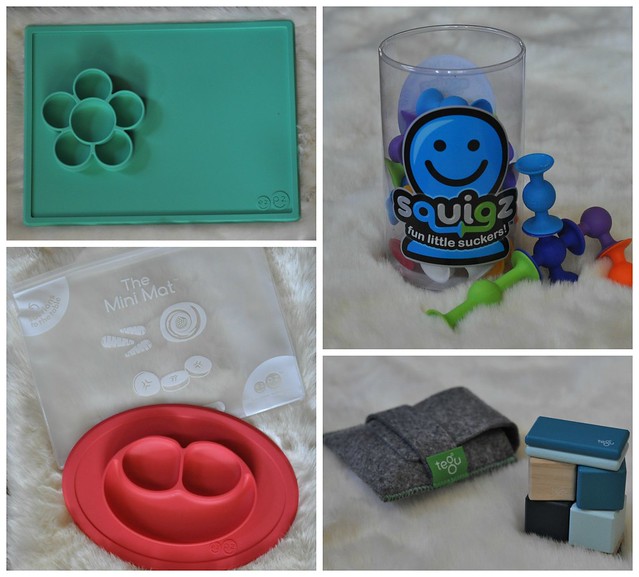
I always encourage crafting, creating, building, sensory play, baking and perfecting fine motor skills. I love it when my kids can entertain themselves creatively, and I found the perfect item that helps promote independent play: the EZPZ Flower Play Mat! I found it while browsing the awesome selection of toys at The Baby Cubby. It's a new addition in our home and it's simply amazing!

Liam, Lily and Lexie use this 100% silicone suction play mat every single day, and they love coming up with new ways to play!

Here are a few of our favorite playtime ideas:
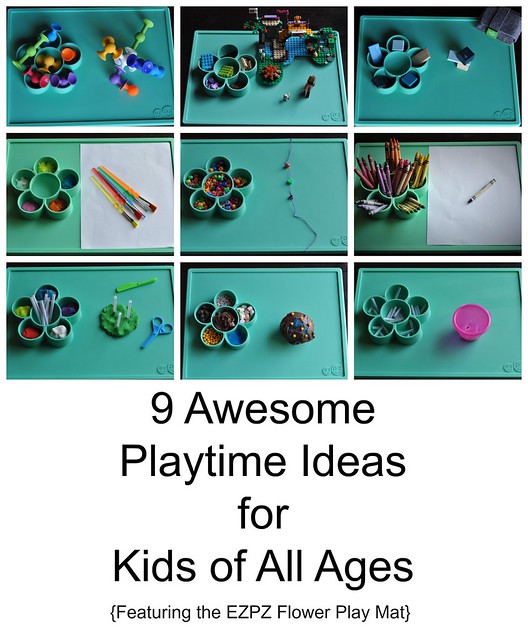

9 Awesome Playtime Ideas for Kids of All Ages

PLAY DOUGH


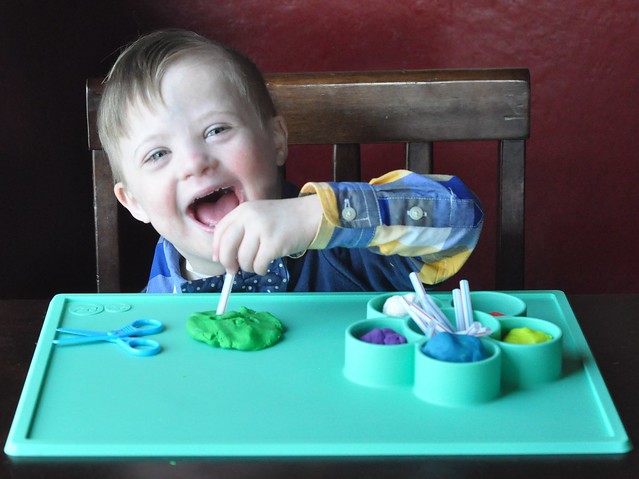
Sensory Play is so important for all kids, but it's especially helpful for Liam. Squeezing the play dough strengthens his hands, and using the play dough tools helps build his fine motor skills. I love to give him straws to stick in the play dough, too. It's a great fine motor activity!
DSC_0386

FINE MOTOR PLAY


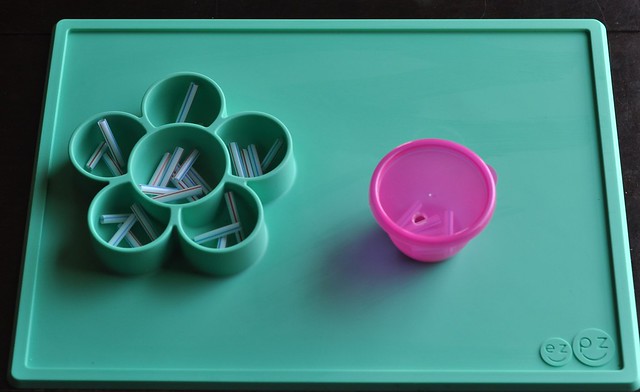
Liam does a lot of casual therapy at home. Fine motor play is part of his daily repertoire and we have a bunch of items in our rotation to keep him from getting bored. Dropping pieces of drinking straws into a small container with a hole in the lid is a great at-home fine-motor activity! You can see more homemade ideas HERE

DSC_0404


LEGO PLAY


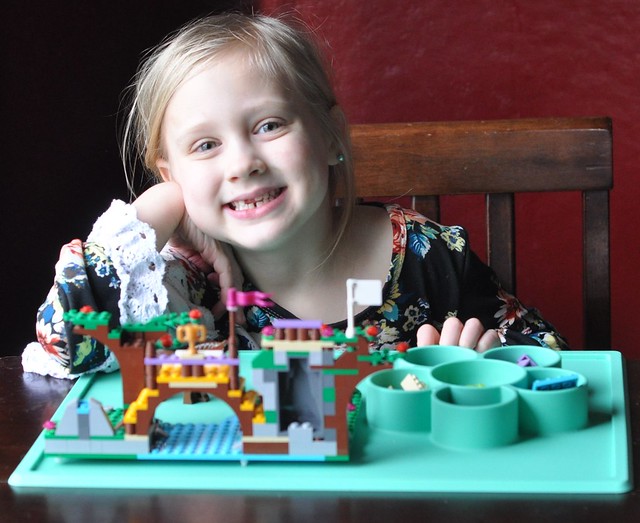
My kids love playing with Lego sets, but the truth is, the pieces scatter everywhere and get lost, and my kids get frustrated. The non-slip EZPZ Play Mat is a game changer for this activity. Not only does it offer a great building surface, but the compartments in the flower separate the Lego pieces perfectly!

DSC_0583
DSC_0570

CUPCAKE DECORATING


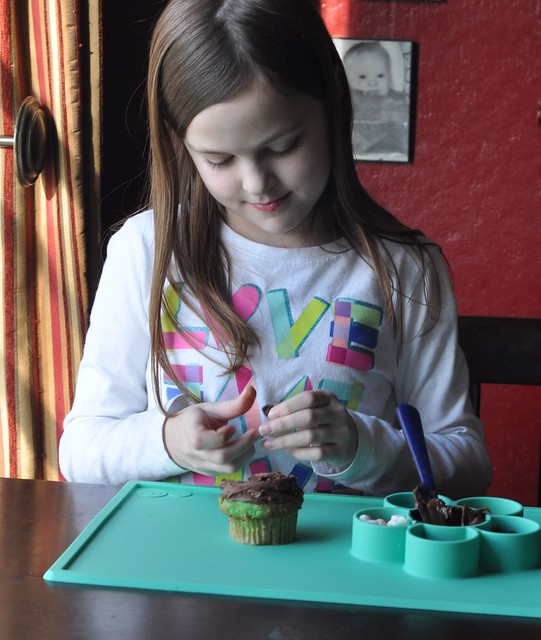
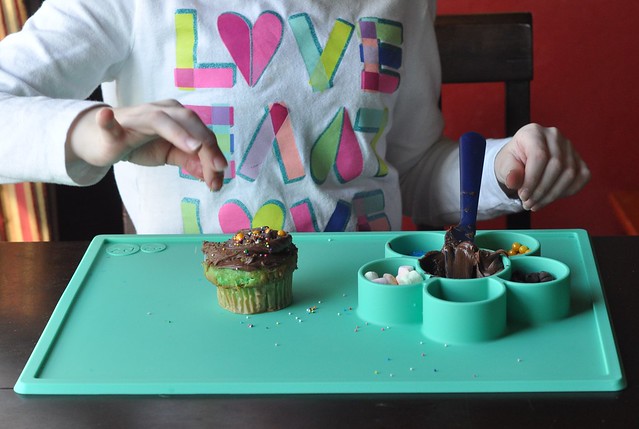
Lexie loves to bake! Decorating cupcakes and cookies is one of her favorite activities, and using this mat for this purpose is genius. All of the items she needs to decorate her cupcakes are within easy reach, and the BPA/BPS/PVC/Phthalate Free mat is safe for food. It gets bonus points for easy cleanup. Instead of washing a bunch of bowls that hold her decorating supplies, there's just one item to wash!
DSC_0517
DSC_0530

BUILDING WITH BLOCKS


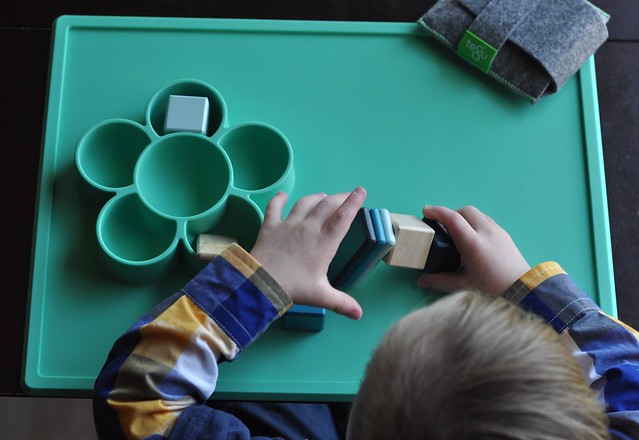
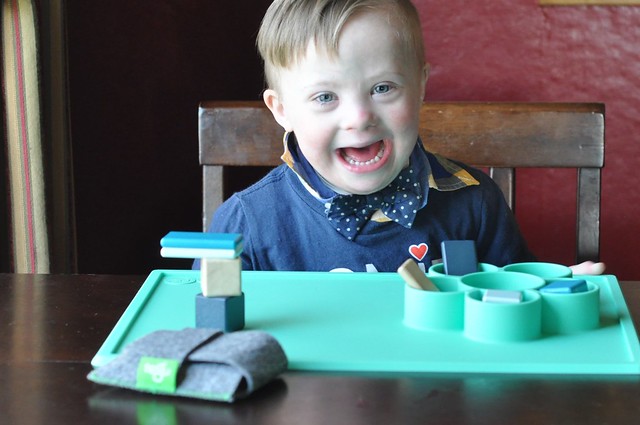
Block Play is a great activity that most kids enjoy! It also helps to build those vital fine motor skills. Magnetic Blocks are the perfect choice for younger kids like Liam. It's easy for him to get frustrated when his creations keep falling down, but the magnetic blocks keep their form, even if they tip over! (The Tegu 8-Piece Pocket Pouch is a great choice, and it's perfect to slip into your bag for on the go use. These blocks recently kept Liam entertained at parent teacher conferences!)
DSC_0147
DSC_0130

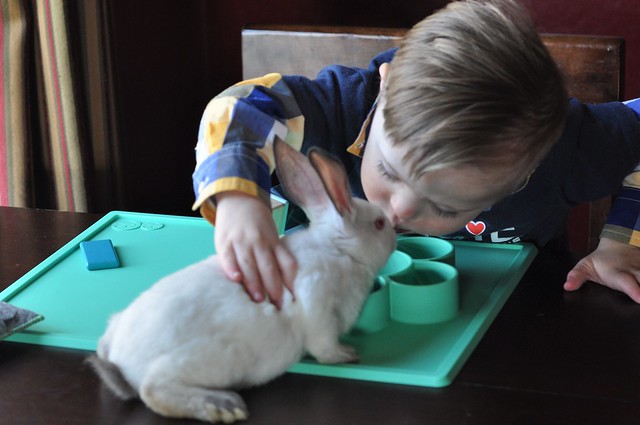
See...no tears, even when your pet bunny interrupts playtime!
DSC_0084

PAINTING


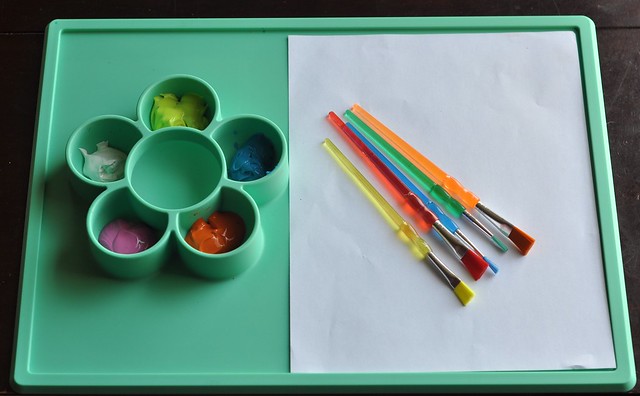
Lily and Lexie love to paint! The flower on this play mat holds 5 different colors of paint and water for rinsing the brushes, and the mat fits a standard piece of paper. It's such a great tool to use while they create their masterpieces!
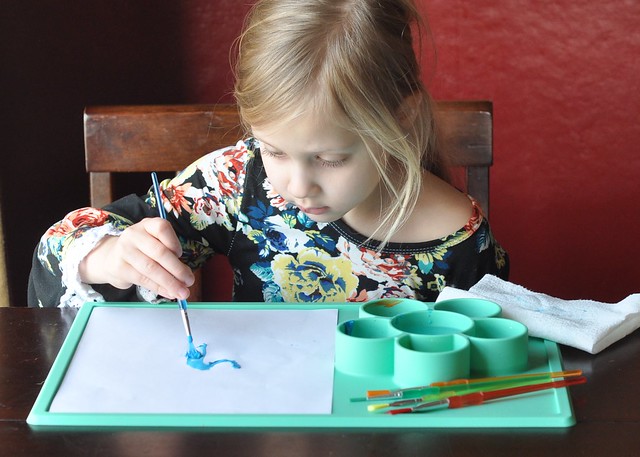
DSC_0441
DSC_0455

COLORING


Coloring is something kids of all ages love to do! A few crayons and pieces of paper can spark hours of creativity!
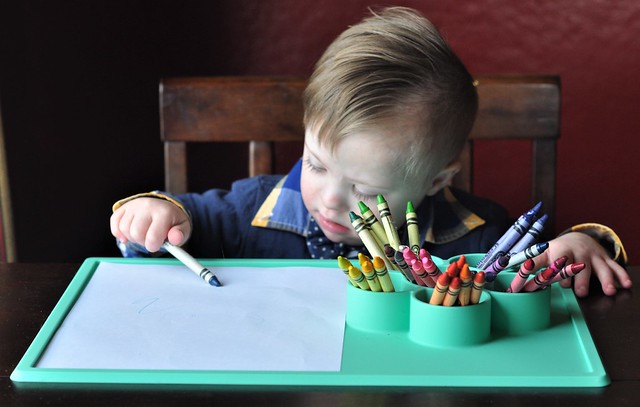
DSC_0345

STRINGING BEADS


My girls love to make bracelets using beads! This mat holds the string in place as my girls thread the beads. Chunkier beads threaded onto pipe cleaners is a great alternative for Liam, and picking up the beads helps strengthen his pincer grasp!
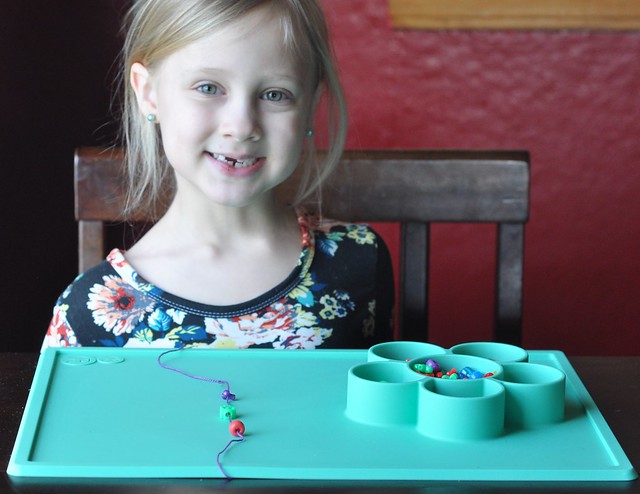
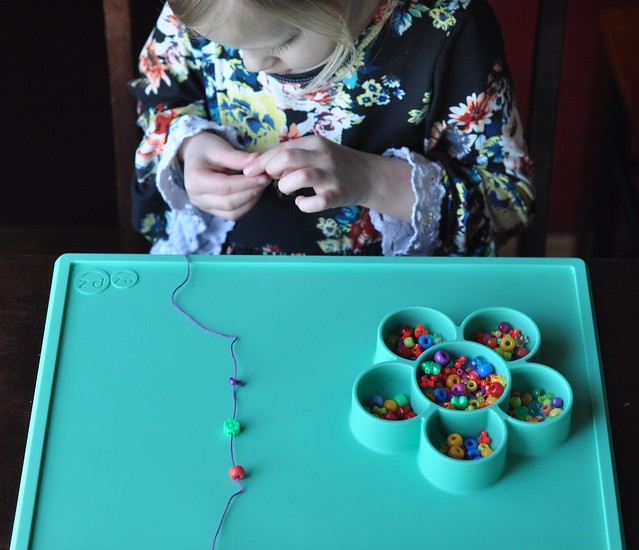
DSC_0423
DSC_0424

SUCTION BUILDING


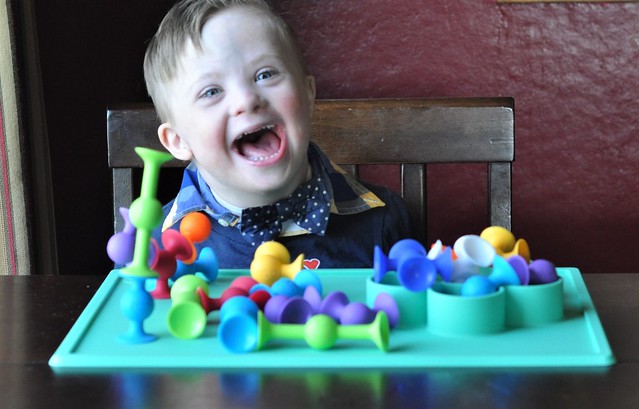
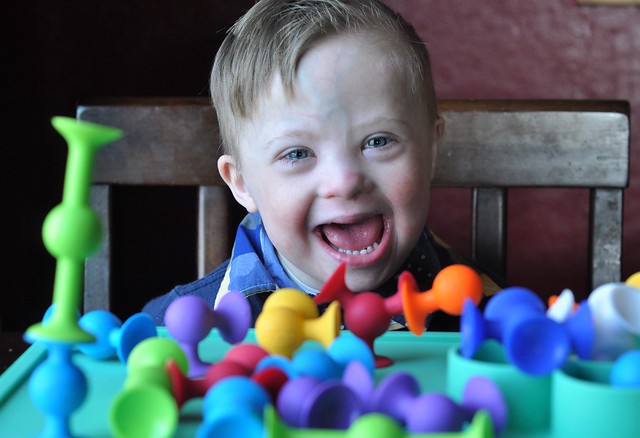
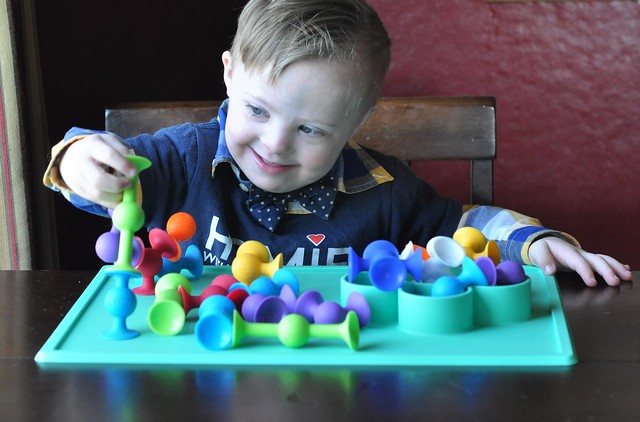
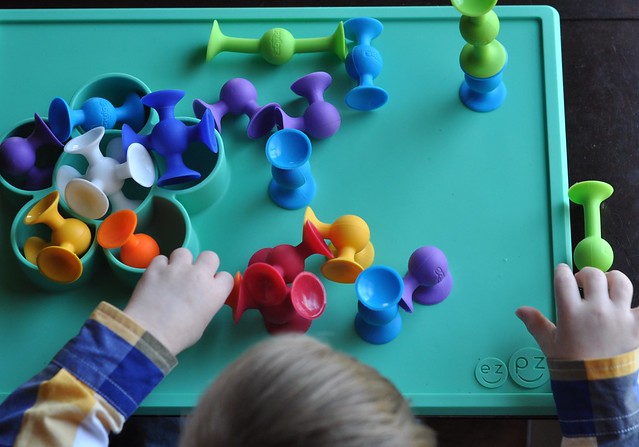
What is it about suction toys that captivates kids? Squigz are such a fun choice for fine motor and building play. All four of my kids, from age 3 to age 12, love them!
DSC_0198
DSC_0233
DSC_0208

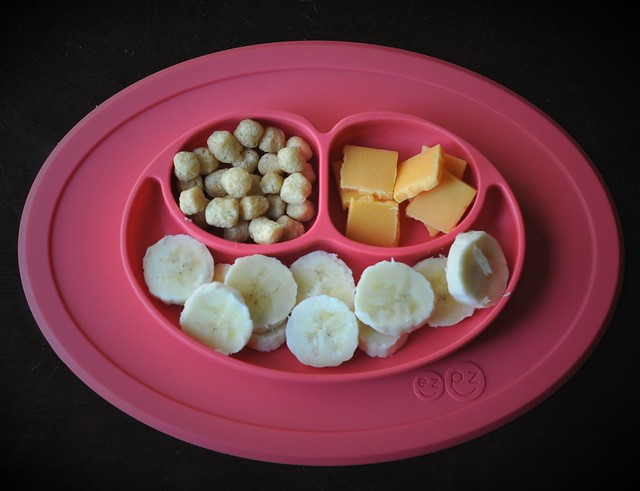
It's so easy to work up a big appetite during playtime! There's nothing better than a great snack after all that hard play!


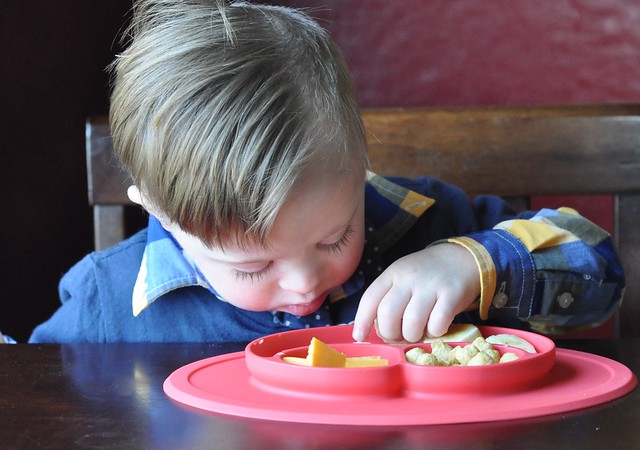
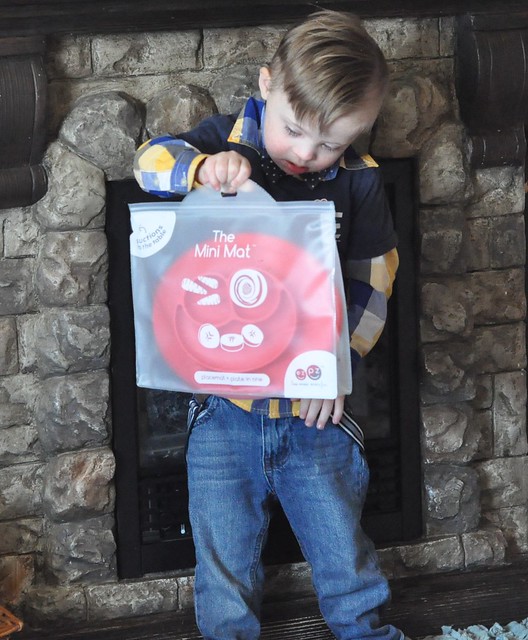
The EZPZ Mini Mat is the perfect addition to snack time at home. This compartment suction tray sticks to the table and prevents Liam from tossing his plate when he's finished eating. And thanks to the awesome travel bag, it's perfect for on the go, too!
DSC_0320
DSC_0237
DSC_0244

Hours of playtime paired with delicious food is the perfect combination for a fun day indoors!


DSC_0302

This year, I visited The Baby Cubby for our new playtime items! All of the items available at The Baby Cubby are thoroughly researched. These items are the highest rated and reviewed items out there, so it takes all the guess work out of choosing a quality product for your child.

The Baby Cubby has a retail location in Lindon, Utah, but their great selection of quality items in every department is available online, too. Although I would love to have the store nearby, their online retail site is a great alternative. Ordering is easy, and the items ship quickly!

 I had no difficulty finding a few fun items that I knew my kids would love, and those items did not disappoint in any way. They have already provided hours of fun for my kids!
The Baby Cubby

You can see all of the "Cubby Picks" HERE, but you can also connect with The Baby Cubby on Facebook, Instagram, Twitter, YouTube and Pinterest


IT'S TIME FOR TUESDAY TALK!


Grab the button, link back to your hosts and add your blog post link on the widget below!

Tuesday Talk


Tuesday Talk Link Party
Crystal at Hall Around Texas | Pinterest | Facebook | Instagram 
Stephanie at Wife Mommy Me | Pinterest | Facebook | Instagram
Becky at BYBMG | Pinterest | Facebook | Instagram
                                        Whitney at Polka-Dotty Place | Pinterest | Facebook | Instagram


Tuesday, February 7, 2017

Puffy Paint Hearts: A Fun & Easy Valentine's Day Craft Kids Will Love {Tuesday Talk}

Happy Love Month! It's hard to believe that we are already one week into February, and that Valentine's Day is just one short week away. 2017 is flying by!

Before I share this adorable Valentine's Day craft, I just want to mention how excited I am to be joining a group of amazing bloggers as a new host for Tuesday Talk! I've been linking up my posts on this weekly link party for well over a year, so I was thrilled when I was asked to be a host. You can grab my button and link up any of your posts below!

Lexie Loo, Lily, Liam & Dylan Too

I love making holidays special for my four kids, and Valentine's Day is no exception! I know it isn't a big holiday in the grand scheme of things, but we still have fun celebrating. We decorate the house with hearts, make valentines and valentine boxes, and spend the first half of February baking and making heart-themed crafts.  It's just such a fun way to celebrate those we love most!

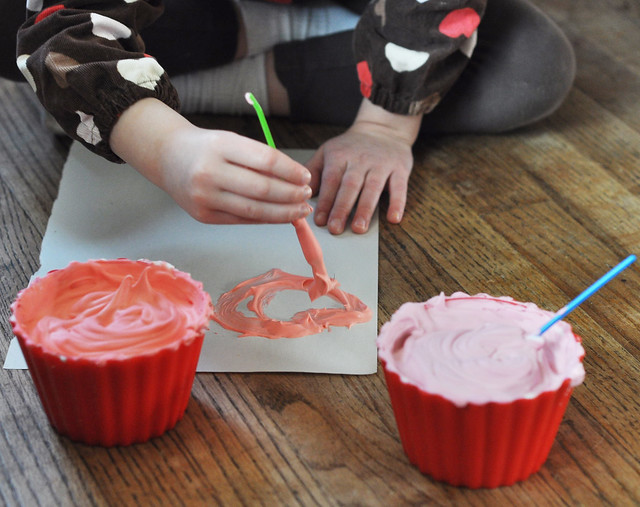
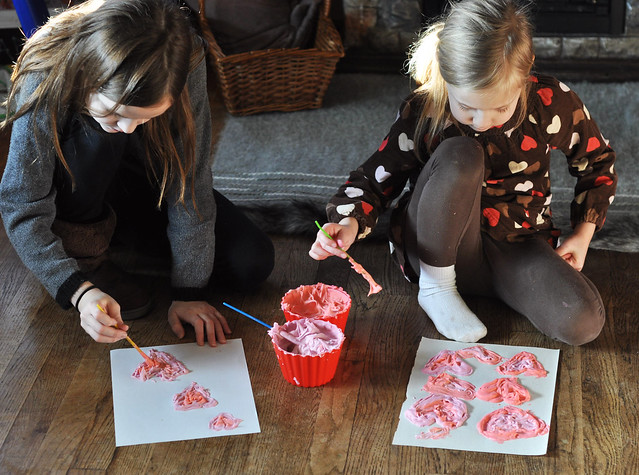
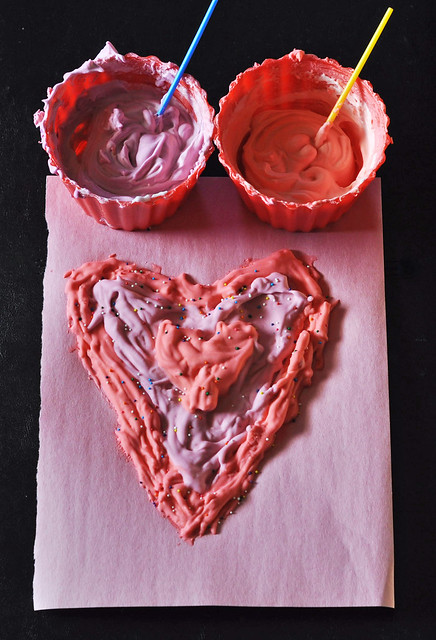
We kicked off our Valentine's Day crafting with a really fun puffy paint hearts craft! My kids absolutely LOVE puffy paint. It's easy and inexpensive to make, and it has the coolest texture after it dries.  They have made so many adorable crafts using this awesome sensory paint!

Puffy Paint Hearts

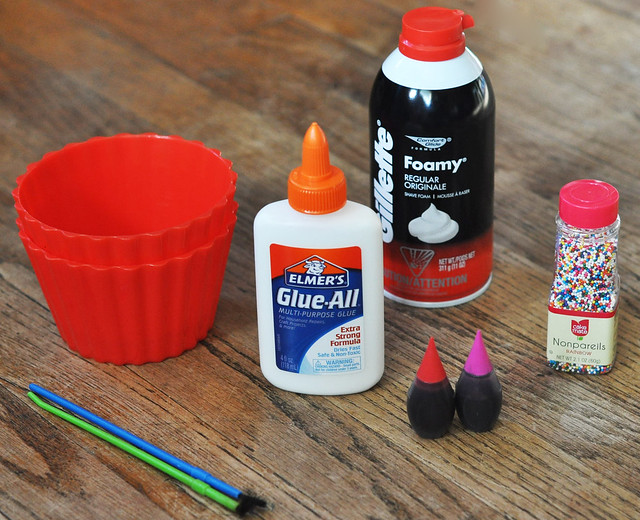
INGREDIENTS:

  • Shaving Cream
  • White Glue
  • Food Coloring
  • Bowls
  • Spoons for mixing
  • Paint Brushes
  • Construction Paper
  • Sprinkles (optional)
 Puffy Paint

DIRECTIONS: 


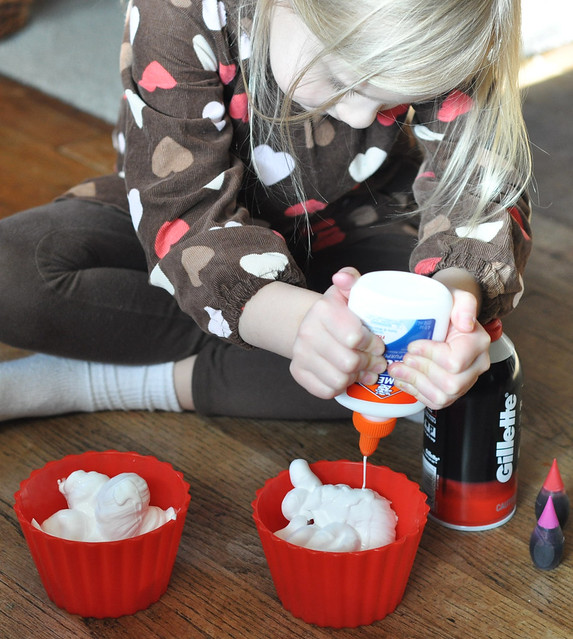
1. Fill each bowl with shaving cream (1 bowl per batch/color).

2.  Add in the glue. Some "recipes" will tell you to mix equal amounts of glue and shaving cream, but I feel like that's too much. Start with a small amount, mix, then add more if needed. The texture needs to be thick and sticky, but foamy enough to be able to paint with. Basically, when you lift the spoon out of the bowl and shake it a little bit, the mixture should not slide off. That's when you know you got it right!

Puffy Paint

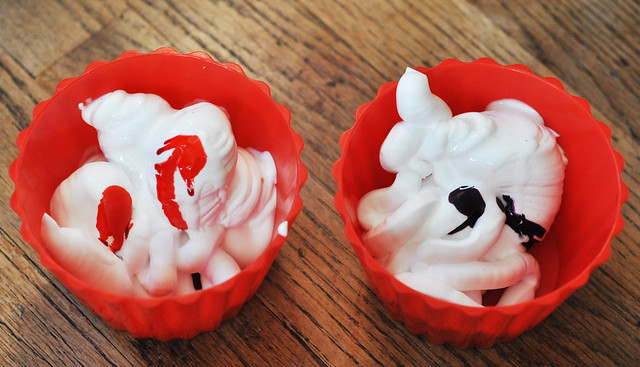
3. Add drops of food coloring to each batch.  Start with just a few drops and add more if needed.

Puffy Paint

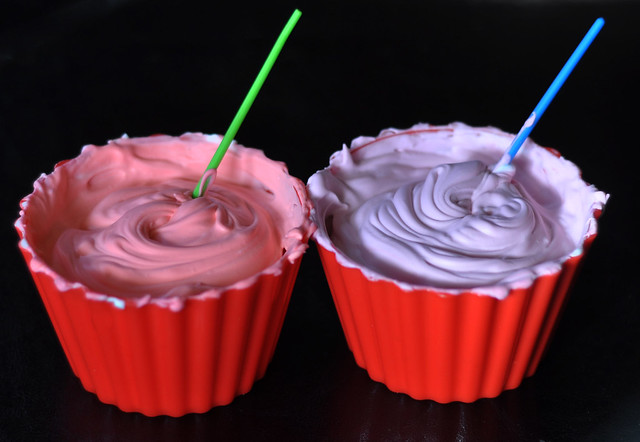
4. Stir the mixture until the color is perfectly blended. It will look pretty and good enough to eat! (My toddler tornado sampled it before. Exactly why he sat this one out!)

Puffy Paint

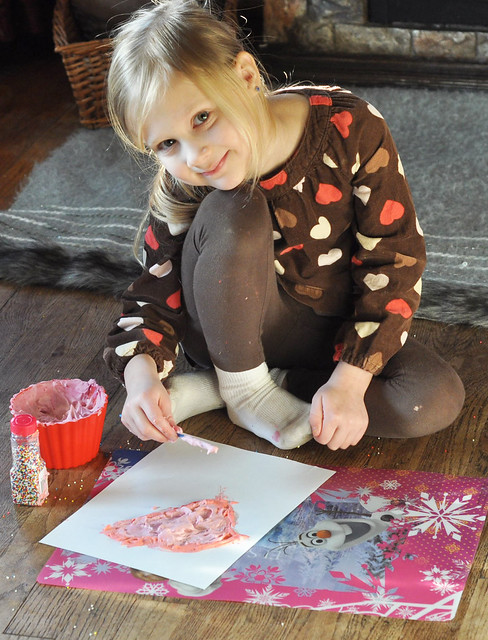
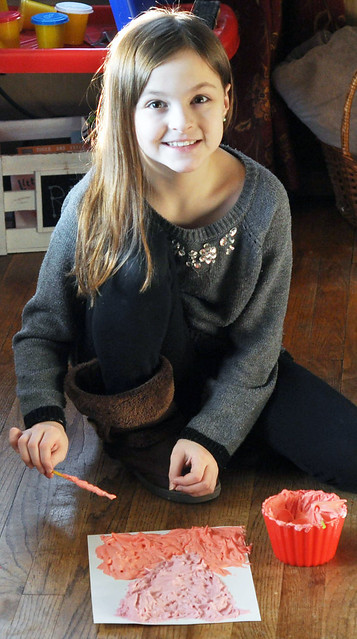
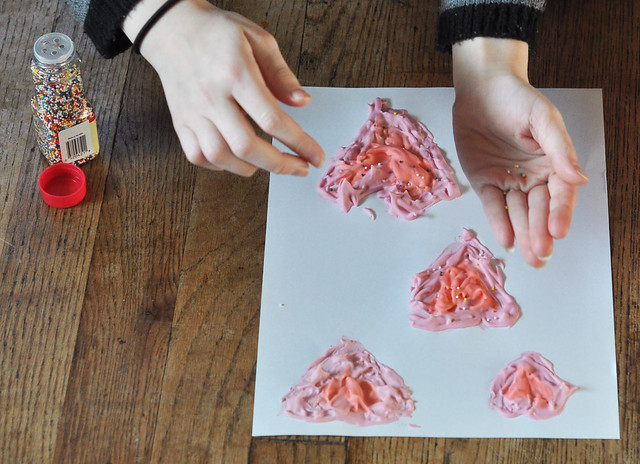
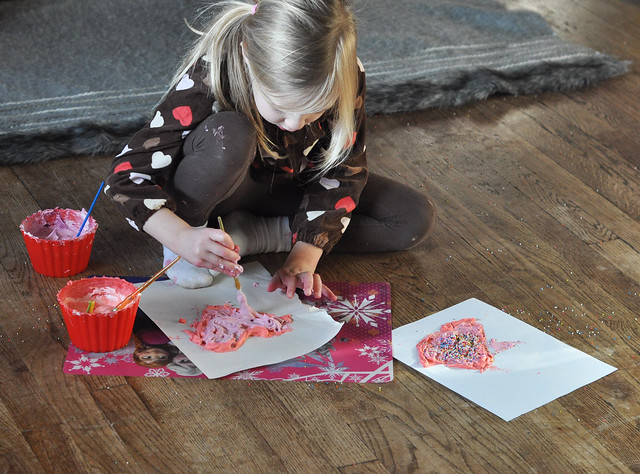
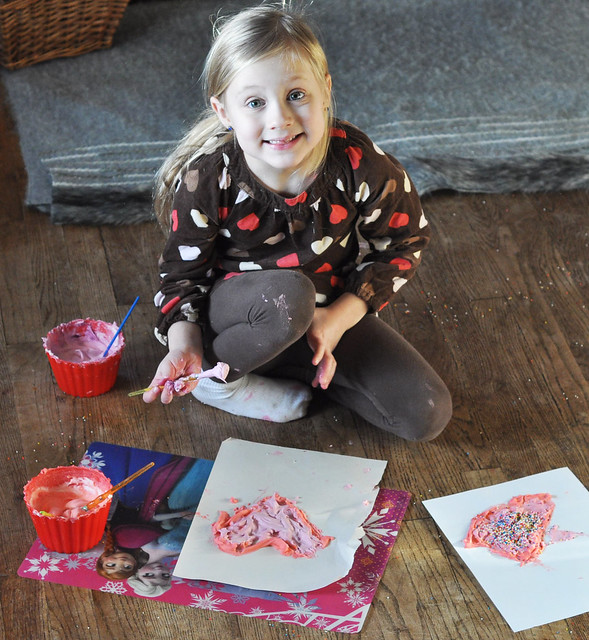
5. Grab paper and paintbrushes, and start painting hearts! Be sure to paint with large globs of puffy paint so it remains puffy when it dries.

Puffy Paint  
Puffy Paint
Puffy Paint
Puffy Paint

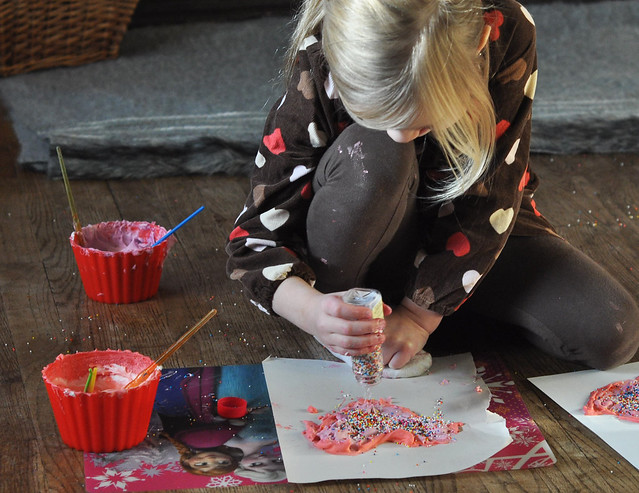
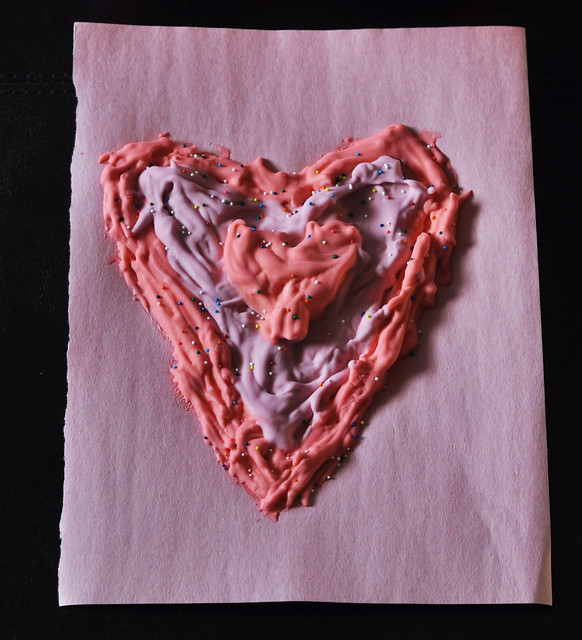
6. Add sprinkles to the design as soon as it's finished. This can be VERY messy which is why I say sprinkles optional! My 9 year old accomplishes this step neatly, but my 5 year old is very, let's say, enthusiastic!

Puffy Paint
Puffy Paint
Puffy Paint
Puffy Paint

7. Allow the Puffy Paint Hearts to dry for 8-12 hours. They will dry into a silky soft, puffy texture, and the kids won't want to stop touching them!

Puffy Paint Hearts

No matter how many times my kids make a craft with puffy paint, it never gets old. They will paint picture after picture for well over an hour. Most of their creations have lasted over a year, despite being constantly touched.  This year, the Puffy Paint Hearts are an adorable addition to our Valentine's Day decor!


Puffy Paint Hearts


Join us for Tuesday Talk! Link up ANY post below.

Tuesday Talk


Tuesday, July 26, 2016

There's Something Fishy About Those Pinterest Pins - Camp Mom Week 7

Happy Tuesday! 

Can you believe it's already the last week of July? I actually saw first day of school pictures in my Facebook feed today. WHAT?!? That just seems way too early. We still have one month of Summer break left and we have so much planned! I know that time is going to pass by so quickly, though.

This past week was a blur. The end of last week wasn't the best and I had 4 big projects due in a 24 hour time period. My entire weekend was spent working, with the exception of going out to dinner with my husband for his birthday. And today? Let's not go there! I'm just now sitting down and it's almost 2 AM!

Although the kids enjoyed this week's Camp Mom activities, some of them were essentially a Pinterest fail. This was the first week I relied on Pinterest for more than one activity. Lexie really wanted to do a fish theme this week and she chose a few while browsing Pinterest. Well. Even the fails need to be shared, right? Even though they weren't quite what we expected, the activities were definitely fun!

For "Fish Week" we made a foil fish craft, created sensory bottle aquariums (Pinterest Fail), whipped up a Jello Aquarium recipe (Pinterest Fail) and made fish slime (Semi-Pinterest Fail). I'm learning that it's best to just alter some of our favorite activities instead of relying on Pinterest! For our "field trip" we planned to go to the Pittsburgh Zoo & PPG Aquarium, but it was way too hot outside. We changed our plans at the last minute and headed to the spray park instead!


Here's a recap of all the fish-themed Kids Activities we did this week:

CAMP MOM Fish-Themed Kids Activities

Fish Slime - Camp Mom Day 31


Homemade Glitter Slime

SUPPLIES:
  • 1 Bottle Blue Glitter Glue
  • Borax
  • Water
  • Bowl and Spoon for Mixing
  • Clear Bag
  • Rubber Band
  • Ribbon
  • Plastic Fish

FISH SLIME RECIPE:
  1. Mix 1 tsp Borax into 1 cup warm water.
  2. Empty glitter glue into a bowl, add 1 tbsp warm water and mix.
  3. Slowly add Borax mixture to the glue mixture while stirring.
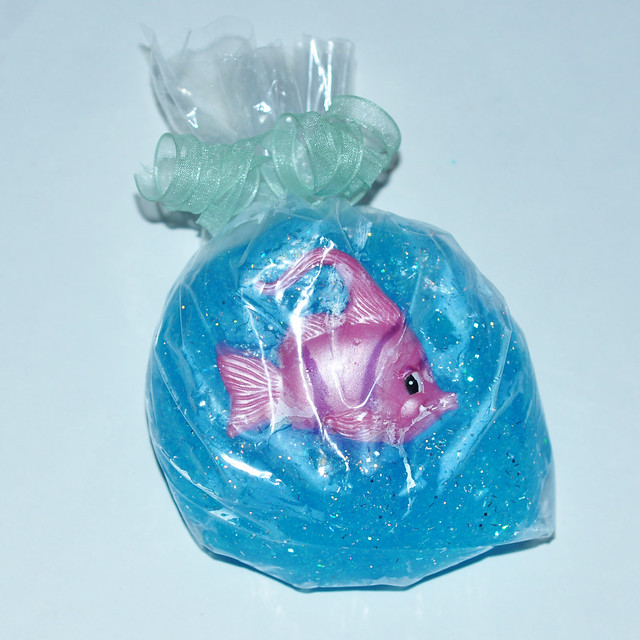
  4. Form slime into a ball and press a fish into the front.
  5. Slide slime into clear bag, tie with a rubber band and embellish with a ribbon.

We made the slime according to the Pinterest recipe, but it turned out much too dark.  We tried it again using our slime recipe and it was a bit lighter, but still wasn't anything like the pictures on Pinterest. There's simply no way to see the fish if you put it IN the glitter slime, so we just pressed it into the front of the slime before sliding it into the bag!  Although it wasn't what I expected it to look like, it was still very cute and my girls loved it!

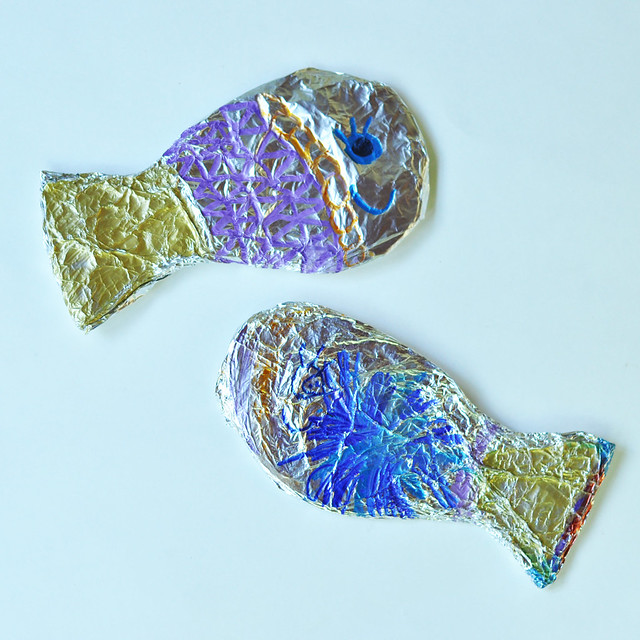
Foil Fish Craft - Camp Mom Day 32

Foil Crafts for Kids

SUPPLIES:
  • Cardboard
  • Aluminum Foil
  • Sharpies
 DIRECTIONS:
  1. Draw a fish shape onto a piece of cardboard and cut it out.
  2. Cover the cardboard fish shape in a sheet of foil. 
  3. Give the kids some sharpies and let them decorate their fish!
The foil fish craft is just a version of other foil crafts my kids have made before. It's really simple and doesn't require much preparation or assistance!

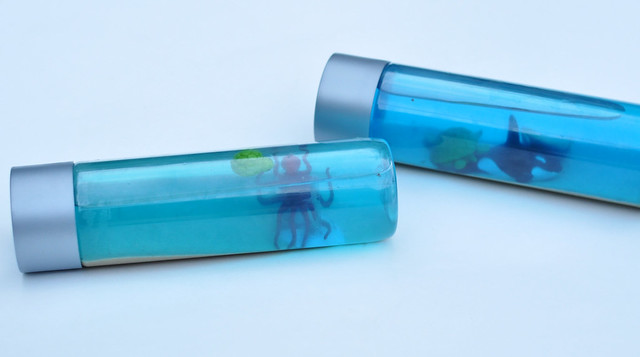
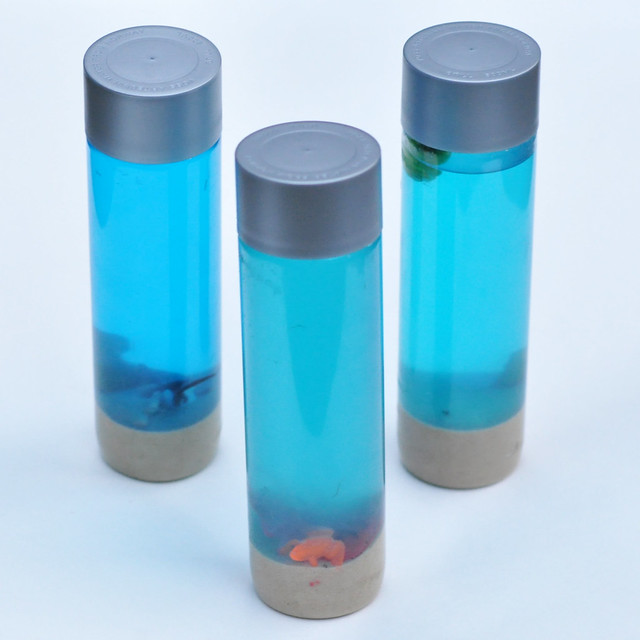
Sensory Bottle Aquariums - Camp Mom Day 33

Sensory Bottles
Sensory Bottle

SUPPLIES:
  • Water Bottles with a large opening (I bought Voss water.)
  • Plastic fish and sea creatures and shells
  • Sand
  • Water 
  • Blue food coloring 
 DIRECTIONS:
  1. Add about 1-2 inches of sand to the bottom of the bottle. 
  2. Fill the bottle with warm water, add a drop of blue food coloring and shake.
  3. Drop plastic fish and sea creatures into the bottle.
  4. Seal the lid very tightly!
The sensory aquarium bottles didn't look anything like how they looked on Pinterest but the kids (especially Liam) loved shaking them and watching the sea creatures and sand swirl around. I think I'm going to have the kids make these again. We're going to skip the sand and just use blue hair gel so the sea creatures "float" better!

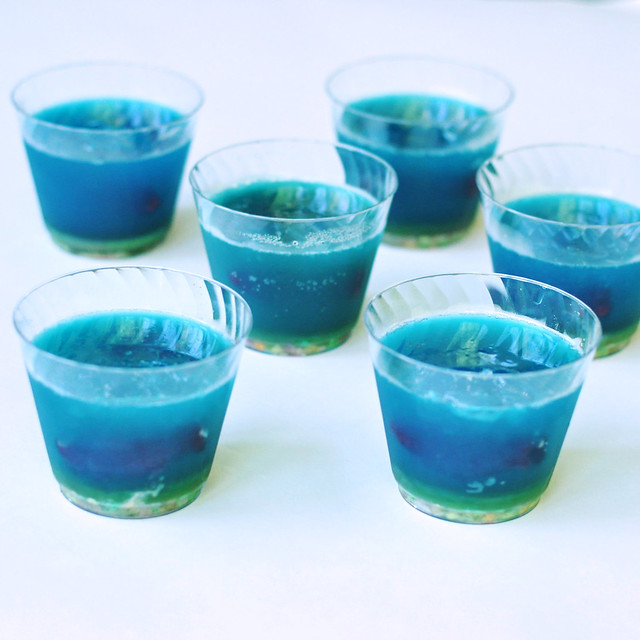
Jello Aquariums - Camp Mom Day 34

Jello Recipe

SUPPLIES:
  • 2 small boxes blue Jello
  • Swedish Fish
  • Nerds
  • Clear Cups 
 DIRECTIONS:
  1. Cover the bottom of a clear cup with a thin layer of Nerds.
  2. Prepare Jello as directed and allow to cool to room temperature. 
  3. Fill the cups with Jello and refrigerate. 
  4. After about an hour, carefully push the Swedish Fish into the Jello.
  5. Allow to set for 4 more hours.
Okay. I'm going to be completely honest. Out of all the activities this one was the worst in Camp Mom history! Even though the Nerds looked pretty at first, the liquid made the Nerds start to melt and lose their color. The Jello was too dark and the Swedish Fish could barely be seen. I think the finished product looked just like swamp water. And remember those melted nerds? They made the Jello taste sour. No thank you!

Liam, however seemed to enjoy it. He had some after a meal of Spaghetti. By the time he was done he looked like a Zombie who devoured a Smurf.

My advice? Just make a cup of Jello and enjoy! Toss a few Swedish Fish on top if you're feeling inspired!  Just keeping it real...

Pinterest FAIL.

Spray Park - Camp Mom Day 35

 Summer Activities for Kids
Summer Activities for Kids

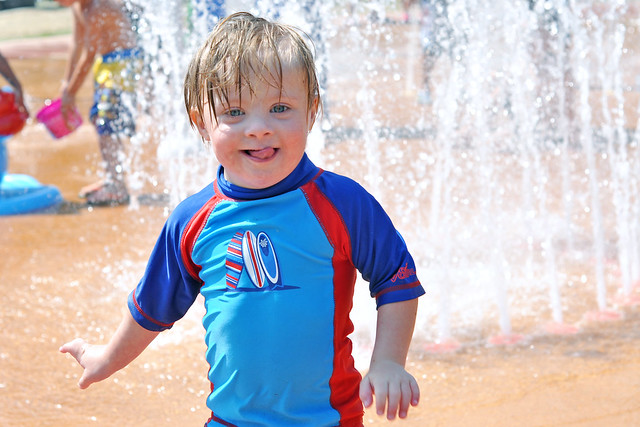
Sometimes a last minute change in plans works out well. The spray park was a much cooler option than the zoo on a 95 degree day! Plus, it was even better with friends!

Here's to better luck next week!

Coming up next week:
  • Banana Pops Recipe
  • Sponge Bomb Battle
  • "Field Trip"
  • Sand Foam
  • Window Garden Craft

You might also like the kids activities in these posts:

Camp Mom Week One
Camp Mom Week Two
Camp Mom Week Three
Camp Mom Week Four 
Camp Mom Week Five 
Camp Mom Week Six

Have you had a Pinterest Fail lately?


LET'S CONNECT!

Linking up for Tuesday Talk.