Happy Tuesday, my friends! I can't believe it, but this is officially our final week of Camp Mom. When I came up with the idea I never expected to make it through the entire Summer, but we made it 10 weeks! 50 incredibly fun kids activities are now documented on my blog!
It was a LOT of work, but such a great experience. Lexie keeps telling me that I'm the coolest mom ever because I did so many fun things with them this Summer. She's on the verge of the tween years and being annoyed by me, so all that hard work and dedication to our Summer project was well worth it!
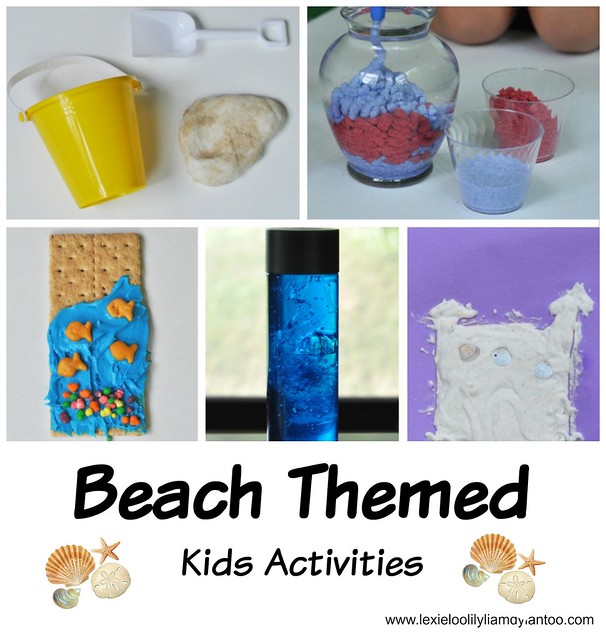
Our final week of Camp Mom was definitely our favorite. We decided to have a week full of beach themed activities to prepare us for our beach vacation in a few days. Trust me when I say that the activities this week are the coolest!
Here's a recap of our final week of Camp Mom kids activities:
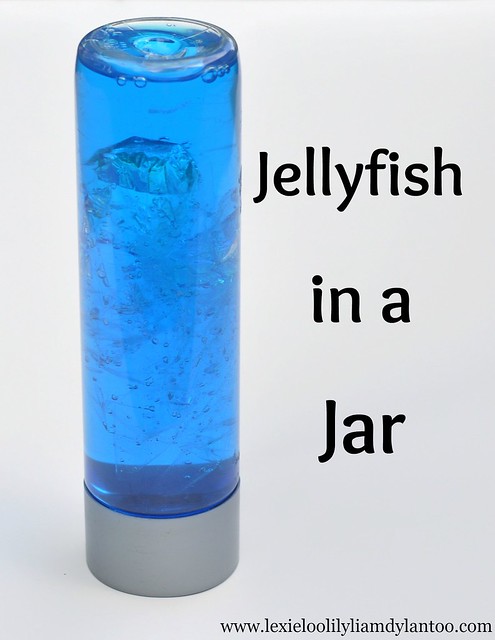
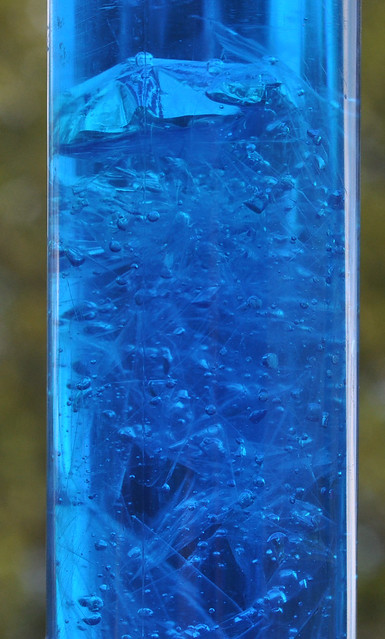
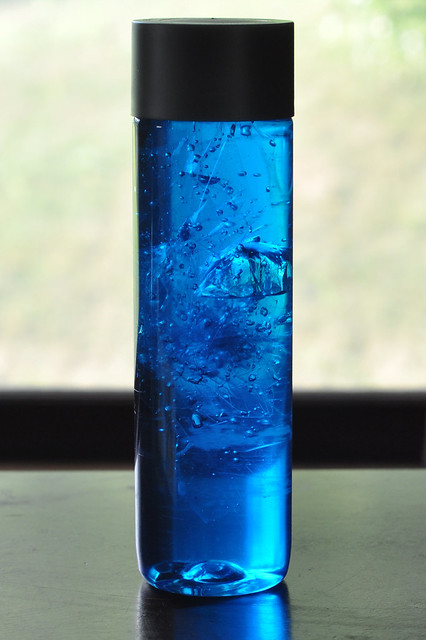
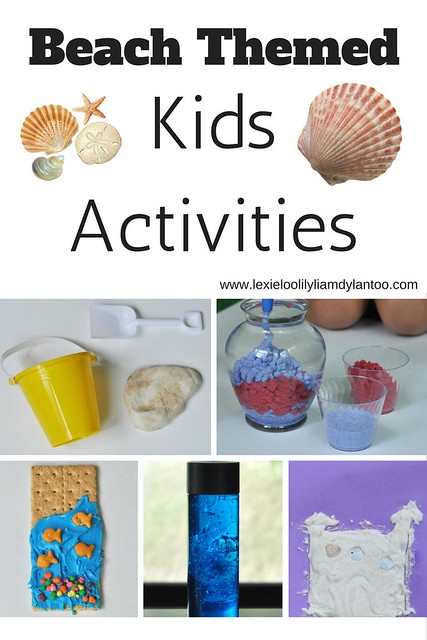
Jellyfish in a Jar - Camp Mom Day 46
My mom posted this activity on my Facebook wall years ago but we never got the chance to try it. I knew it would be perfect for our beach theme!
Supplies:
- Empty Water Bottle with the label removed (I like Voss water bottles)
- Water
- Food Coloring
- Scissors and Thread
- Clear Bread Storage Bags (a fold top sandwich bag would work for a smaller version)
- Fill the empty water bottle with water.
- Add a drop of blue food coloring and shake to disperse.
- Grab the sandwich bag and make a jellyfish head by bunching the closed end together. (It should look like a ghost.)
- Tie a thread loosely around the "neck." The hole needs to remain slightly open right now so you can fill it with a little bit of water and air.
- Make tentacles by trimming the end of the bag with the scissors. You can also trim the bottom a bit so it fits inside the water bottle.
- Fill the head half full with water, blow in some air and close the hole tightly with the thread.
- Drop your jellyfish into the water bottle, seal the lid tightly and watch it float around as you flip and turn the bottle.
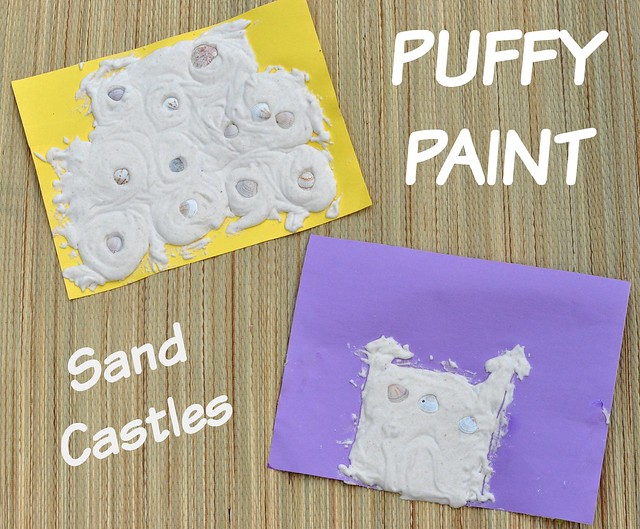
Puffy Paint Sand Castles - Camp Mom Day 47
This craft is very similar to the puffy paint ice cream cones we made a few weeks ago. The kids love puffy paint so much that we had to do it again with a beach twist!
Supplies:
- Construction Paper
- White School Glue (4 oz)
- Shaving Cream
- Sand
- Paint Brushes
- Shells
- Empty the glue into a bowl, squirt in an equal amount of shaving cream and blend together.
- Start pouring in sand by the handful until you get the desired consistency. We used a lot!
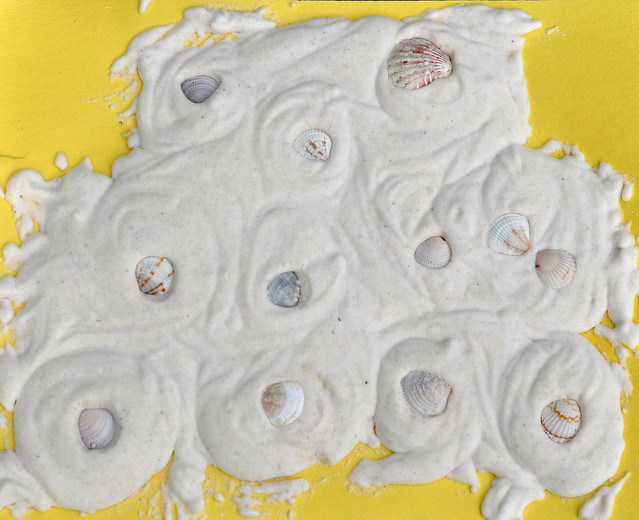
- Paint a sandcastle onto the construction paper. Make sure to use a thick layer of sandy puffy paint!
- Decorate the sand castle with shells by pressing them gently into the puffy paint.
- Lay flat to dry.
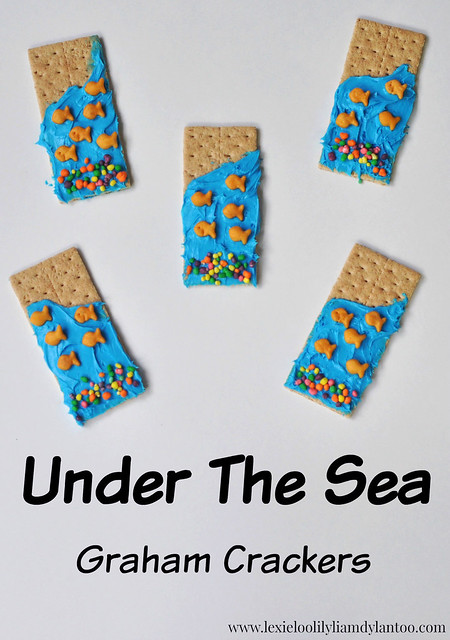
Under the Sea Graham Crackers - Camp Mom Day 48
I planned this activity back in the Spring and it must be a popular idea! Lily went to a birthday party recently and received a similar one as a favor. She ate it before her siblings could see it, so they still had fun making this snack!
Supplies:
- Graham Crackers
- Blue Frosting
- Baby Goldfish
- Nerds
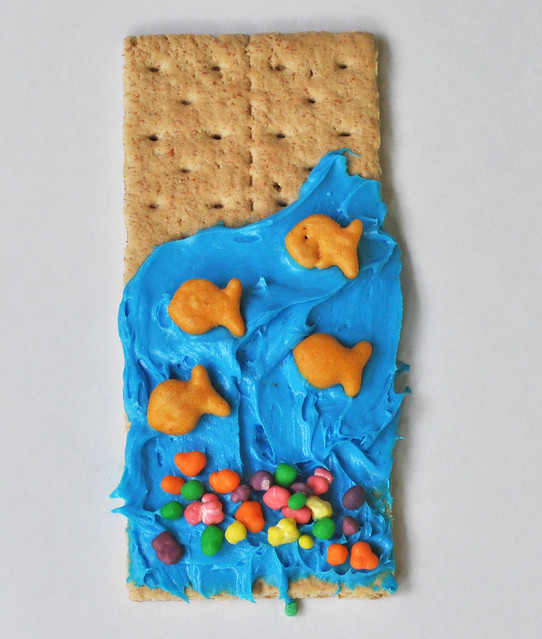
- Spread a thick layer of blue frosting on a graham cracker.
- Sprinkle a handful of Nerds on the bottom.
- Decorate with Baby Goldfish (or Swedish Fish).
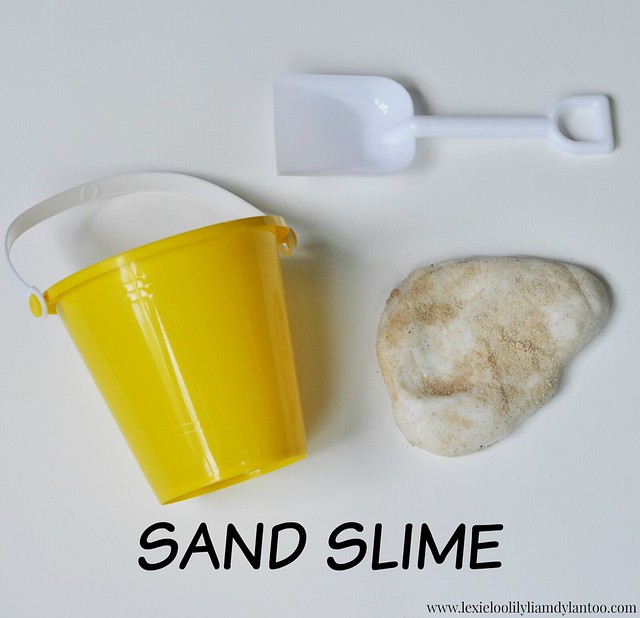
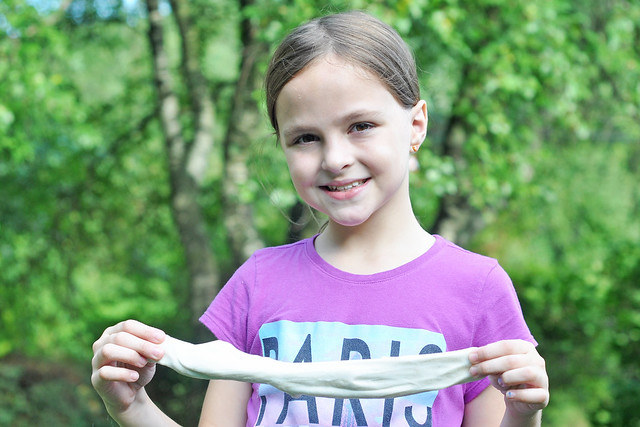
Sand Slime - Camp Mom Day 49
Our slime recipe is very quick and easy to make. We wanted to see what happened when we added sand to it!
Supplies:
- 1/2 tsp Borax
- 1/2 cup Water
- 4 oz white glue
- Two bowls and a spoon to mix
- Sand
- Mix 1/2 tsp Borax (found in the laundry aisle) in 1/2 cup warm water.
- Empty bottle of glue into separate bowl.
- Pour Borax mixture into glue and begin to knead the slime.
- Add the sand by the handful as you knead the slime in the borax solution. Repeat until you get the desired texture.
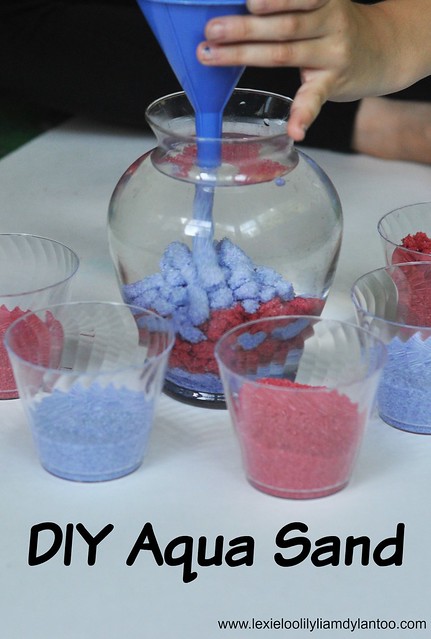
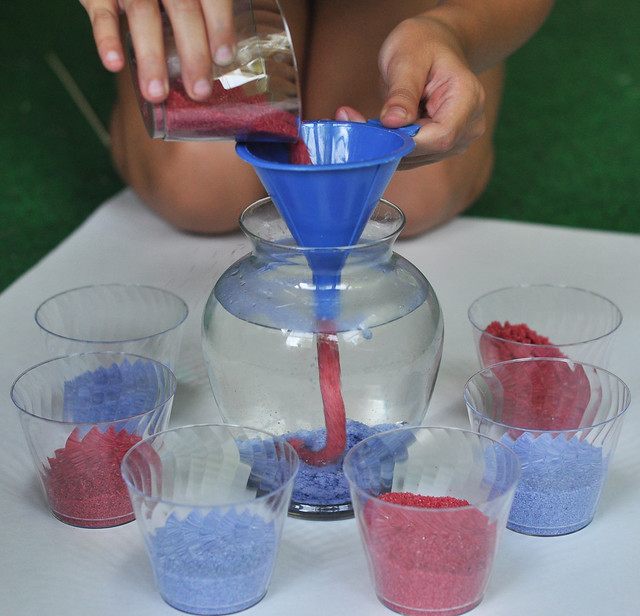
DIY Aqua Sand - Camp Mom Day 50
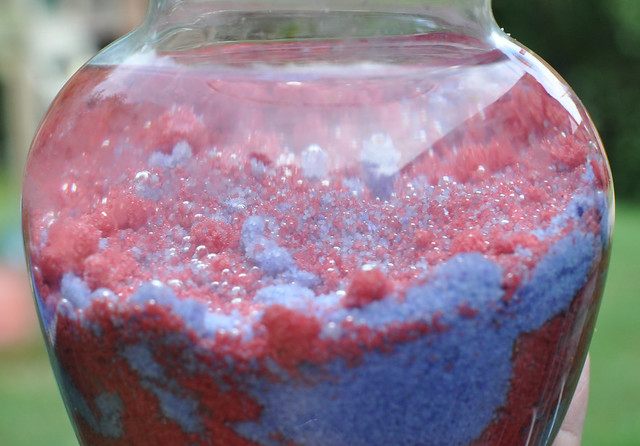
This activity was voted the most favorite in Camp Mom history! I actually agree with my kids. It was really neat to watch!
Supplies:
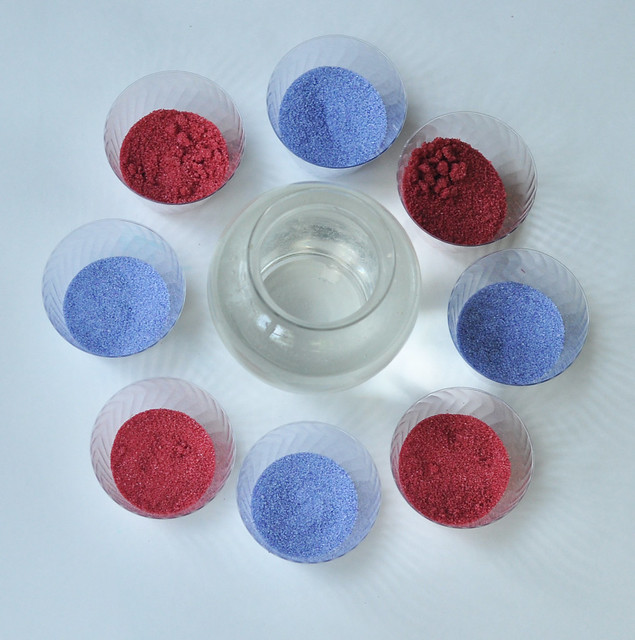
- Sand (I bought colored sand from Dollar Tree)
- Large Container
- Scotch Guard Fabric Protector
- Cups
- Foil and large freezer bags
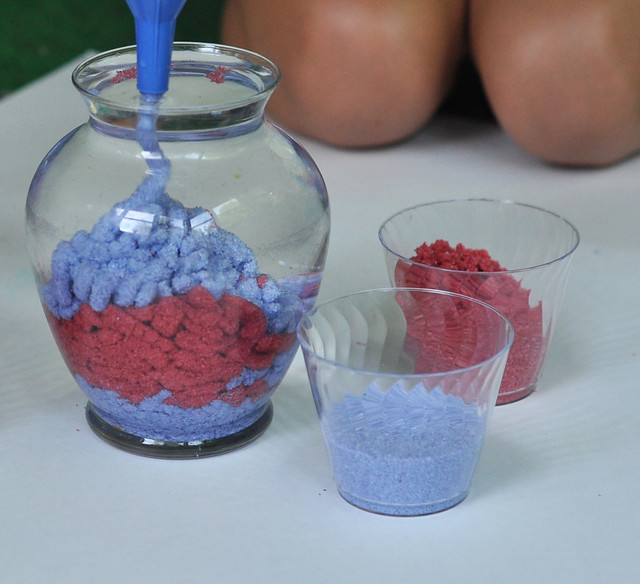
- Funnel
Directions:
- Put individual sheets of aluminum foil down on a large piece of cardboard.
- Dump each color of sand into large freezer bags.
- In a very well-ventilated area, with your nose and mouth covered, spray the Scotch Guard into the freezer bag until the sand is saturated. Zip the bag shut and shake to disperse.
- Sprinkle the sand into a thin layer on one sheet of foil and allow to dry overnight.
- After it dries, dump the sand into small cups.
- Fill a large container with warm water.
- Hold a funnel over the top of the container, and pour each color of sand through the funnel and into the container.
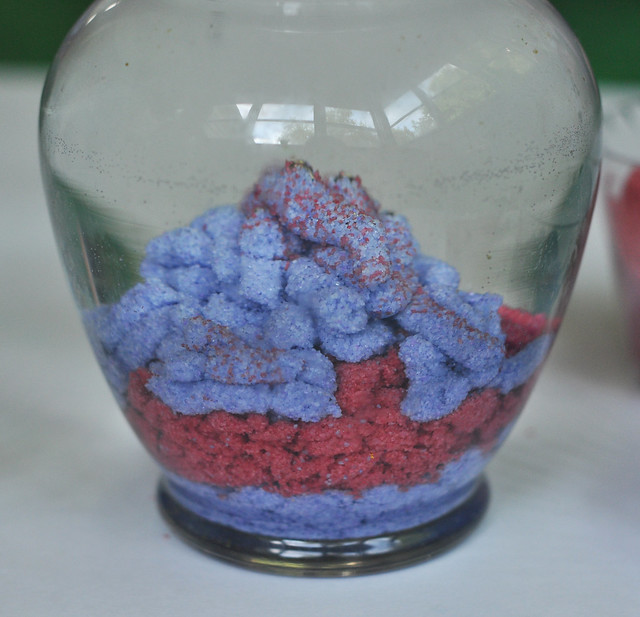
- Continue with each color and try to make designs along the way!
The best thing about DIY Aqua Sand is that you can use it over and over again! Simply drain the water out of the container and store the sand. When the aqua sand stops repelling water, refresh it with the Scotch Guard and allow to dry overnight again.
This activity was so much fun!
Camp Mom was a HUGE success! We're really sad to see it end. My kids had a blast with all of these kids activities and they made some great memories along the way!
You might also enjoy the kids activities included in these posts:
Camp Mom Week One
Camp Mom Week Two
Camp Mom Week Three
Camp Mom Week Four
Camp Mom Week Five
Camp Mom Week Six
Camp Mom Week Seven
Camp Mom Week Eight
Camp Mom Week Nine
Let's Be Friends!
Linking up for Tuesday Talk.

The snack is so adorable. I wouldn't have wanted to eat it. Such fun ideas. I can't wait to do Camp Mom with my kids. :)
ReplyDeleteI love that you did a beach theme week before your trip. I need to build up some anticipation around here! I'll have to try a few of these.
ReplyDeleteSeriously you are amazing! I am going to totally do this next summer!
ReplyDeleteThese are so creative! My daughter would love the graham crackers!
ReplyDeleteSuch adorable crafts! I hope you have a great trip!
ReplyDeleteGosh, I can't believe that Camp Mom is already almost over. I'm going to miss these posts so much. So many great ideas!
ReplyDeletethese are the cutest ideas! I especially love the jellyfish in a jar!
ReplyDeleteoh my gosh these are all so cute!! I love that jellyfish one, it looks so neat!
ReplyDeleteCongrats on your amazing posts! I have to go back and look at them--maybe for the last week of summer or next year. I really like the gramham cracker "Under the Sea" idea. My son likes to run around and doesn't sit still often, so quick and easy crafts are the way to go for us! All your crafts, however, are BEAUTIFUL and FUN!
ReplyDeleteYou always post the best ideas! I can't wait to try some of these with my kids!
ReplyDeleteSo many cool ideas to pin here!
ReplyDeleteYou are a rock star! Seriously, I hope your kids know how blessed they are to have a mom like you! I love the jellyfish in a jar idea, and will definitely be trying it out soon. Thank for all the ideas this summer.
ReplyDeleteThe end of camp is always sad. I feel like I should be getting a Camp Mom t-shirt right now, and having my friends sign the back of it...
Thanks for sharing this amazing blog on the kids activites. I really like your ideas that you have shared. Looking for the Kids Activities at the online site then, visit Active Nation for the amazing kids activites.
ReplyDelete