Our Five Ring Circus: DIY
Showing posts with label DIY. Show all posts

Friday, February 1, 2019

The Best Winter Books for Kids

The Best Winter Books for Kids

Like much of the country, we were hit with REALLY cold temps from the polar vortex! While we didn't get hit as hard as many others, those negative temps don't happen often in Pittsburgh. The -20 windchill shut down our schools, and my kids were so excited to get three days off in a row! We were snuggled up in the warmth of our home for the past few days, so it seemed like the perfect time to share our Winter Book Crate and our picks for the best winter books for kids! 


I'm an avid reader, so I fill our home with books! I think developing a love for reading is incredibly important, and I'm working hard to raise readers. I introduce books to my children when they are infants, read to them every day, encourage their love of reading, and rarely say no when they ask for a book. We support school book fairs, purchase from the Scholastic flyers, visit our library regularly, and have books in every room in our home.

I shared our seasonal/holiday book crate on the blog before, and it's a beloved staple in our living room! I rotate the books every season and every holiday, and my kids love reading the books that fill it. Once the Christmas books were packed away, the book crate got filled with their Winter favorites! (In our opinion), here are the BEST Winter books for kids...

Thursday, November 30, 2017

Super Sweet DIY Ice Cream Holiday Gift Bundles

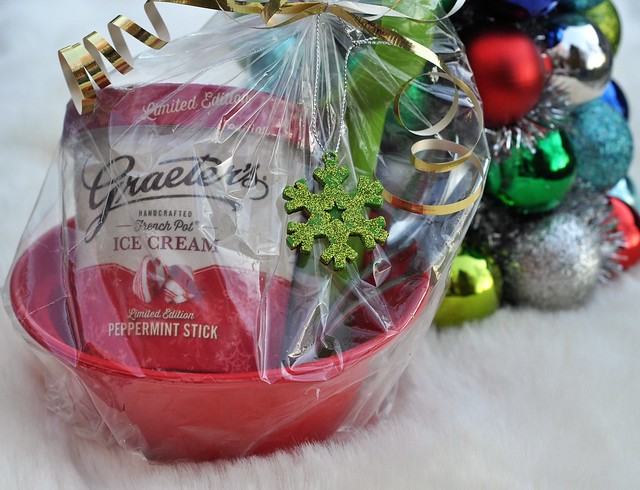
Super sweet #DIY Ice Cream Holiday Gift Bundles featuring Graeter's ice cream! #ad #Graeters #AGraetersGift #Christmas #gifts

DISCLOSURE: Thank you to Graeter's for kindly sponsoring this post. All opinions are 100% honest & completely my own.
If you're a busy mom like me, then you probably have lots of extra holiday gifts to buy, and not enough time to do it all! With four kids of our own, we have 13 teachers, 3 therapists, 3 dance instructors, a coach and 2 bus drivers to buy gifts for. Add in gifts for family, friends and party hostesses, and things get complicated AND expensive! Thankfully, there's a simple solution for some of those gifts: Super sweet (and easy) DIY Ice Cream Gift Bundles!

Tuesday, July 25, 2017

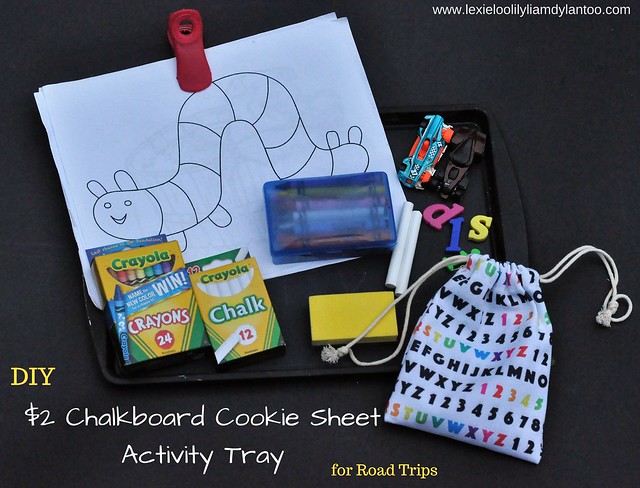
DIY $2 Chalkboard Cookie Sheet Travel Activity Tray for Road Trips

DIY $2 Chalkboard Cookie Sheet Travel Activity Tray for Road Trips

In less than 3 weeks, my family will be heading out on a road trip to Virginia Beach! Dylan, Lexie and Lily go back to school one month from today, so it will (sadly) be our grand finale for Summer Break. I'm already preparing for our trip, so I wanted to share one of our favorite road trip ideas with all of you: a DIY Chalkboard Cookie Sheet Travel Activity Tray!


I made these simple travel activity trays for my crew a few years ago, and they were a hit! They stay in our SUV year round. I originally shared the idea on my blog two years ago, but I figured I would expand on the idea, because it was just briefly featured in my simple road trip ideas for kids post. It's still one of my most popular pins on Pinterest, and gets re-pinned daily from my travel board!

DIY $2 CHALKBOARD COOKIE SHEET 

TRAVEL ACTIVITY TRAY


$2 DIY Chalkboard Cookie Sheet Travel Activity Trays

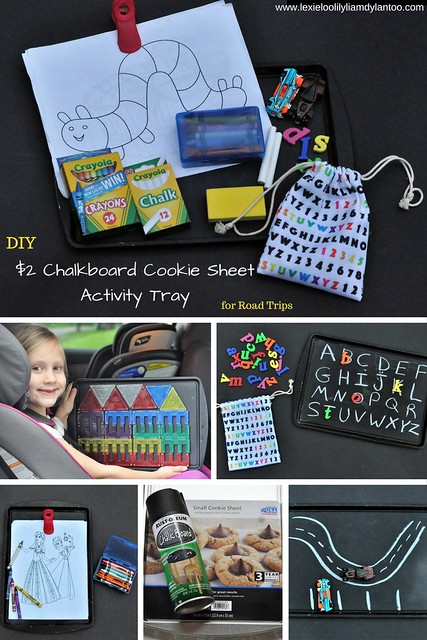
These activity trays are simple and inexpensive to make, are perfect for kids ages 1-10, and can be slid under the seats for easy storage!

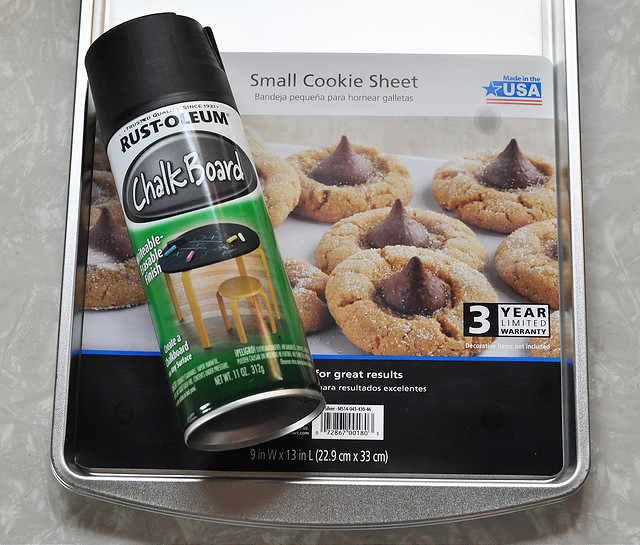
SUPPLIES:


  • Cookie Sheet ($1 at Walmart or a dollar store)
  • Chalkboard Spray Paint (1 can will easily cover 4+ cookie sheets)

DIY $2 Chalkboard Cookie Sheet Activity Tray


DIRECTIONS:


  1. Thoroughly spray one side of the cookie sheet with chalkboard spray paint. Dry 3-4 hours.
  2. Thoroughly spray the other side of the cookie sheet and dry 3-4 hours. 
  3. Repeat on both sides. 
  4. DONE!!!
DIY $2 Chalkboard Cookie Sheet Travel Activity Tray for Road Trips

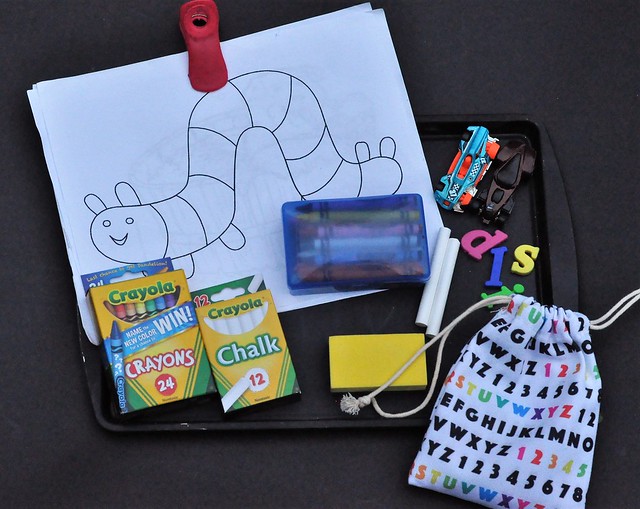
PLAY SUPPLIES:

  • 1 box of chalk
  • 1 box of crayons
  • Travel Soap Box to hold the crayons
  • Mini Chalkboard Eraser
  • Coloring pages
  • Magnetic clip to hold the paper in place (2 pack for $1 at the Target Dollar Spot)
  • Cars
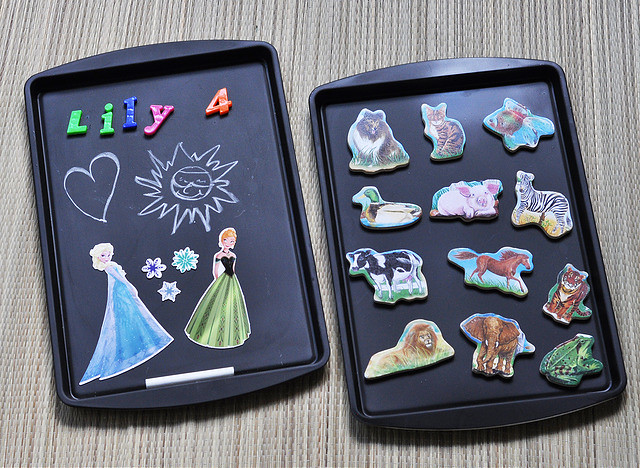
  • Magnetic letters and numbers
  • Storage bag to hold the letters
  • Magnets
DIY $2 Chalkboard Cookie Sheet Travel Activity Tray for Road Trips

PLAY IDEAS:


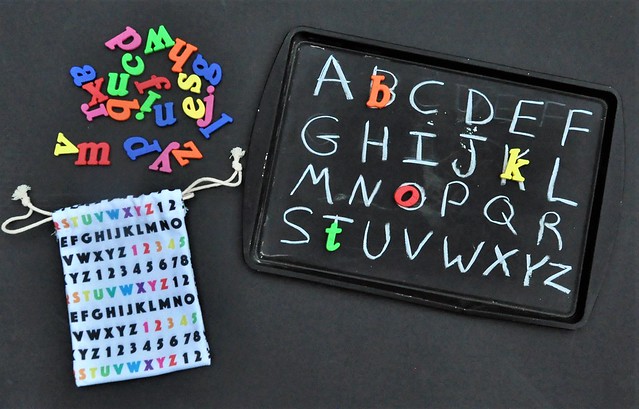
{Letter Matching}

Write the uppercase letters on the travel chalkboard activity tray, and have your child place the matching lowercase magnetic letters onto the uppercase letters. This activity really helped Lily learn to recognize all of her letters, and now I'm doing the same thing with Liam!

DIY $2 Chalkboard Cookie Sheet Travel Activity Tray for Road Trips

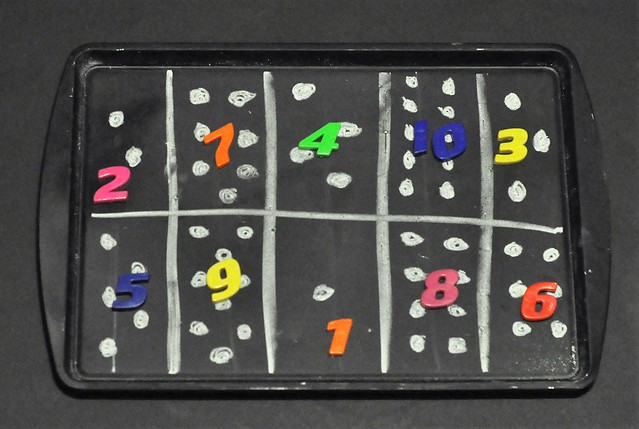
{Counting & Number Recognition}

Draw 10 squares on the activity tray then draw counters (large dots) for each number inside each box. Have your child count the number of counters inside each square, then place the correct number on top of the box.

DIY $2 Chalkboard Cookie Sheet Travel Activity Tray for Road Trips

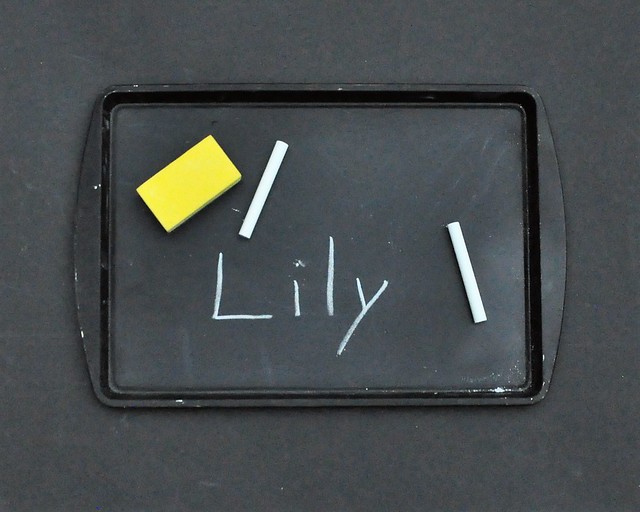
{Simple Chalkboard Play}

Draw a picture, play hangman or play tic tac toe!

DIY $2 Chalkboard Cookie Sheet Travel Activity Tray for Road Trips

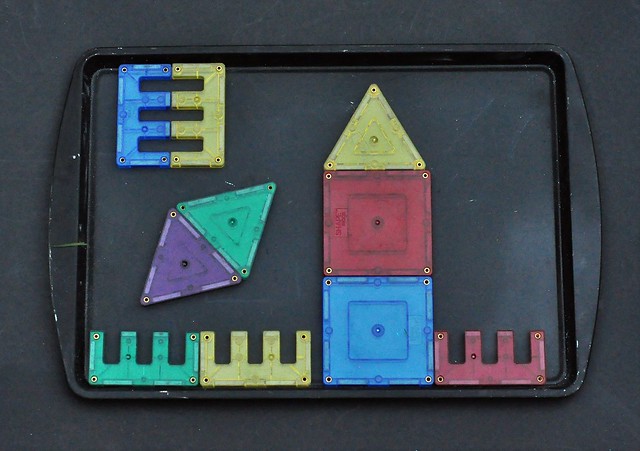
{Magnetic Play}

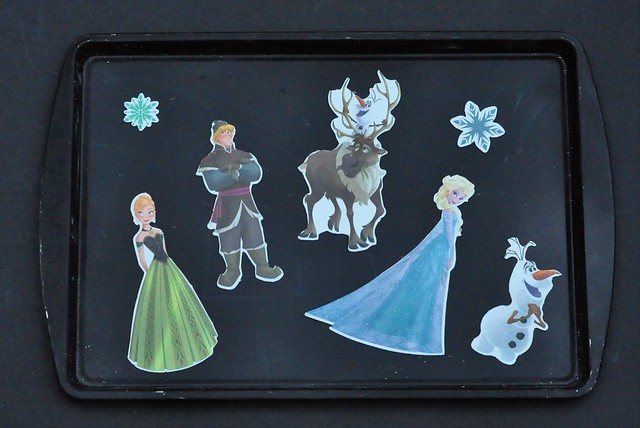
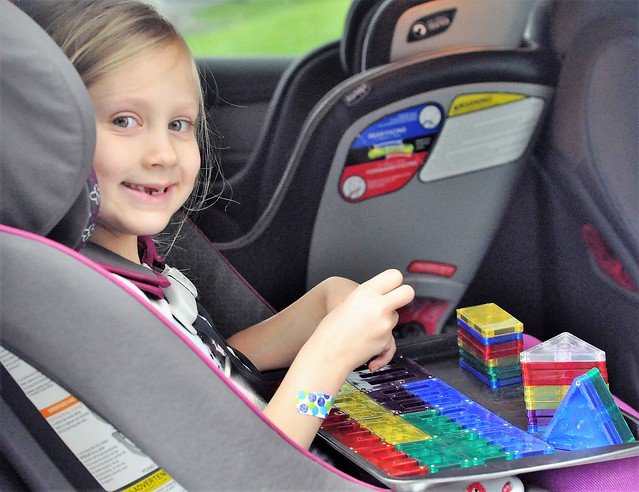
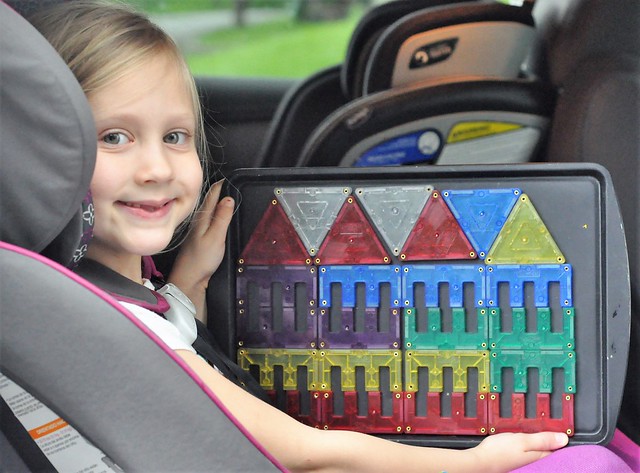
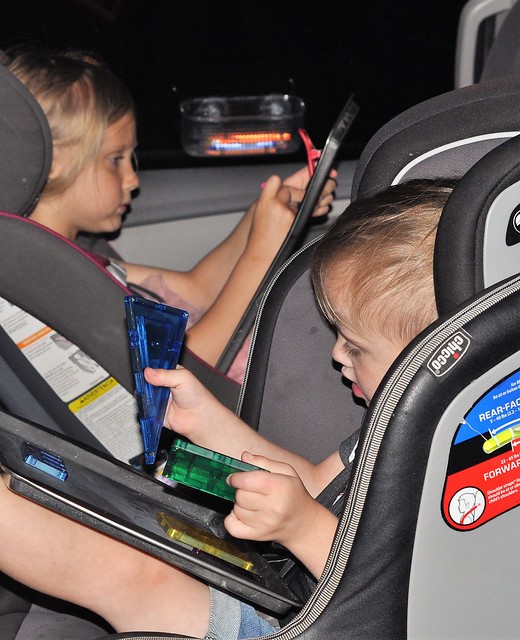
Playing with magnets is fun and mess-free! (We love our Shape Mags for this! They are perfect for Liam!)

DIY $2 Chalkboard Cookie Sheet Travel Activity Tray for Road Trips

DIY $2 Chalkboard Cookie Sheet Travel Activity Tray for Road Trips

DIY $2 Chalkboard Cookie Sheet Travel Activity Tray for Road Trips

DIY $2 Chalkboard Cookie Sheet Travel Activity Tray for Road Trips

DIY $2 Chalkboard Cookie Sheet Travel Activity Tray for Road Trips

{Roads & Tracks}

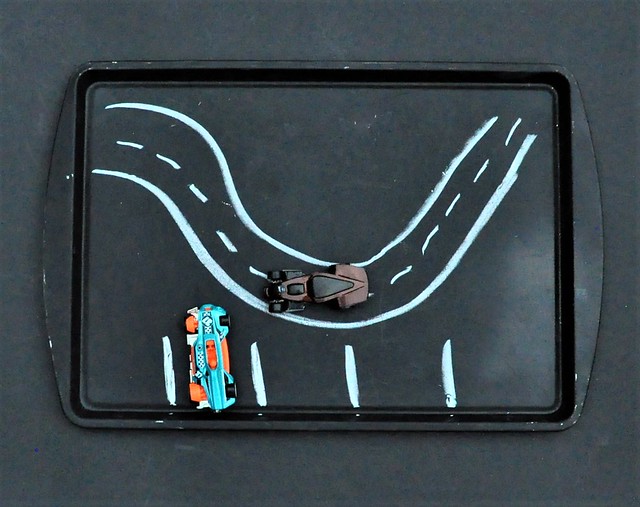
Grab the chalk, draw a road and some parking spots OR train tracks, then play using toy cars and mini trains!

DIY $2 Chalkboard Cookie Sheet Travel Activity Tray for Road Trips

{Coloring}

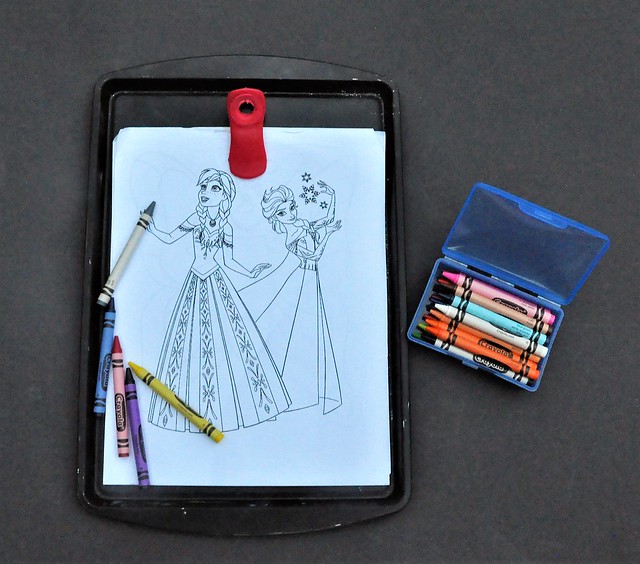
Print out some coloring pages, clip a page to the activity tray using a magnetic clip, and color away! We love to store our crayons in travel soap boxes, because the cardboard box always gets crushed and the crayons break easier. (This is a great Back To School tip, too. Add it to your school supply list!)

DIY $2 Chalkboard Cookie Sheet Travel Activity Tray for Road Trips

A small, plastic, suction cup bath caddy suctioned to the window is perfect for holding crayons, markers and other small toys and supplies on road trips!

DIY $2 Chalkboard Cookie Sheet Travel Activity Tray for Road Trips

STORAGE:


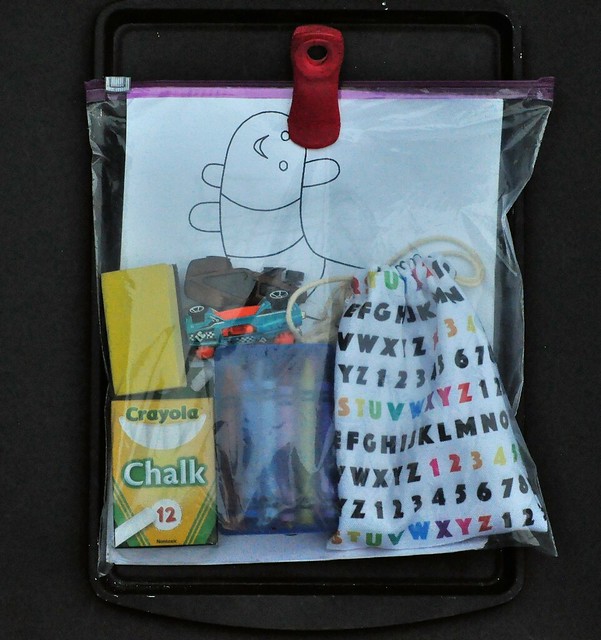
When my kids are done playing, I simply place everything into a gallon storage bag, zip it up, clip the bag to the travel activity tray using the magnetic clip, and slide it under the seat!

DIY $2 Chalkboard Cookie Sheet Travel Activity Tray for Road Trips


These simple DIY $2 Chalkboard Cookie Sheet Travel Activity Trays get used several times a week. Not only are they perfect for road trips, but they are great for keeping my kids busy while running errands. I bought some new activity tray supplies for our upcoming family vacation, so they are already organized and ready to go!


DIY $2 Chalkboard Cookie Sheet Travel Activity Tray for Road Trips

What activities would you do with these trays?


DIY $2 Chalkboard Cookie Sheet Travel Activity Tray + Play Ideas #RoadTrip #Vacation

You might also like:

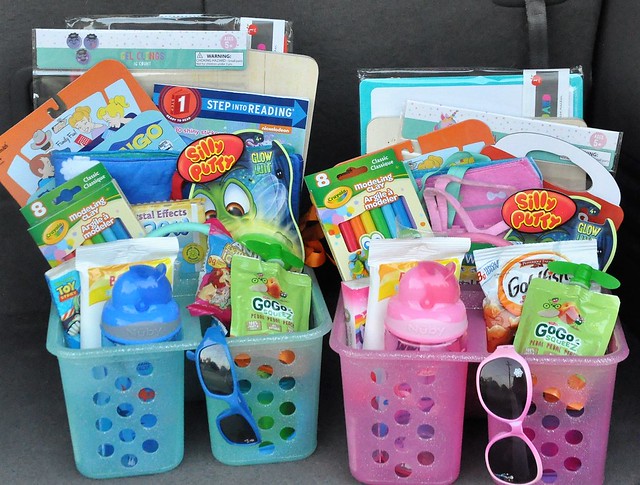
The Road Trip Survival Kit Caddy for Kids

Road Trip Survival Kit


TUESDAY TALK


It's time for Tuesday Talk! Grab the button, link back to your hosts and add your blog post link on the widget below!


Tuesday Talk


Tuesday Talk

Crystal at Hall Around Texas | Pinterest | Facebook | Instagram 
Stephanie at Wife Mommy Me | Pinterest | Facebook | Instagram
Becky at BYBMG | Pinterest | Facebook | Instagram
                                        Whitney at Polka-Dotty Place | Pinterest | Facebook | Instagram


Tuesday, April 25, 2017

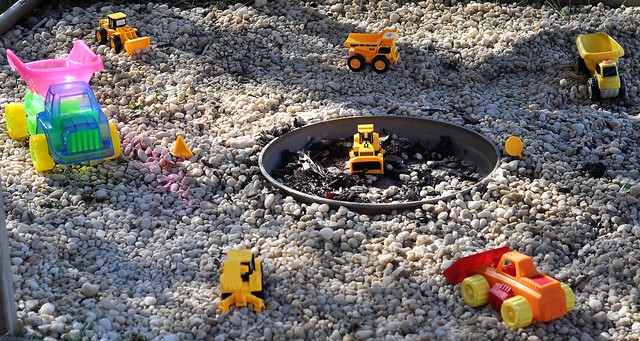
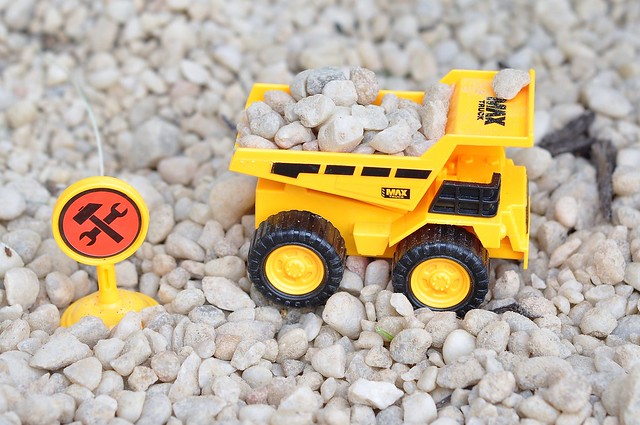
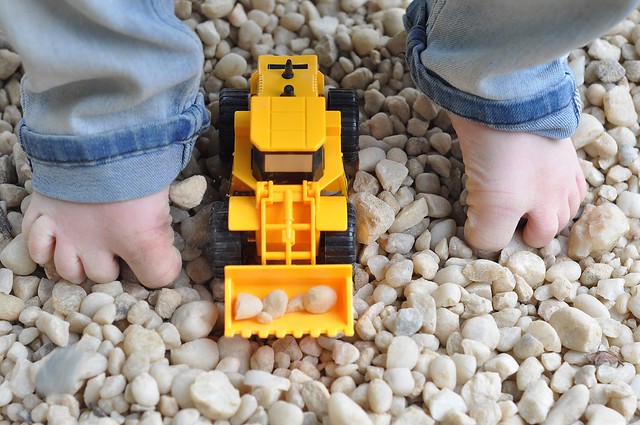
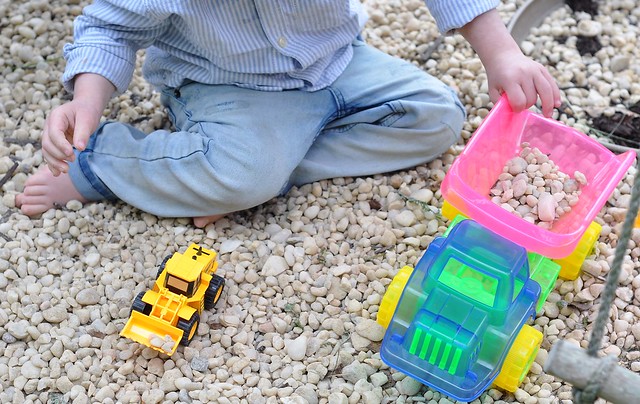
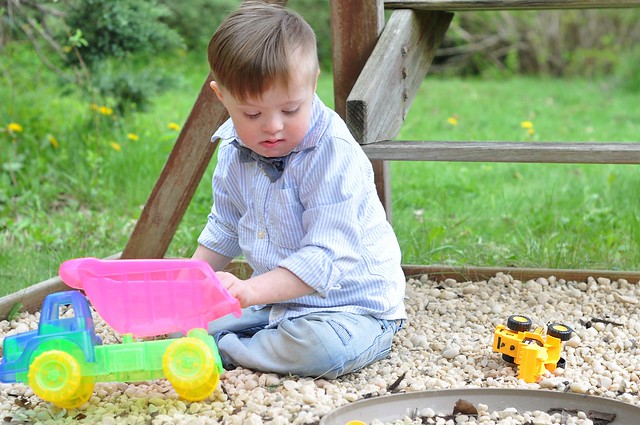
How To Make a Construction Pit for Kids: An Easy & Inexpensive DIY

How to make a construction pit for kids - an easy and inexpensive DIY

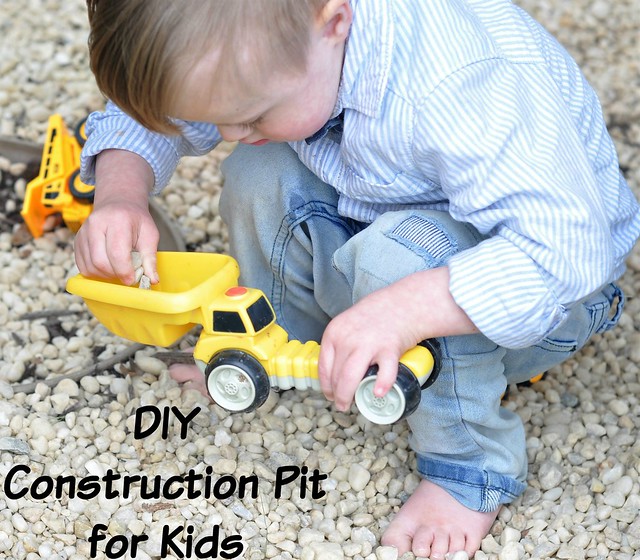
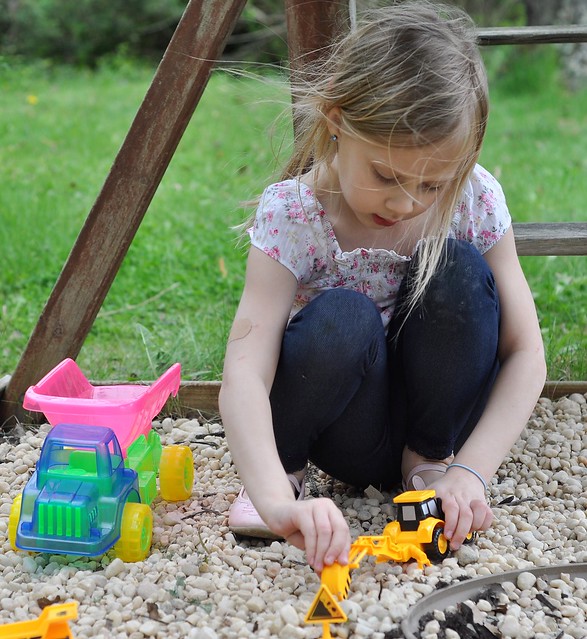
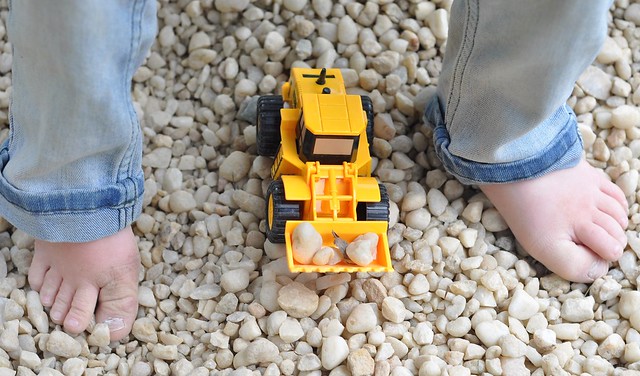
Over the past two years, I've been working hard to turn our backyard into an inviting space for my kids. Of course, I have dozens of projects on my to do list and not enough time to complete even a fraction of them! I did, however, manage to create a fun construction pit for my kids in 10 short minutes, for less than $20. The end result was an instant hit!


Backyard Construction Pit

This DIY backyard project is very easy to do and inexpensive! It definitely helped that we already had a space for it, but creating the border can be very simple. Creating our construction pit only took a few minutes of time, and the kids loved it so much, that it made me regret not doing it sooner!

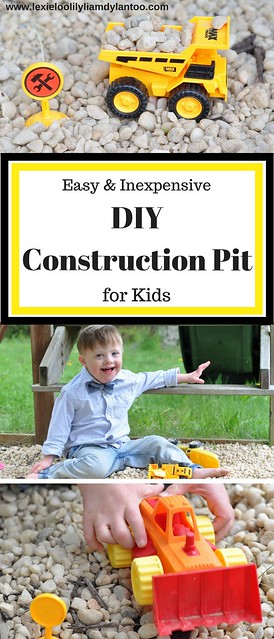
Easy & Inexpensive DIY Construction Pit for Kids


This DIY Construction Pit can be completed in just a few simple steps! The finished project is like a large sandbox with a fun twist!

The first thing you need to do is find a spot for your construction pit and create the border. I decided to use the built in sandbox space at the bottom of our wooden swingset. It was filled with mulch and held our plastic sandbox, but since it was already framed, I moved out the sandbox and got to work!

Once you find the spot, making the border is easy. Although you could build a frame by measuring and nailing pieces of wood together, it's even easier to use logs, large rocks or bricks. That also gives it a more natural feel!

After the border is built, all you need to do is fill it!

Backyard Construction Pit

Supplies: 

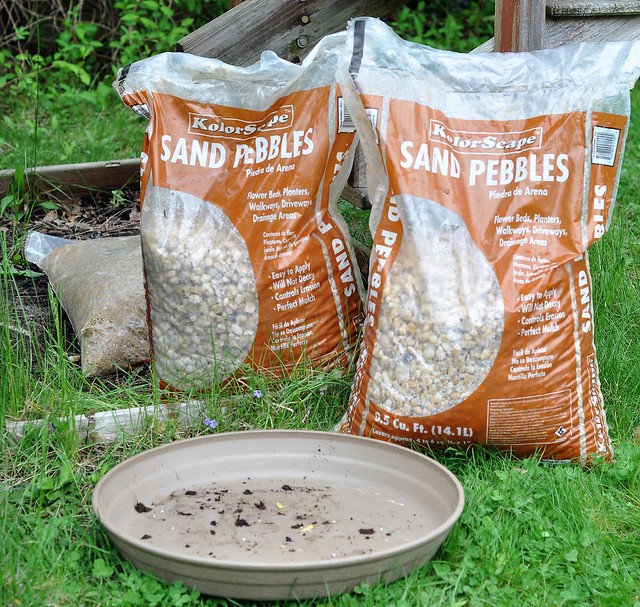
  • Bags of small rocks or gravel
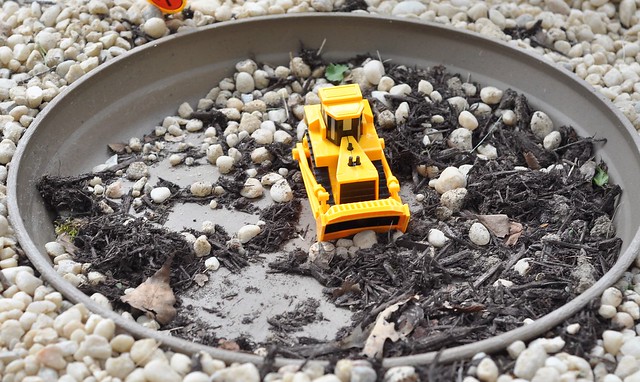
  • Shallow planter
  • Potting soil or mulch


I opted to use sand pebbles because they were large and smooth. I used 5 bags for the 16 square feet space, and at just $3 a bag, it was a steal!

How To:

  1. Place the shallow planter in the middle of the construction pit. 
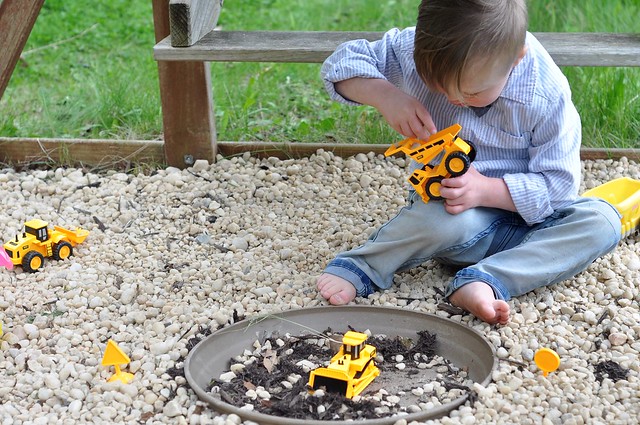
  2. Empty the bags of rocks into the construction pit and use a rake to spread them evenly. Make sure the rocks are level with the top of the planter. 
  3. Fill the shallow planter with potting soil or mulch, so your kids have a place to dig easily. (This could also be filled with water!)
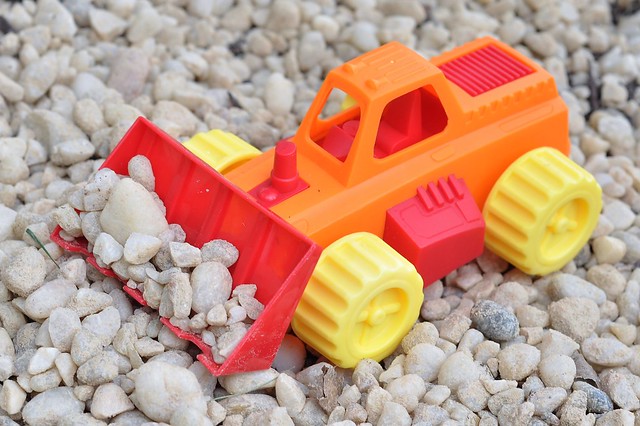
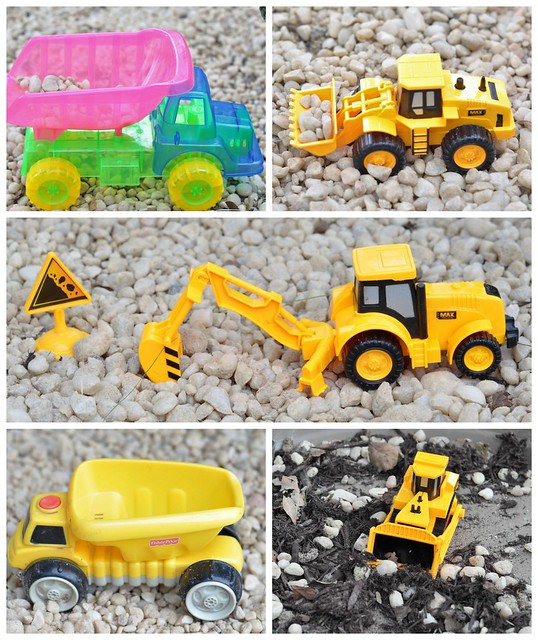
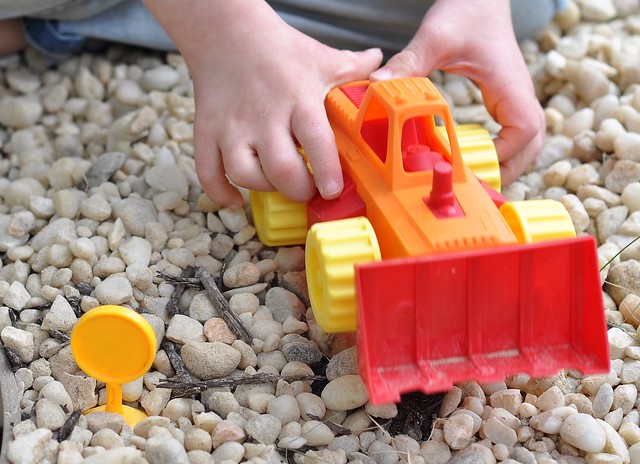
  4. Place construction vehicles inside the construction pit. (Plastic sand toys work great!)


Backyard Construction Pit

Backyard Construction Pit

Backyard Construction Pit
DIY Construction Pit for Kids
Backyard Construction Pit

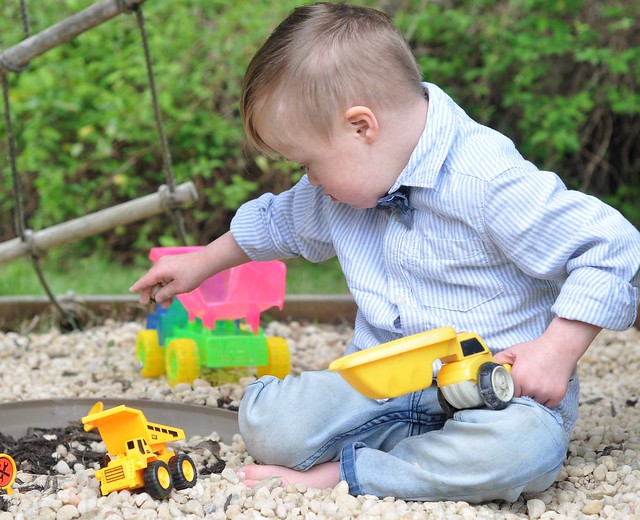
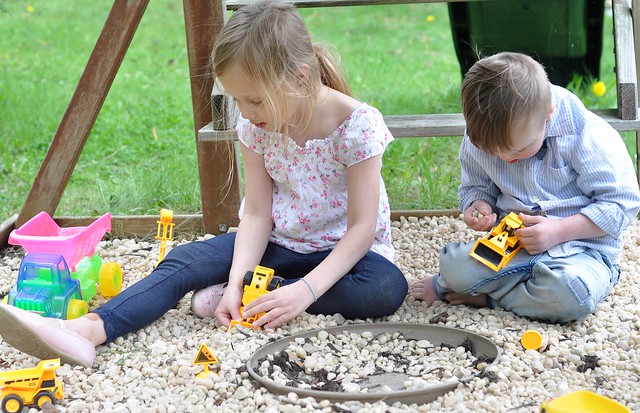
Liam and Lily immediately fell in love with this incredibly easy to make Construction Pit! Even my too-cool tweens were spotted doing some digging. And just FYI, this construction pit is not just for boys! 


Construction Pit

Construction Pit

Construction Pit

Construction Pit

Construction Pit

Construction Pit

Construction Pit

Construction Pit

Construction Pit

Construction Pit

Construction Pit


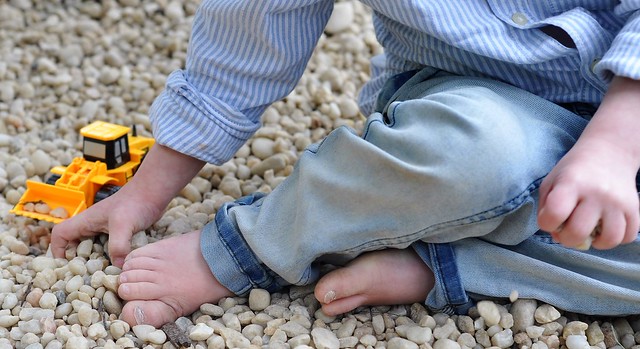
I made the construction pit on Sunday and my kids have already logged in hours playing in it. My always barefoot, truck-loving, mess-making boy is in his glory, and Lily loves digging with the construction vehicles! It's truly one of the easiest, most fun play spaces I've added to our backyard! Who wants to come over to play?


DIY Backyard Construction Pit for Kids


TUESDAY TALK

It's time for Tuesday Talk! Grab the button, link back to your hosts and add your blog post link on the widget below!

Tuesday Talk


Tuesday Talk

Crystal at Hall Around Texas | Pinterest | Facebook | Instagram 
Stephanie at Wife Mommy Me | Pinterest | Facebook | Instagram
Becky at BYBMG | Pinterest | Facebook | Instagram
                                        Whitney at Polka-Dotty Place | Pinterest | Facebook | Instagram


Tuesday, February 14, 2017

DIY Aqua Sand {Tuesday Talk}

Happy Valentine's Day, my friends!

Since today is all about love, I'm going to share a simple DIY activity that all of my kids adore! They just might be doing a Valentine's Day version of it today. I already have the red and pink sand ready to go!


When aqua sand first arrived in the stores, my kids begged for it. I was skeptical, and I never ended up buying it. I did, however, discover that you can easily make it yourself for much cheaper!

I originally shared an adapted version of our DIY Aqua Sand in one of my Camp Mom posts over the Summer. My kids immediately loved it, and it quickly became a new favorite. It's so much fun that I thought it deserved its own feature!

DIY Aqua Sand

Supplies:

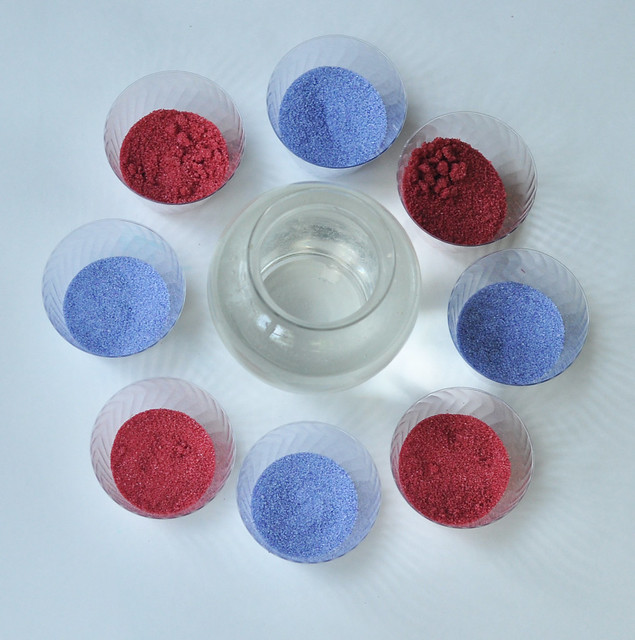
  •  Sand (I bought colored sand from Dollar Tree)
  • Large Container
  • Scotch Guard Fabric Protector
  • Cups
  • Foil and large freezer bags
  • Funnel


Aqua Sand


Directions:

  1.  Put individual sheets of aluminum foil down on a large piece of cardboard. 
  2. Dump each color of sand into large freezer bags.
  3. In a very well-ventilated area, with your nose and mouth covered, spray the Scotch Guard into the freezer bag until the sand is saturated.  Zip the bag shut and shake to disperse.
  4. Sprinkle the sand into a thin layer on one sheet of foil and allow to dry overnight. 
  5. After it dries, dump the sand into small cups. 
  6. Fill a large container with warm water.
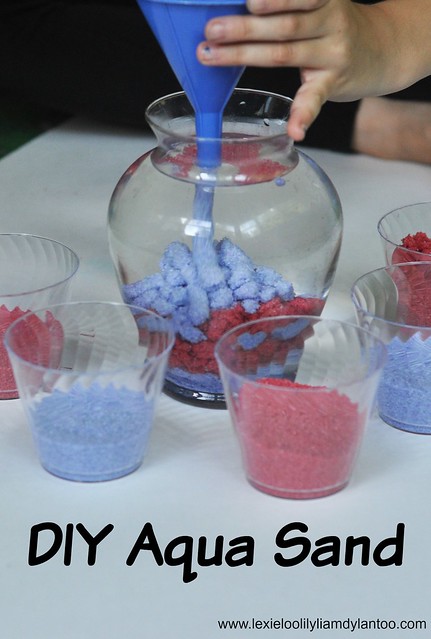
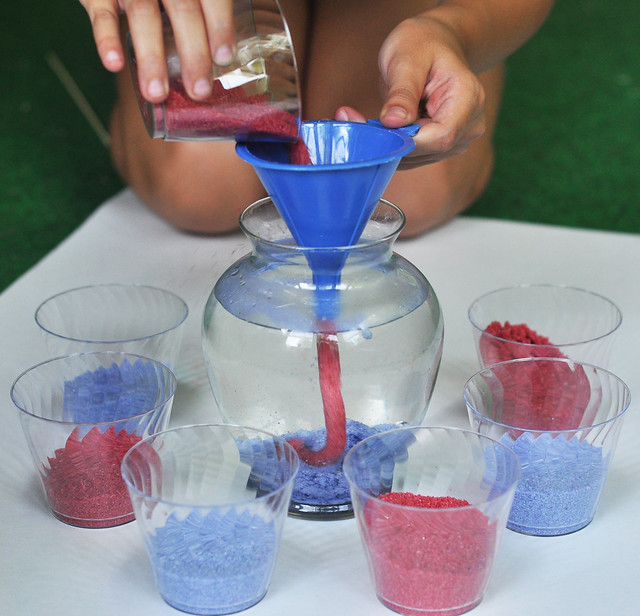
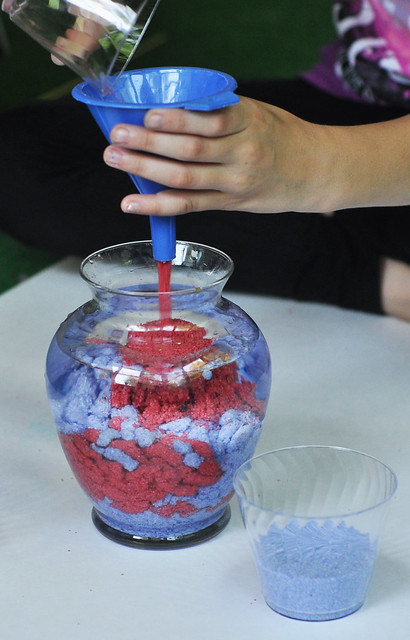
  7. Hold a funnel over the top of the container, and pour each color of sand through the funnel and into the container. 
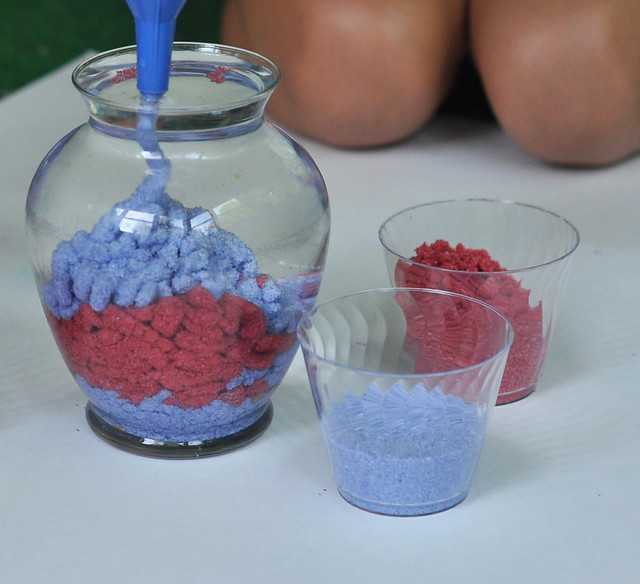
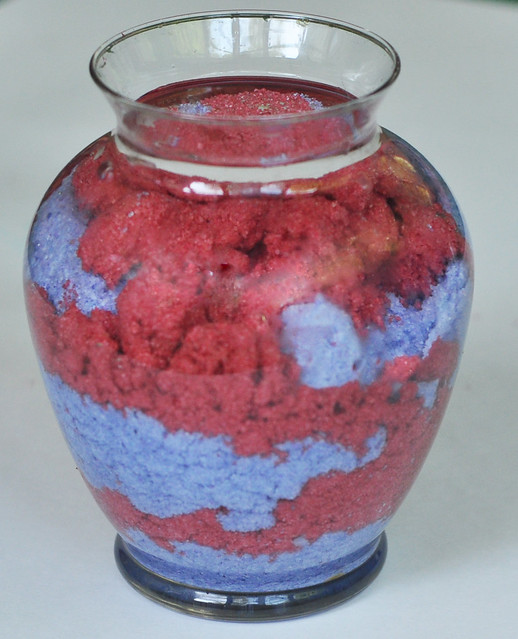
  8. Continue with each color, making designs along the way!


Aqua Sand
Aqua Sand
Aqua Sand
Aqua Sand

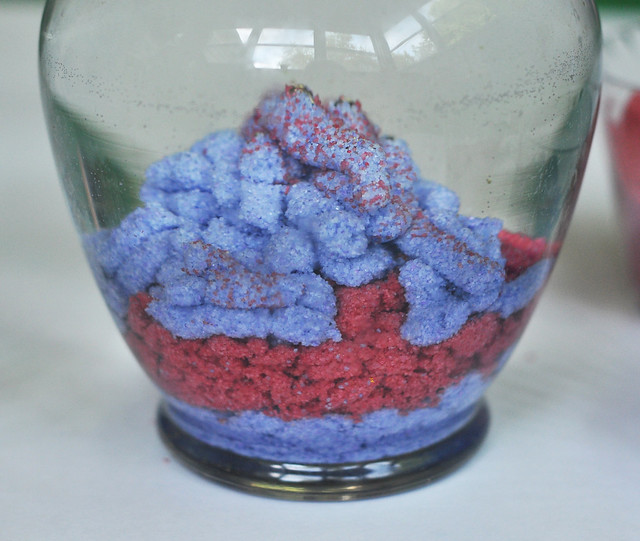
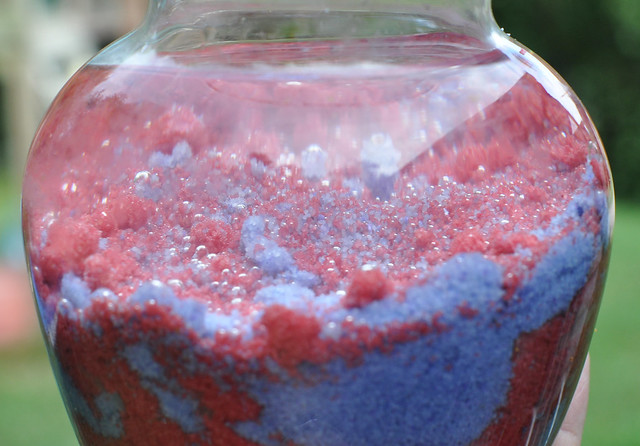
Not only is this a fun activity, but it's a great science experiment, too! Scotch Guard repels water, so the Scotch Guard coated sand immediately repels the water upon entering the container, and forms solid, tube-like spirals. It is very cool to watch!

Aqua Sand

The best thing about DIY Aqua sand is that you can use it over and over again! When you're finished playing, simply drain the water out of the container, and store the sand in a separate container or Ziploc bag. Obviously, if you use multiple colors, they do get mixed. No worries! Watching the colors mixing together the next time it's used is very neat, too!

When the DIY Aqua Sand stops repelling water, repeat steps 1-4, and it will be as good as new!

We do this activity often, but my kids are mesmerized every single time!


Aqua Sand


Join us for Tuesday Talk! Grab the button and link up any post below! 


Lexie Loo, Lily, Liam & Dylan Too


Tuesday Talk