So gross, but so much fun! It's almost impossible to resist!
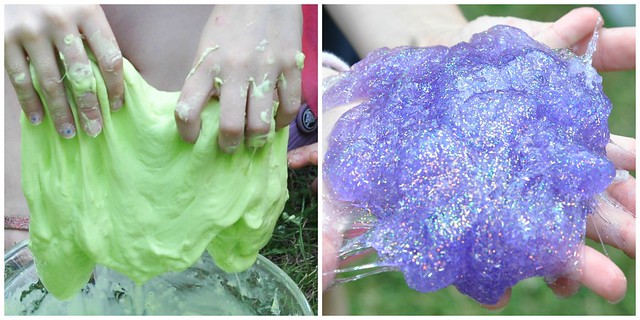
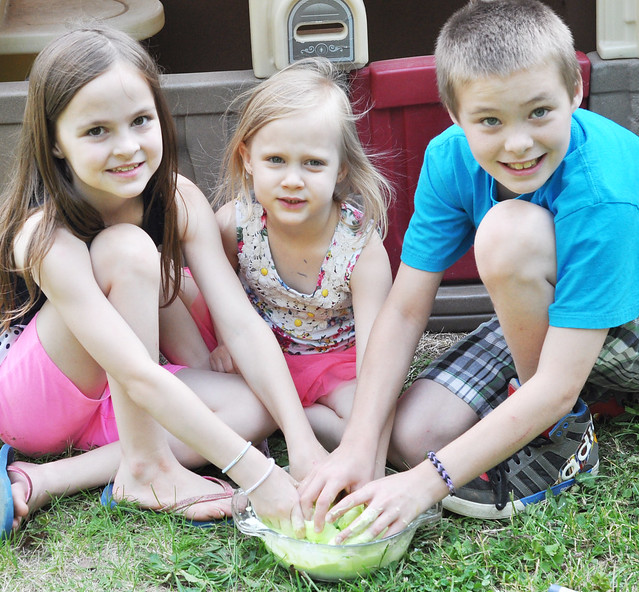
My weekly activity time with Lily just got a bit more crowded! Now that school's out for the summer, Dylan and Lexie want to join in. For this week's activity, Dylan, Lexie, and Lily chose "Make Homemade Slime" from our list of activities!
We decided to make two of our favorite slime recipes. Neon Slime for Dylan and Glitter Slime for the girls! Both recipes are really easy to make! Not only is it fun to do, but there's science involved!
Neon Slime
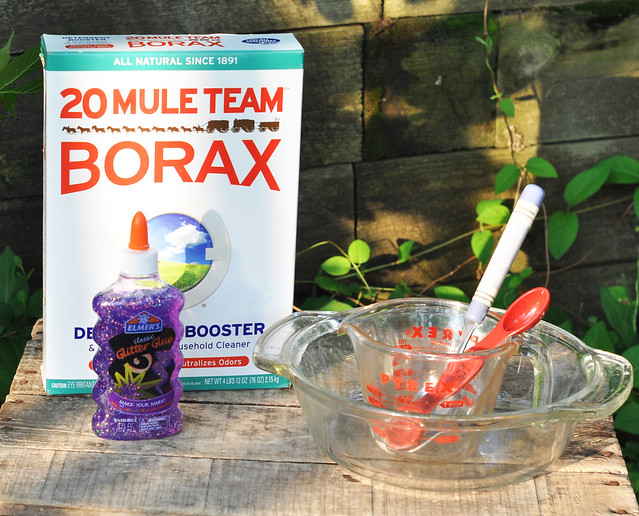
To make Neon Slime, you only need a few simple ingredients: 8 oz white glue (I used two 4 oz bottles), 1 tsp Borax (found in laundry detergent aisle), 1 cup warm water, neon food coloring, spoons for stirring, and 2 mixing bowls.
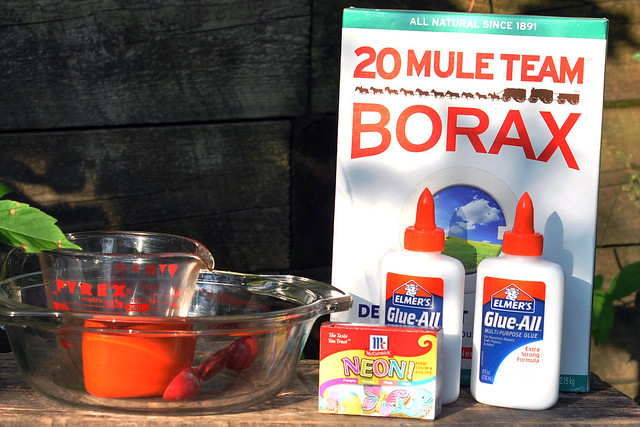
STEP ONE: Empty glue into a large bowl.
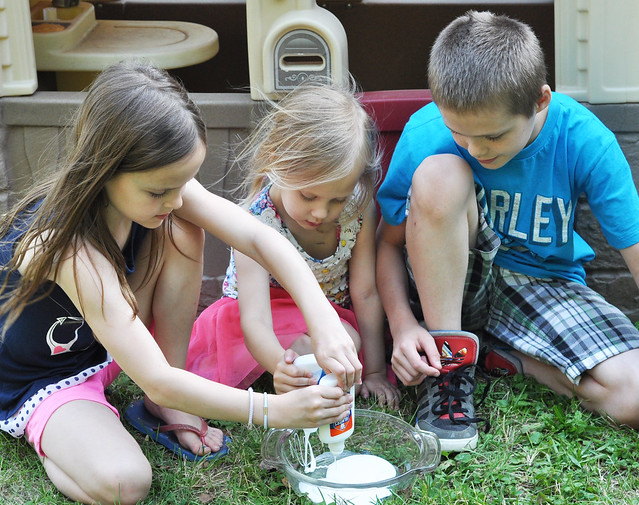
STEP TWO: Fill glue bottle(s) completely with warm water (you will use 1/2 cup water), shake, then pour into the bowl that contains the glue. Stir.
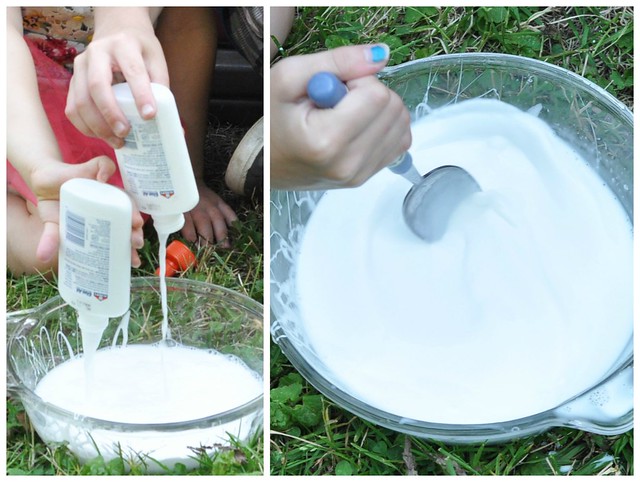
STEP THREE: Add several drops of neon food coloring to the glue mixture. Stir.
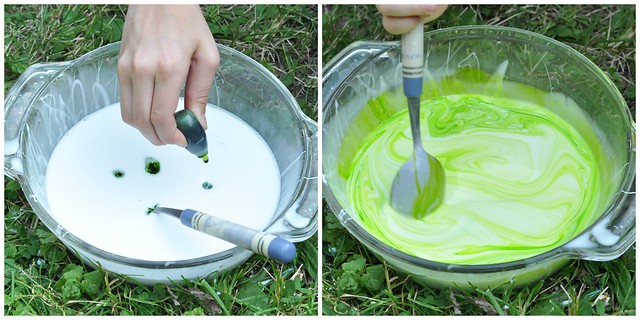
STEP FOUR: Mix 1 tsp Borax into 1/2 cup warm water. Stir until the Borax dissolves.
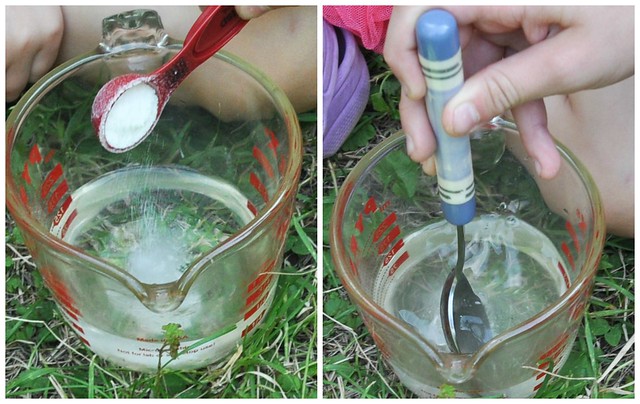
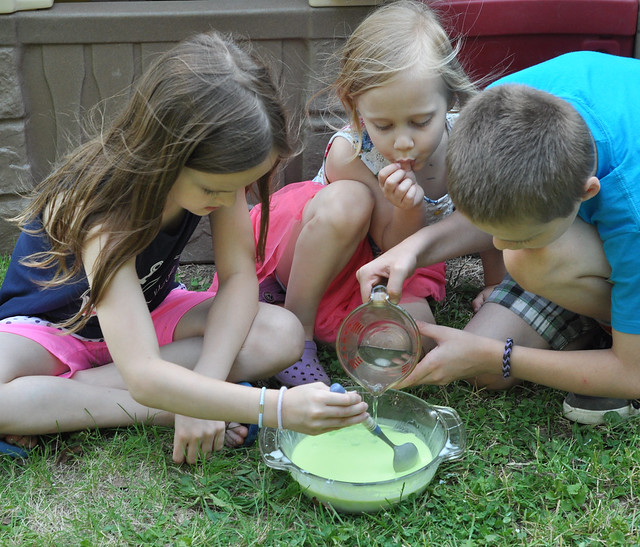
STEP FIVE: Slowly pour the Borax solution into the glue solution while stirring. Keep a close eye on this process! This is where the science aspect of it begins. You will see the glue solution almost immediately begin to form into a solid as it meets the Borax solution!
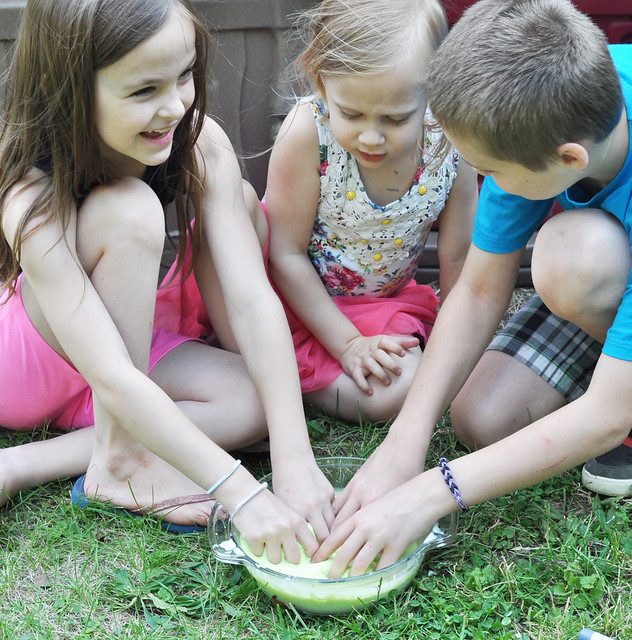
STEP SIX: Dig in and knead the slime!
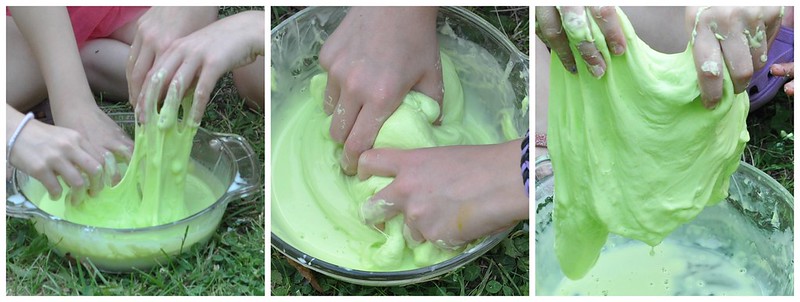
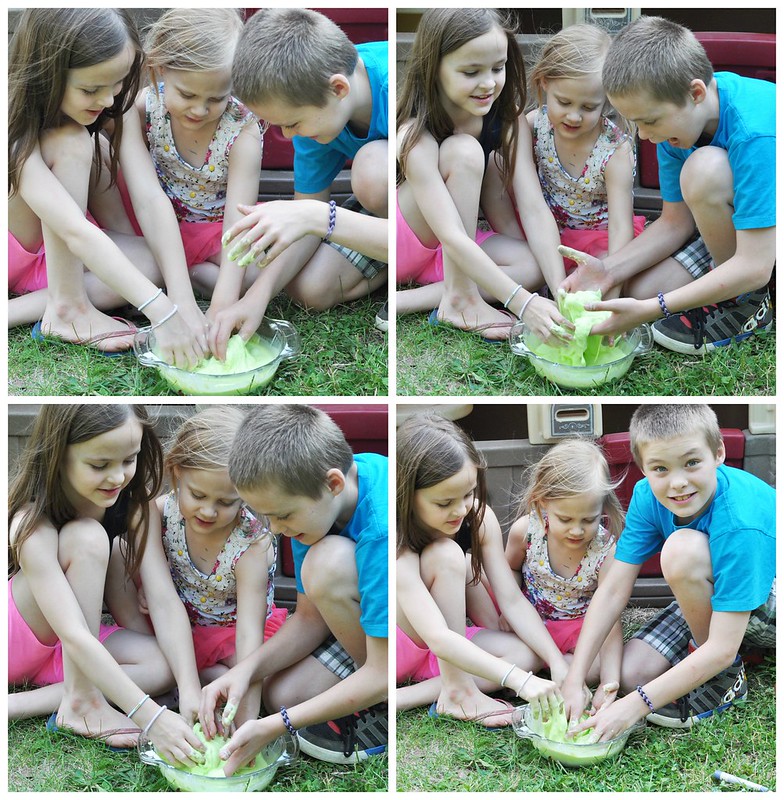
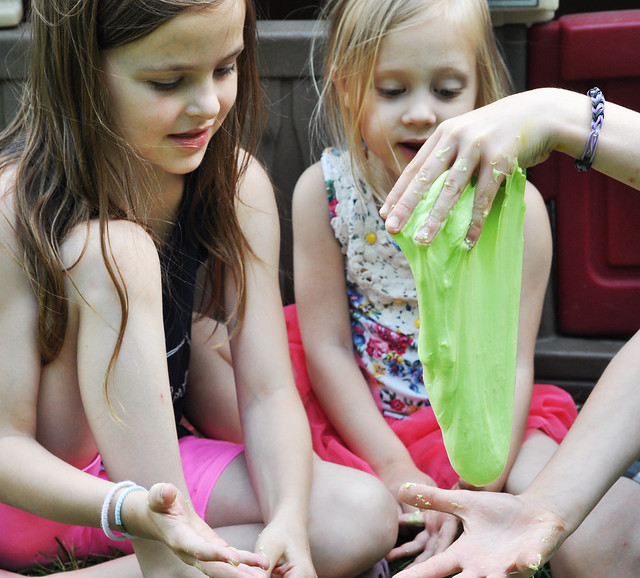
STEP SEVEN: Store in an airtight container or a storage bag.
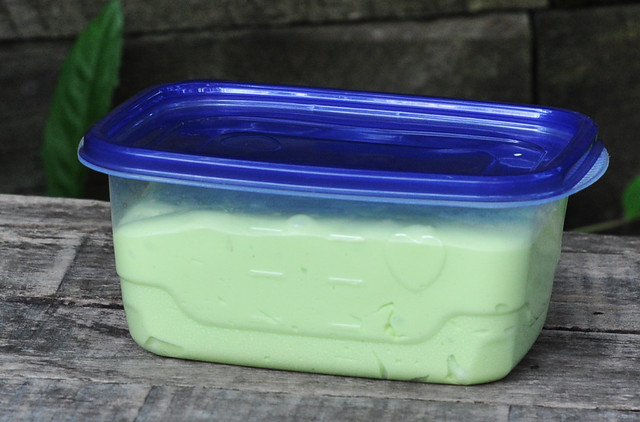
See? I told you it was easy!!!
GLITTER SLIME
Glitter slime is a lot like Neon Slime. For this recipe, you will need: 1 bottle of glitter glue, 1 cup warm water + 1-2 TBSP warm water, 1 tsp Borax, spoons for stirring, and 2 mixing bowls.
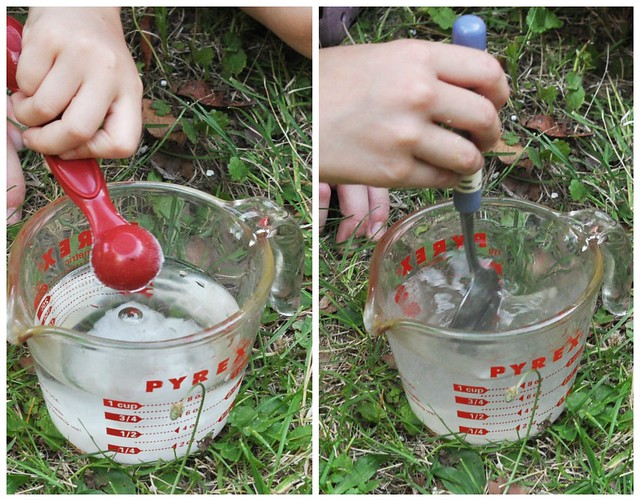
STEP ONE: Dissolve 1 tsp Borax in 1 cup warm water.
STEP TWO: Pour glitter glue into large bowl.
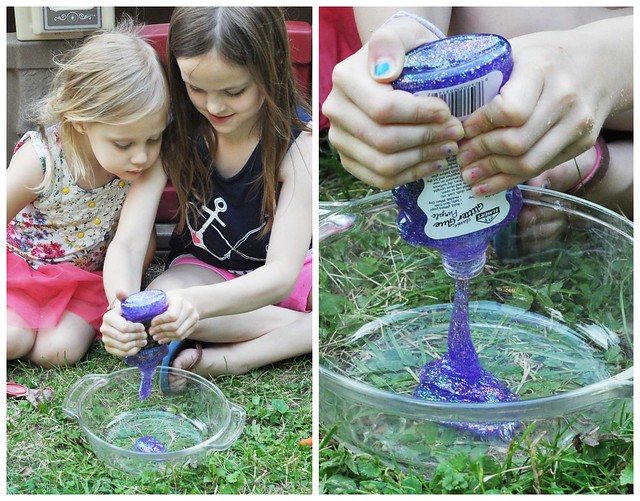
STEP THREE: Add 1-2 TBSP warm water and stir again. Isn't it pretty?!?
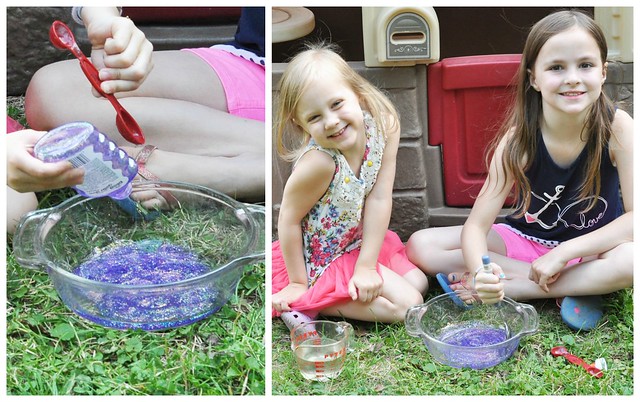
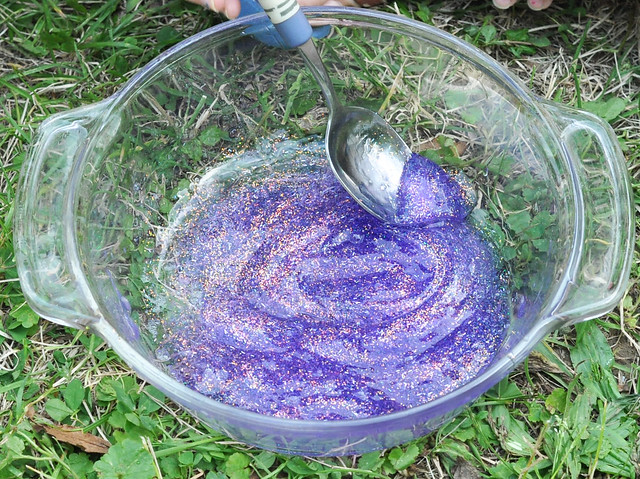
STEP FOUR: Slowly pour Borax solution into the glue solution while stirring. Once again, you will see the glue almost immediately start to solidify!
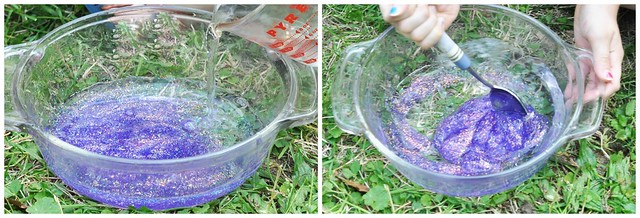
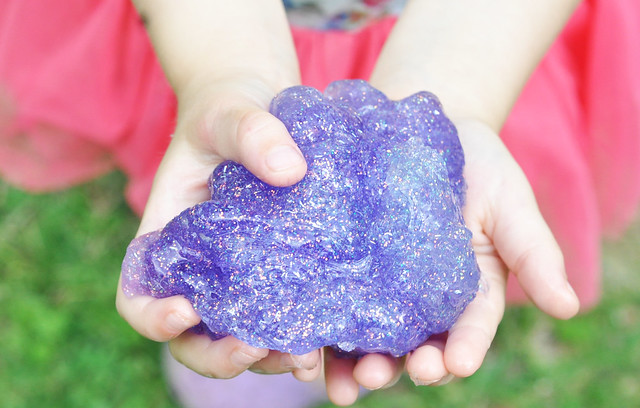
STEP FIVE: Form a ball with the Glitter Slime and knead!
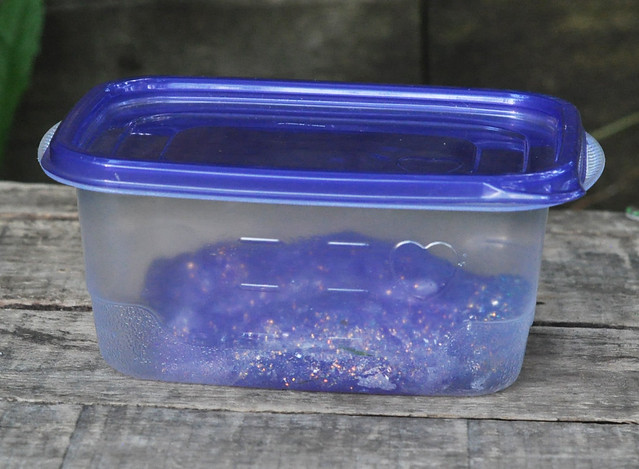
STEP SIX: Store in an airtight container or storage bag.
The end result? HOURS of fun!

Later, you might even find your 10 year old, who is growing up way too quickly, playing with the slime!
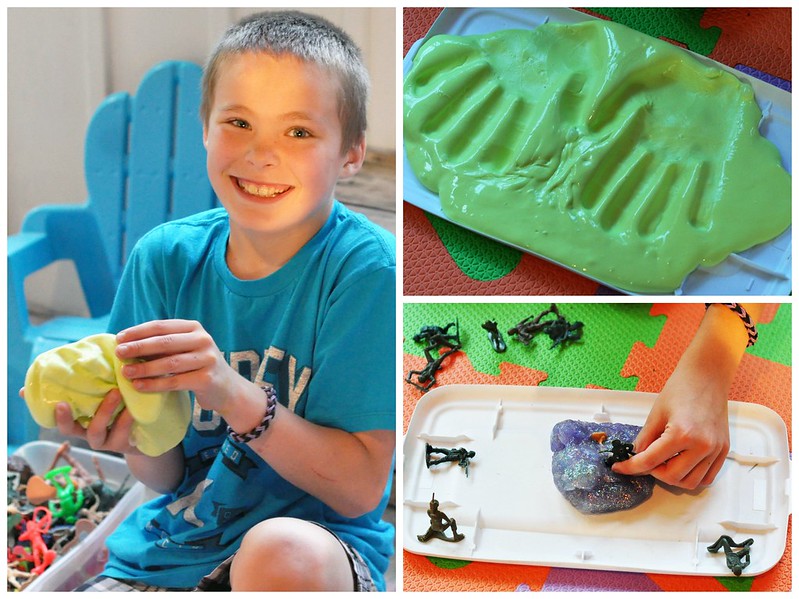
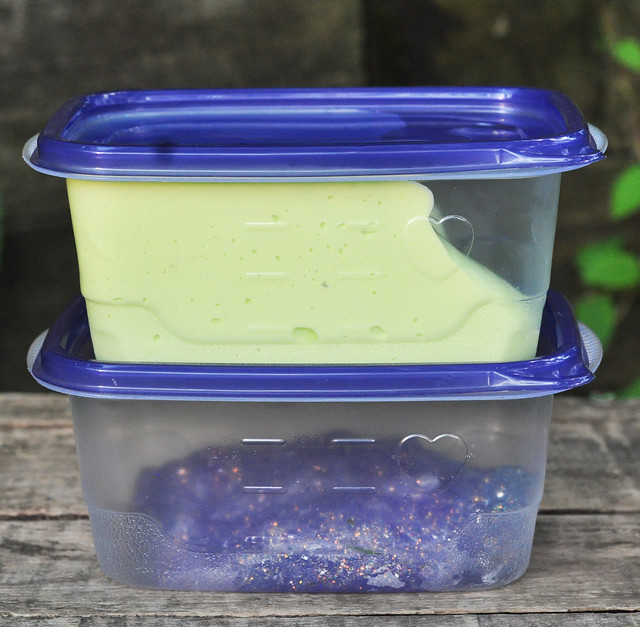
If you keep it stored in an airtight container/bag, it will last for weeks!
What are you waiting for?!? Go make some slime!!!

That looks like so much fun! I would have loved that as a kid, especially the purple sparkly one lol
ReplyDeleteThey loved it! I'm going to admit, my husband and I were playing, too!
DeleteI'd love to make some of those slime, but my babies (the ones I babysit) are little!! though I made playdoh with one, and it turned out very well... looks like the had so much fun doing it
ReplyDeleteThey loved it and they're still playing with it. Success!
DeleteWell, now I know what I'm doing with my kids tonight! Thanks for sharing the recipes.
ReplyDeleteI hope they enjoyed it!
DeleteSo cool! I think my husband would love it the most... I don't think you can be too old for slime!
ReplyDeleteHaha! My husband loved it too!
DeleteOh this will be fun to try! We've got it at a ninja turtle party before for the favor - will be fun to make our own!
ReplyDeleteWhat a fun idea for a favor!!!
DeleteWOW! How fun! You're always amazing me with your ideas and activities for the kiddos. I'll definitely be making this. :)
ReplyDeleteThank you! I like to keep it simple and stick with just one activity a week!!!
Delete