Can you believe it's already the last week of July? I actually saw first day of school pictures in my Facebook feed today. WHAT?!? That just seems way too early. We still have one month of Summer break left and we have so much planned! I know that time is going to pass by so quickly, though.
This past week was a blur. The end of last week wasn't the best and I had 4 big projects due in a 24 hour time period. My entire weekend was spent working, with the exception of going out to dinner with my husband for his birthday. And today? Let's not go there! I'm just now sitting down and it's almost 2 AM!
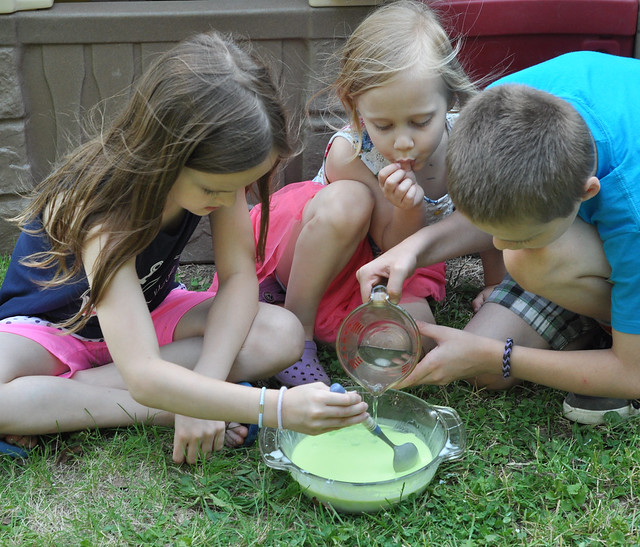
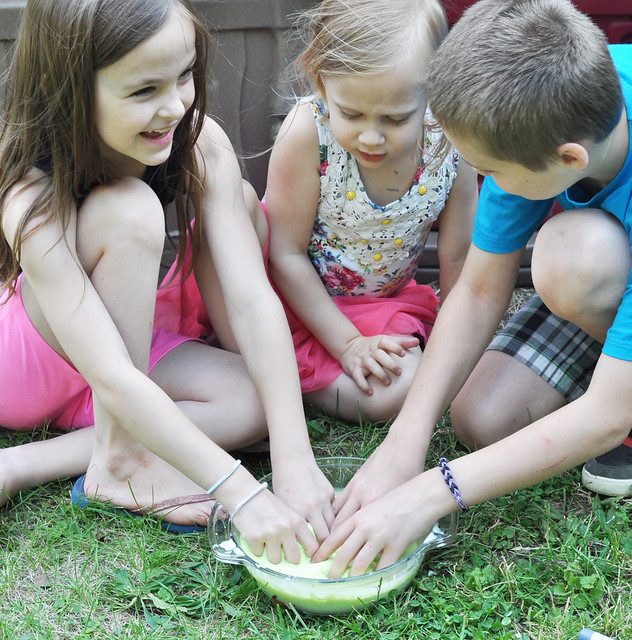
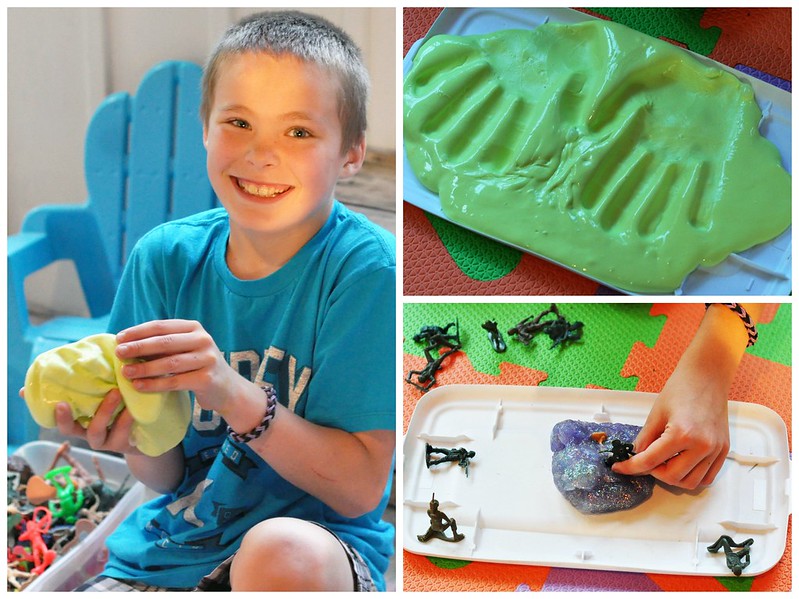
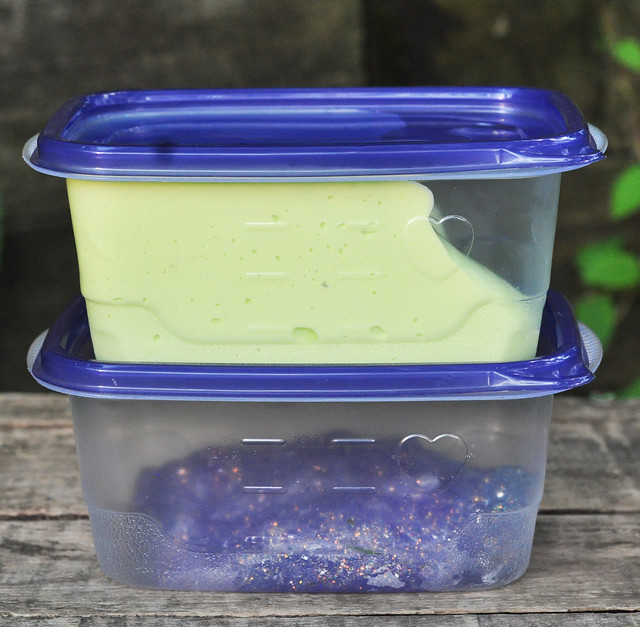
Although the kids enjoyed this week's Camp Mom activities, some of them were essentially a Pinterest fail. This was the first week I relied on Pinterest for more than one activity. Lexie really wanted to do a fish theme this week and she chose a few while browsing Pinterest. Well. Even the fails need to be shared, right? Even though they weren't quite what we expected, the activities were definitely fun!
For "Fish Week" we made a foil fish craft, created sensory bottle aquariums (Pinterest Fail), whipped up a Jello Aquarium recipe (Pinterest Fail) and made fish slime (Semi-Pinterest Fail). I'm learning that it's best to just alter some of our favorite activities instead of relying on Pinterest! For our "field trip" we planned to go to the Pittsburgh Zoo & PPG Aquarium, but it was way too hot outside. We changed our plans at the last minute and headed to the spray park instead!
Here's a recap of all the fish-themed Kids Activities we did this week:

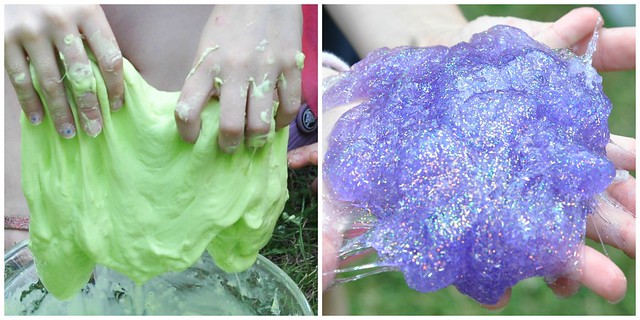
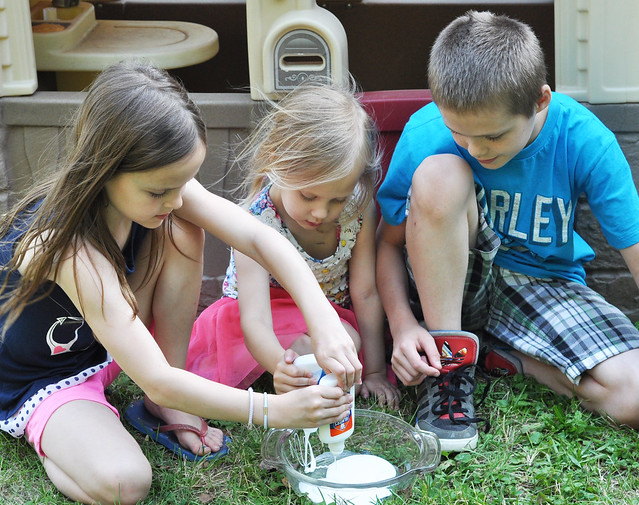
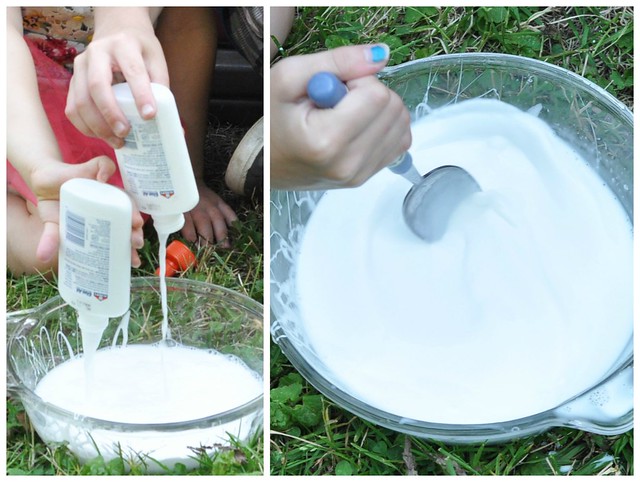
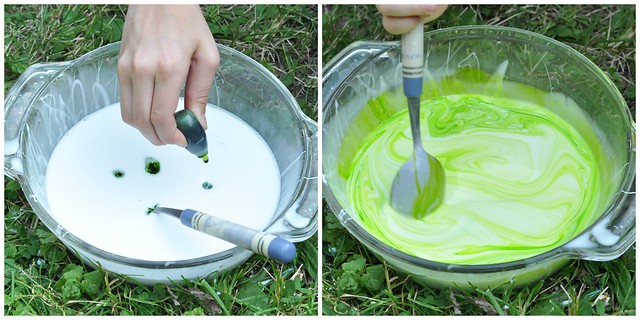
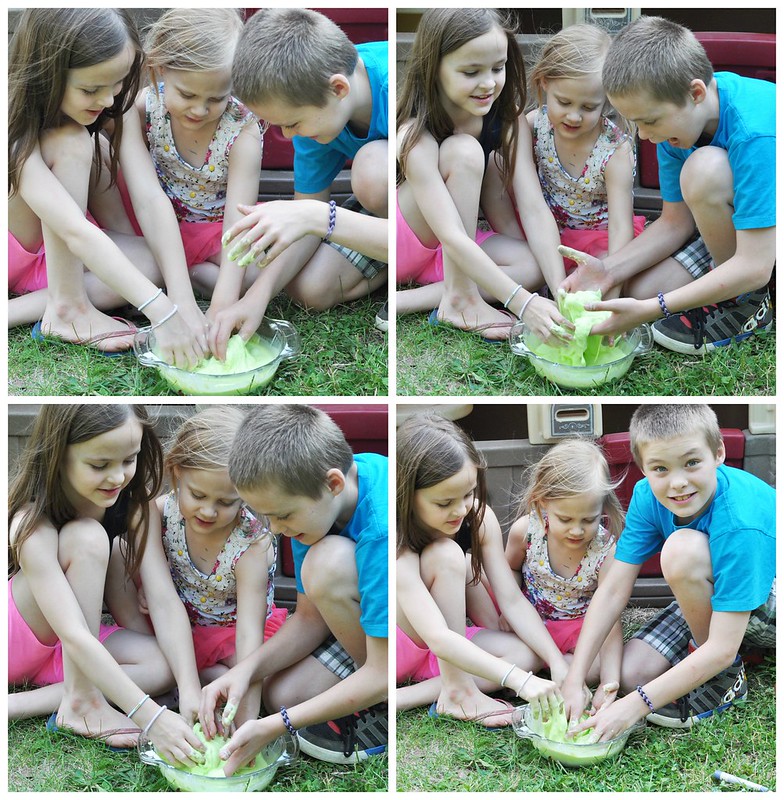
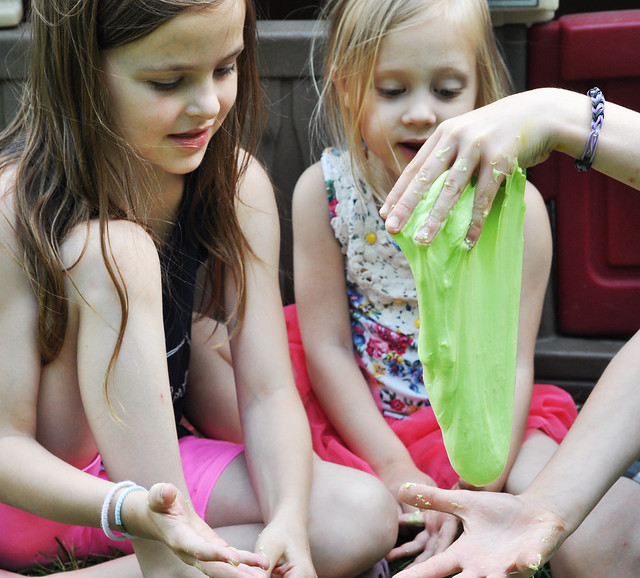
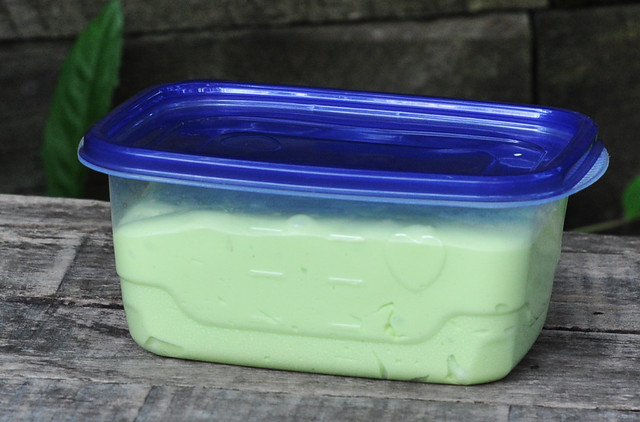
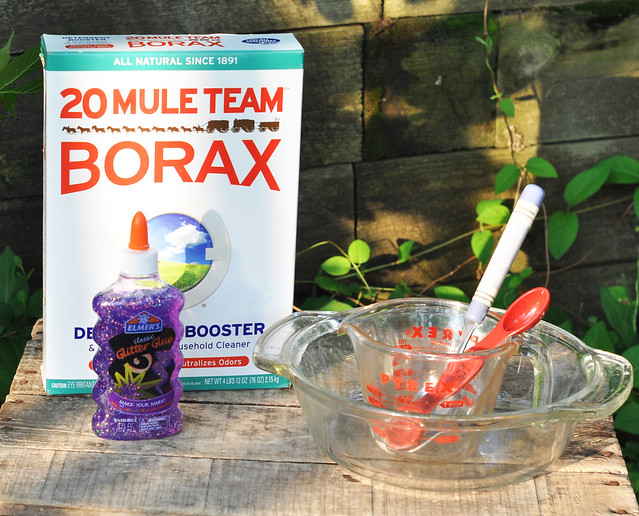
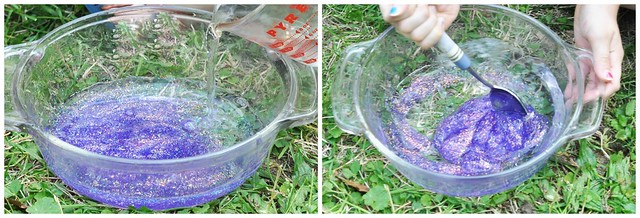
Fish Slime - Camp Mom Day 31
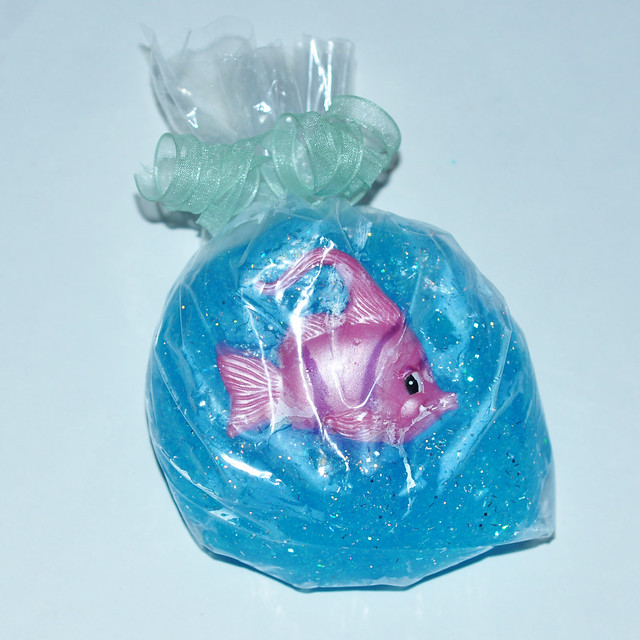
SUPPLIES:
- 1 Bottle Blue Glitter Glue
- Borax
- Water
- Bowl and Spoon for Mixing
- Clear Bag
- Rubber Band
- Ribbon
- Plastic Fish
FISH SLIME RECIPE:
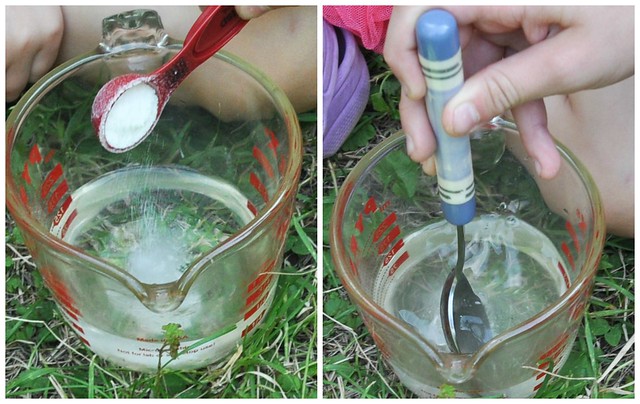
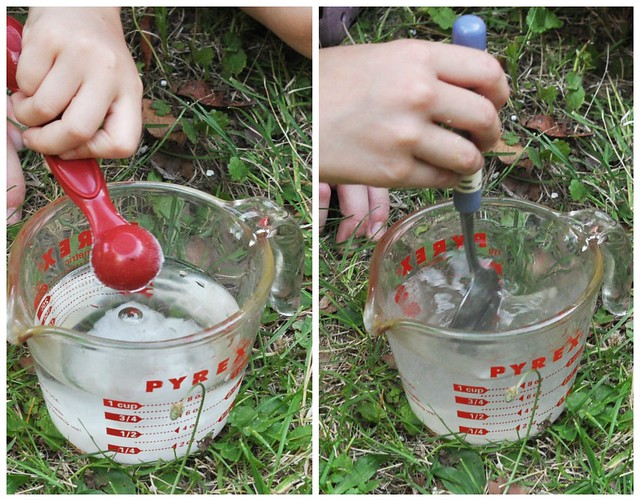
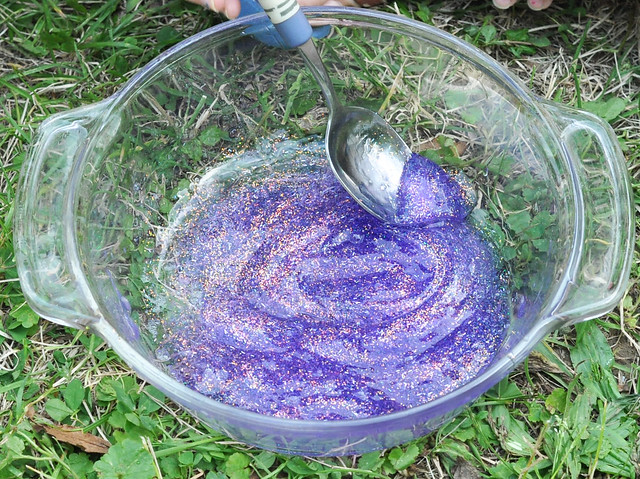
- Mix 1 tsp Borax into 1 cup warm water.
- Empty glitter glue into a bowl, add 1 tbsp warm water and mix.
- Slowly add Borax mixture to the glue mixture while stirring.
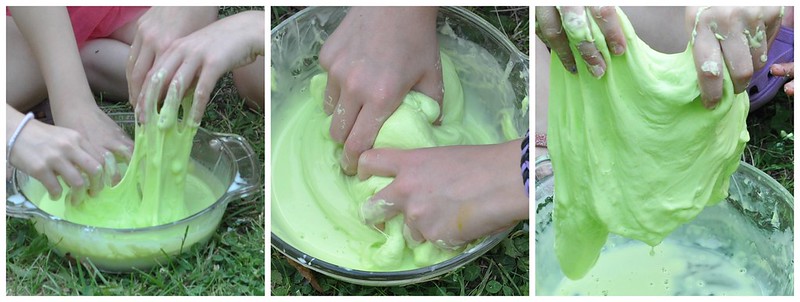
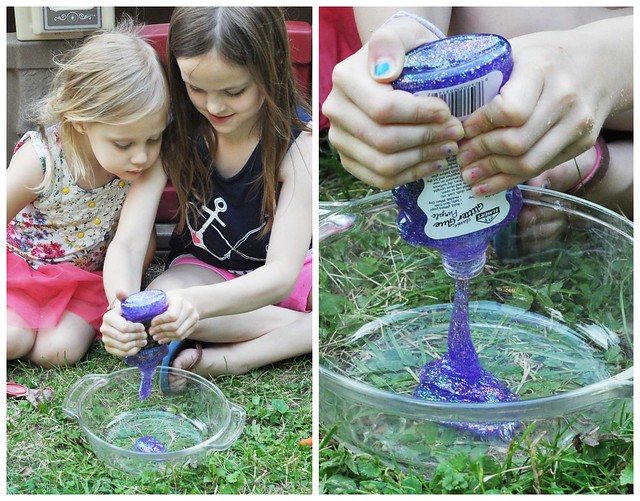
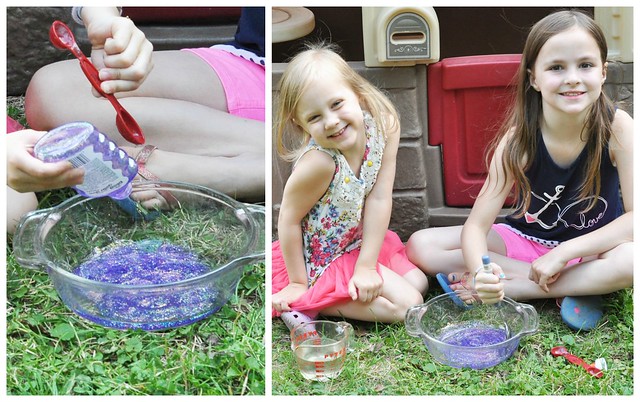
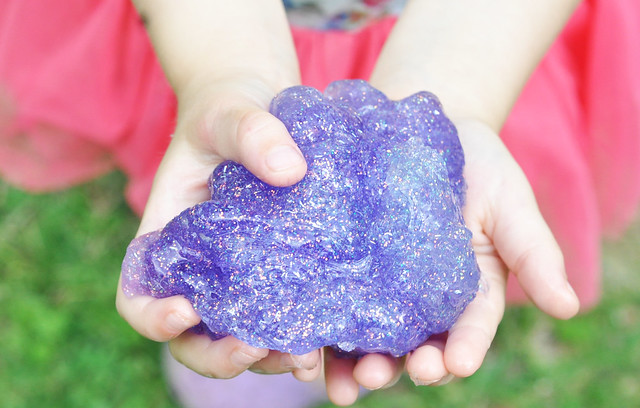
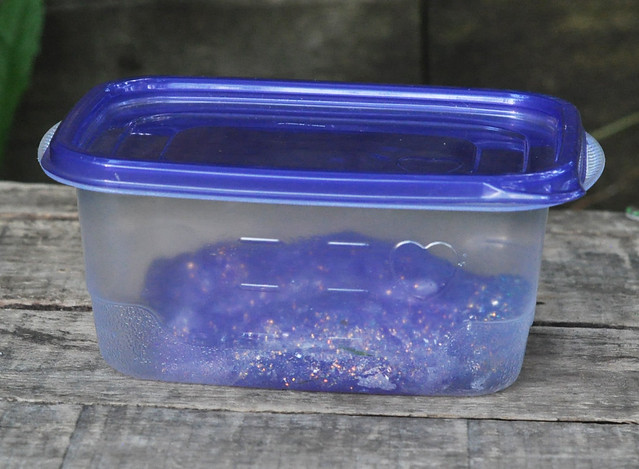
- Form slime into a ball and press a fish into the front.
- Slide slime into clear bag, tie with a rubber band and embellish with a ribbon.
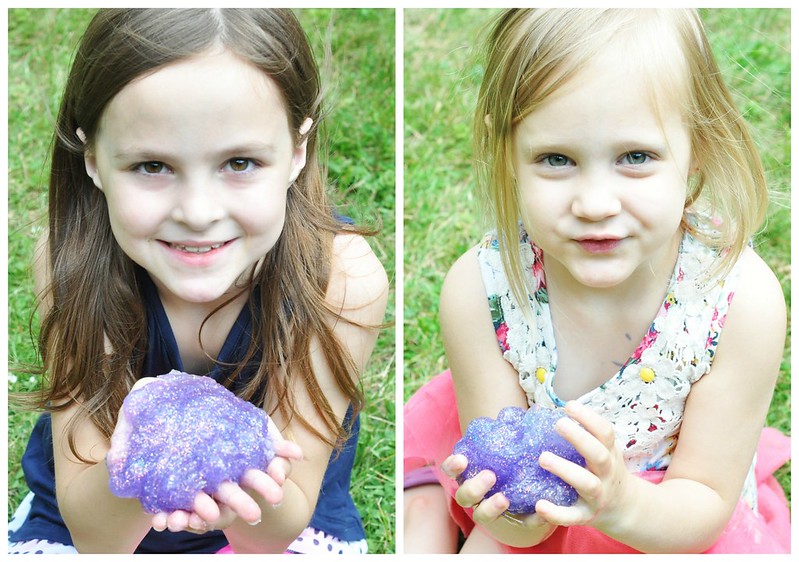
We made the slime according to the Pinterest recipe, but it turned out much too dark. We tried it again using our slime recipe and it was a bit lighter, but still wasn't anything like the pictures on Pinterest. There's simply no way to see the fish if you put it IN the glitter slime, so we just pressed it into the front of the slime before sliding it into the bag! Although it wasn't what I expected it to look like, it was still very cute and my girls loved it!
Foil Fish Craft - Camp Mom Day 32
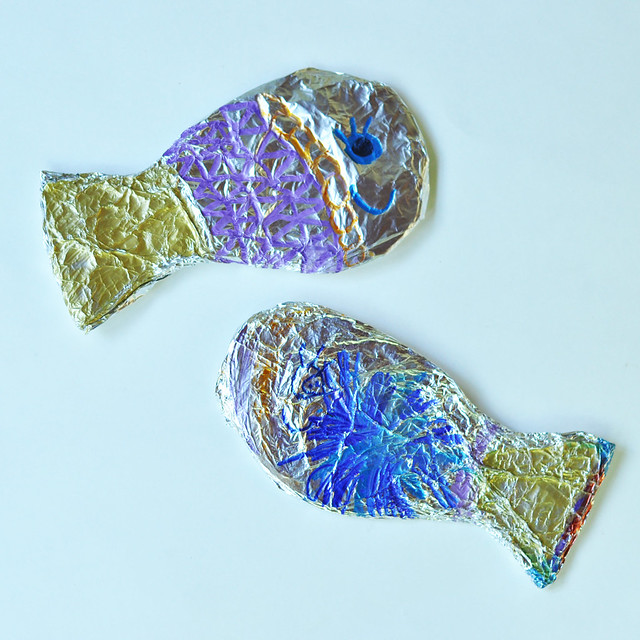
SUPPLIES:
- Cardboard
- Aluminum Foil
- Sharpies
- Draw a fish shape onto a piece of cardboard and cut it out.
- Cover the cardboard fish shape in a sheet of foil.
- Give the kids some sharpies and let them decorate their fish!
Sensory Bottle Aquariums - Camp Mom Day 33
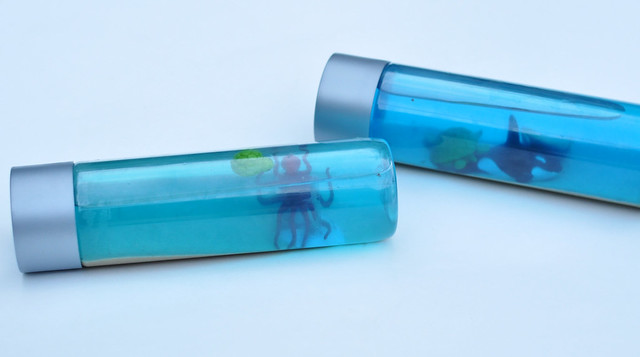

SUPPLIES:
- Water Bottles with a large opening (I bought Voss water.)
- Plastic fish and sea creatures and shells
- Sand
- Water
- Blue food coloring
- Add about 1-2 inches of sand to the bottom of the bottle.
- Fill the bottle with warm water, add a drop of blue food coloring and shake.
- Drop plastic fish and sea creatures into the bottle.
- Seal the lid very tightly!
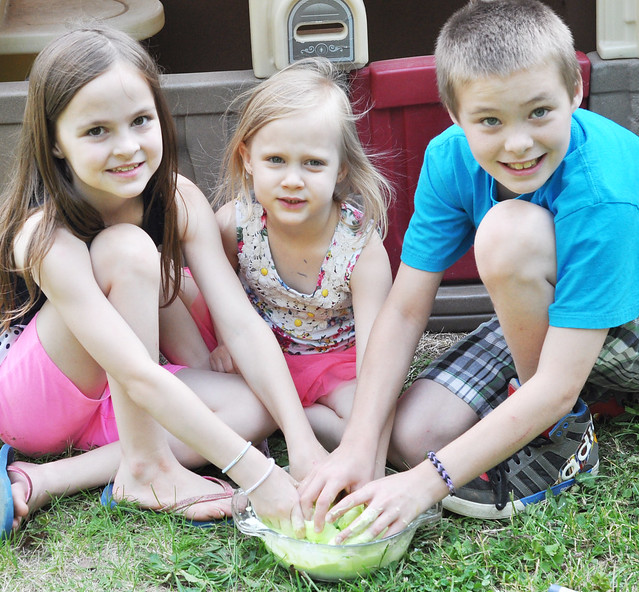
Jello Aquariums - Camp Mom Day 34
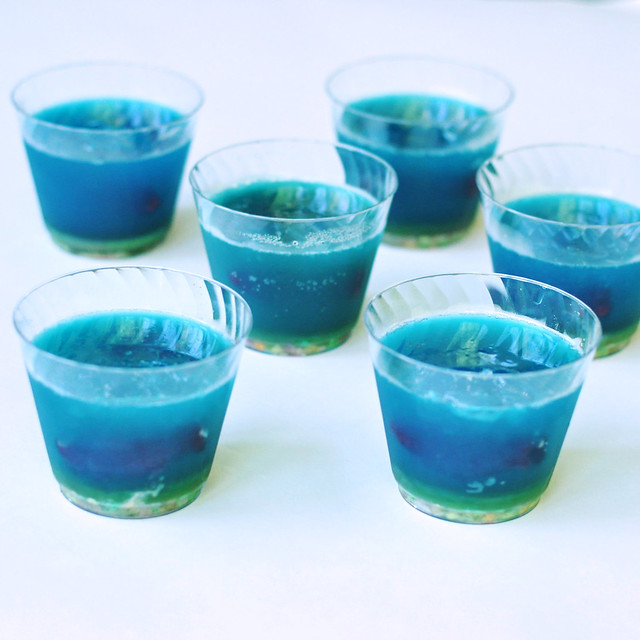
SUPPLIES:
- 2 small boxes blue Jello
- Swedish Fish
- Nerds
- Clear Cups
- Cover the bottom of a clear cup with a thin layer of Nerds.
- Prepare Jello as directed and allow to cool to room temperature.
- Fill the cups with Jello and refrigerate.
- After about an hour, carefully push the Swedish Fish into the Jello.
- Allow to set for 4 more hours.
Liam, however seemed to enjoy it. He had some after a meal of Spaghetti. By the time he was done he looked like a Zombie who devoured a Smurf.
My advice? Just make a cup of Jello and enjoy! Toss a few Swedish Fish on top if you're feeling inspired! Just keeping it real...
Pinterest FAIL.
Spray Park - Camp Mom Day 35
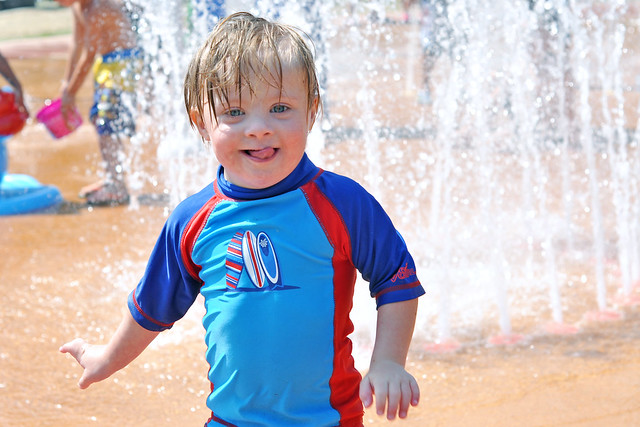
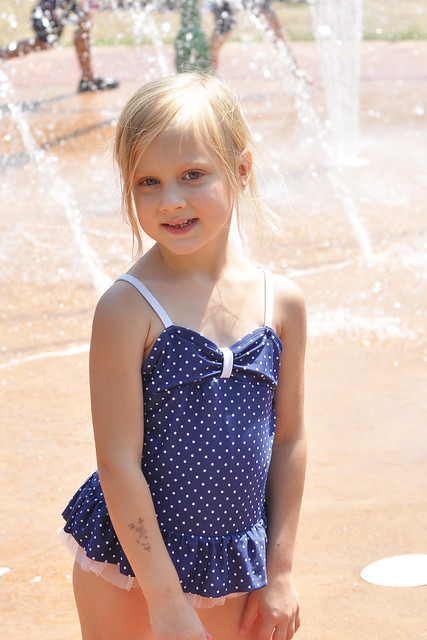
Sometimes a last minute change in plans works out well. The spray park was a much cooler option than the zoo on a 95 degree day! Plus, it was even better with friends!
Here's to better luck next week!
Coming up next week:
- Banana Pops Recipe
- Sponge Bomb Battle
- "Field Trip"
- Sand Foam
- Window Garden Craft
You might also like the kids activities in these posts:
Camp Mom Week One
Camp Mom Week Two
Camp Mom Week Three
Camp Mom Week Four
Camp Mom Week Five
Camp Mom Week Six
Have you had a Pinterest Fail lately?
LET'S CONNECT!
Linking up for Tuesday Talk.