That's why I love my weekly activity time with Lily! We are having so much fun coming up with ideas for activities, buying our supplies, and following through with the activity!

Lily LOVES playdoh! She plays with it daily, and it keeps her busy for hours. When I informed her that we could make our own playdough, her eyes lit up! So this week, we did just that!
A quick Google search will confirm that there are thousands of recipes for homemade playdough. Instead of becoming overwhelmed, I turned to an old favorite!
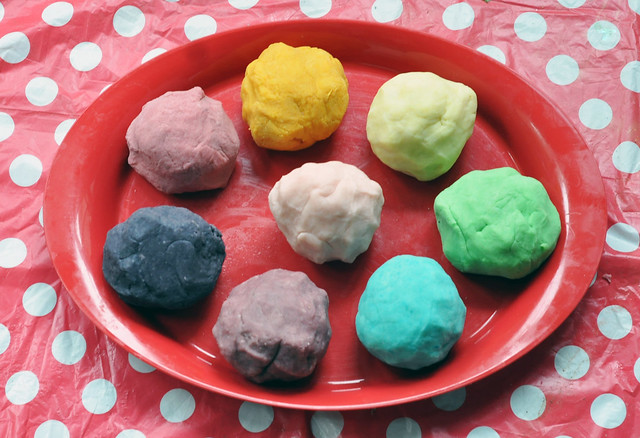
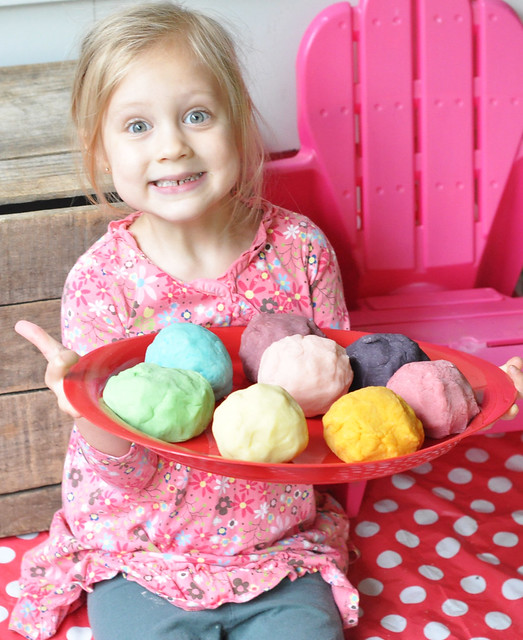
This recipe is very easy to make, and the result is the perfect amount of playdough. Not too much, but not too little! Each batch of playdough fills two 4-oz containers. One to keep and one to give away! We make several batches of this recipe to get a variety of colors. This time, Lily and I made 8 batches! She wanted a rainbow!
Kool-Aid Playdough
- 1/2 cup boiling water
- 1 tbsp cooking oil
- 1/4 cup salt
- 1/2 cup flour
- 1 packet Kool-Aid
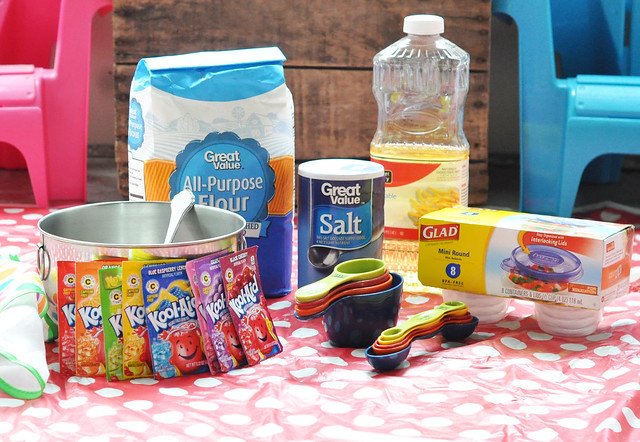
As with any activity, I highly recommend a bib or a smock and a reusable tablecloth!
Making the playdough is quick and easy!
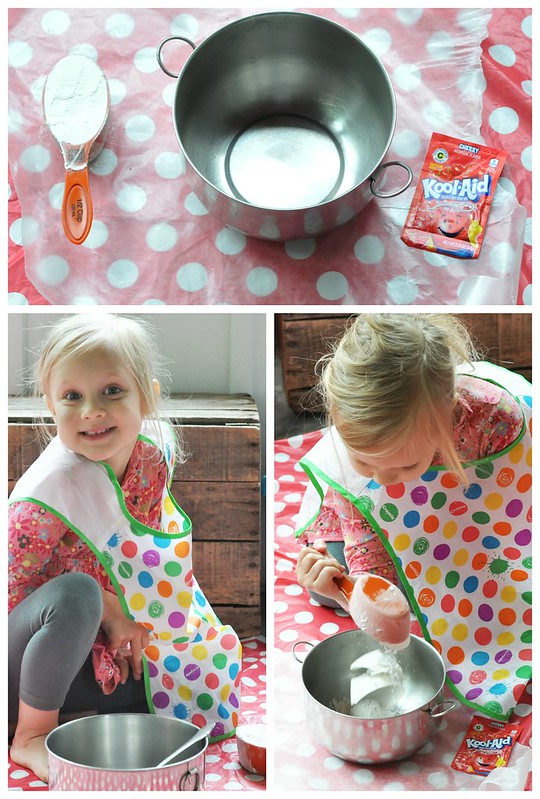
Step 1: Measure all the ingredients and set them aside. Grab a mixing bowl, the flour, and a Kool-Aid packet. Dump in 1/2 cup flour and 1 Kool-Aid packet. Stir.
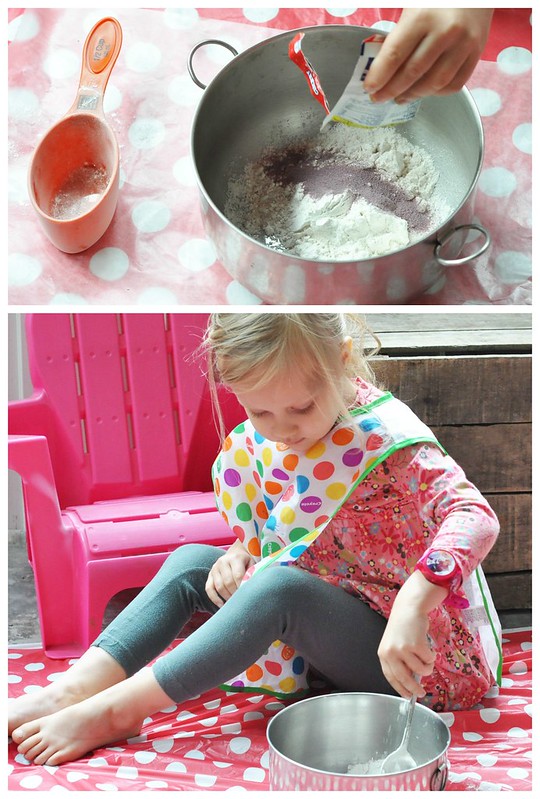
Step 2: This is the part where you will need to supervise your child or do it yourself! Boil 1/2 cup water. (I like to put my Pyrex container of water in the microwave for 2 minutes on high.) Carefully pour 1/4 cup salt and 1 tbsp oil into the water. Stir until salt dissolves, then pour the water into the flour mixture. Stir until it becomes the consistency of dough.
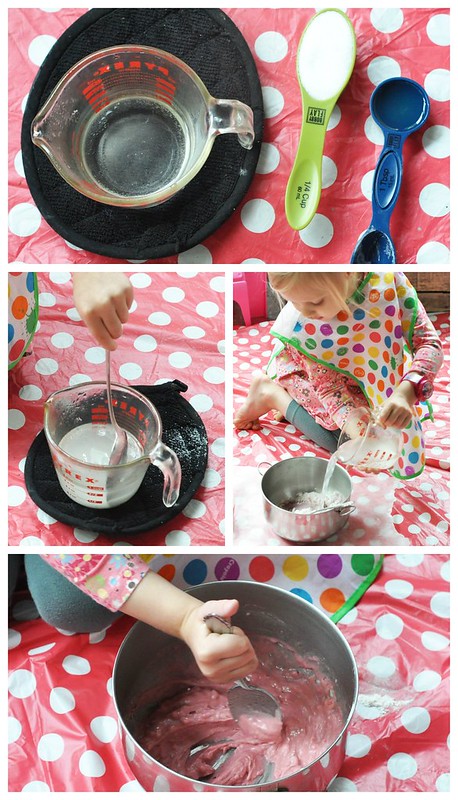
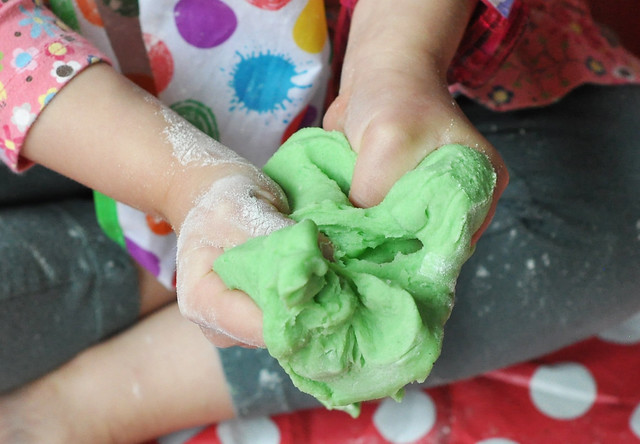
Step 3: After a few minutes of stirring, roll the dough into a ball and start to knead. Test the temperature first, but by this point, it should just be very warm. This is the fun part! A big bonus? If you have dry hands, kneading the dough works wonders! After several minutes of kneading, you will have soft, fruity-smelling playdough!
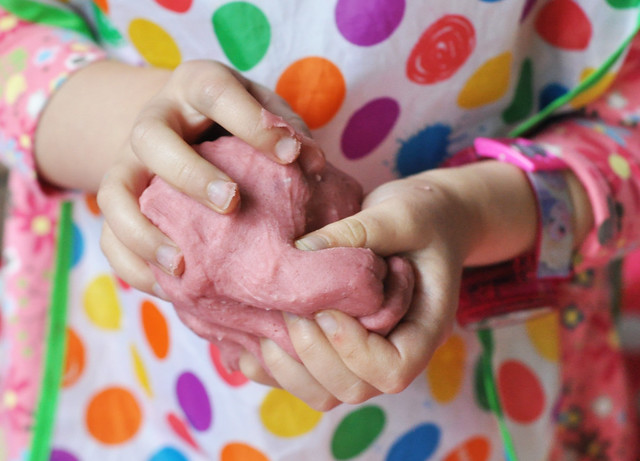
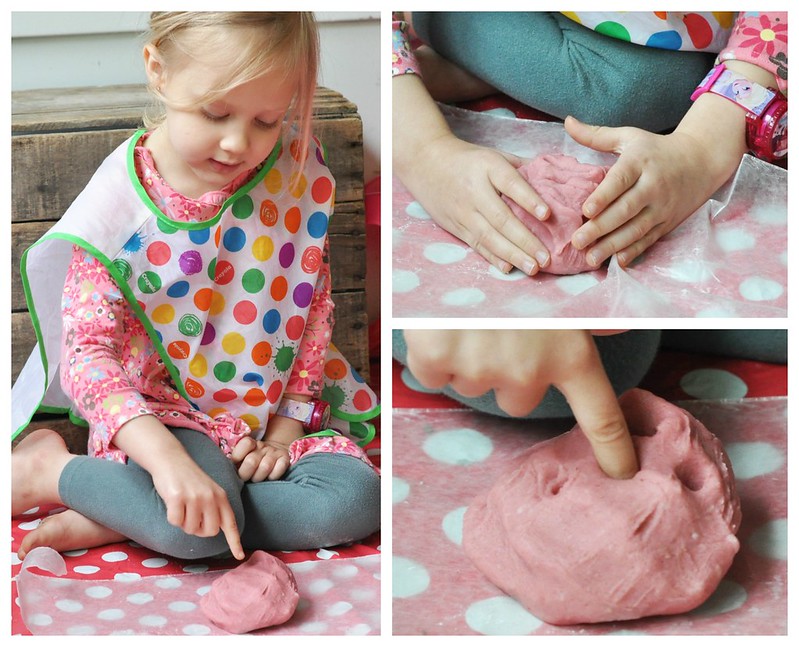
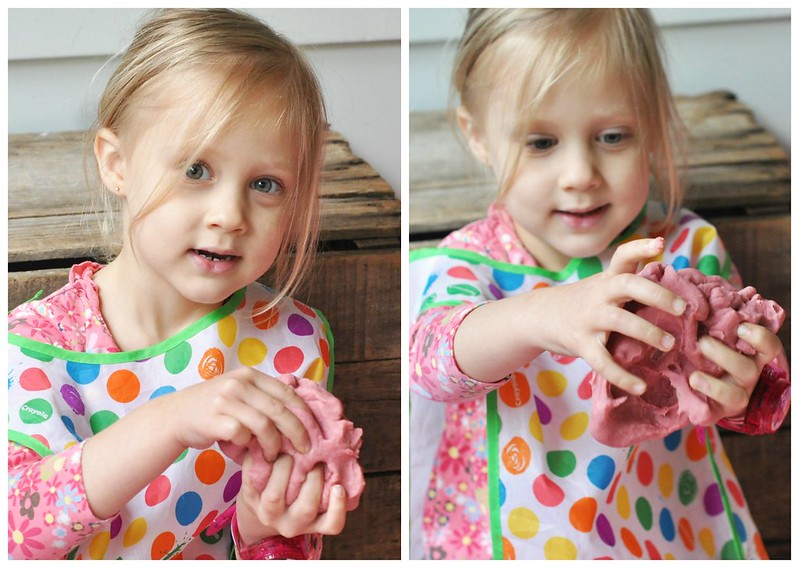

Step 4: Repeat steps 1-3 until you make all the colors you chose!
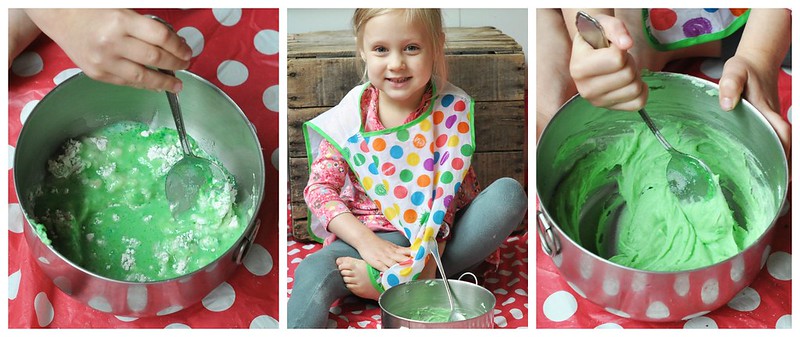
Step 5: ENJOY!!!
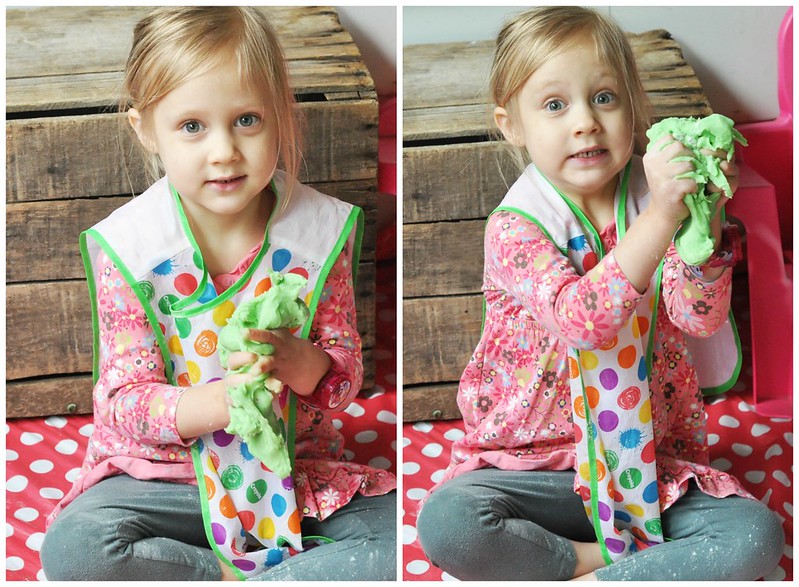
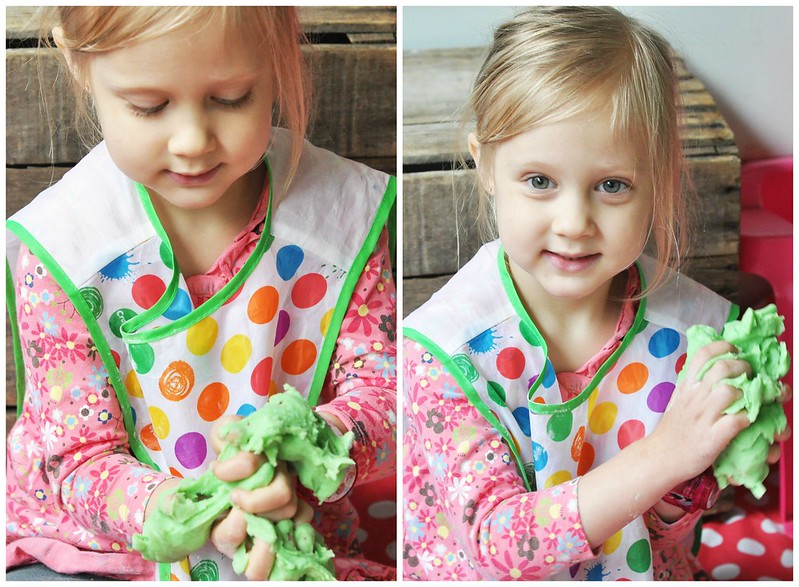
We LOVE this playdough! Not only does it smell good, but it's incredibly soft. It's easy to separate the colors if they get smashed together during play (and they will!). This pleases my OCD side!
For easy storage, I use 4-oz round or square plastic containers. You can buy them for less than $2 for 8 containers, and they keep the playdough from drying out.
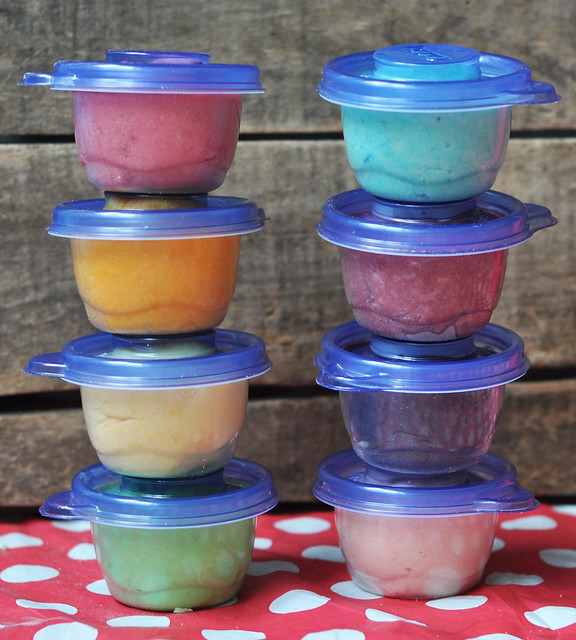
We hope you enjoy making this playdough as much as we do!!!

I LOVE the idea of a weekly one on one activity time! I'm going to implement that. And I know my preschooler will love making this play dough!
ReplyDeleteThank you! I wish I hadn't waited so long to make it a weekly thing!
DeleteOH m gosh how awesome! What a much safer and much cheaper way to play with playdough!
ReplyDeleteThank you! She loved making it!
DeleteLove her apron and she also has the most photogenic face!!
ReplyDeleteThank you, Sarah!
DeleteCutie Lily! We have make your own playdoh on our summer bucket list too! And it separates??? SIGN. ME. UP.
ReplyDeleteAwesome! It really does separate so much better than regular playdoh!
DeleteSo much fun! We should put this on our summer bucket list! Your little model is adorable :).
ReplyDeleteThank you! Give it a shot. I bet your girls would love it!
DeleteThis post brings back so many good memories, this is how my mom used to make play dough when I was little. So much fun!
ReplyDeleteSuch sweet memories!
Delete