Our Five Ring Circus: Cupcakes
Showing posts with label Cupcakes. Show all posts

Friday, April 14, 2017

Five Favorite Easter Ideas for Kids: Eat, Craft, Play!

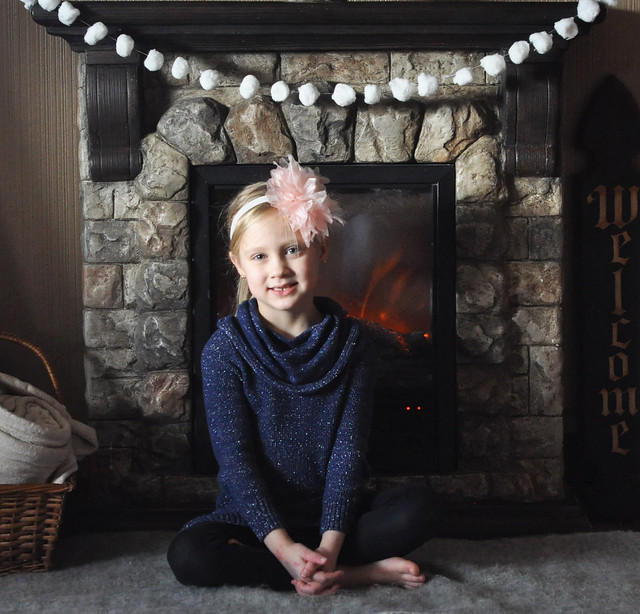
Happy Easter weekend to those of you who celebrate! I love Easter so much, and I'm really looking forward to spending it with my sweet family.


We have been in Easter mode all week. From reading books to having an Easter picnic to baking to crafting, we managed to check almost everything off of our Easter Bucket List. The only thing I didn't manage to do? Finish decorating the house! The flu that took down 5 of our 6 family members over the past few weeks really got in the way of our Easter plans. More than half of our decorations are still in the attic! Better luck next year, right?!?

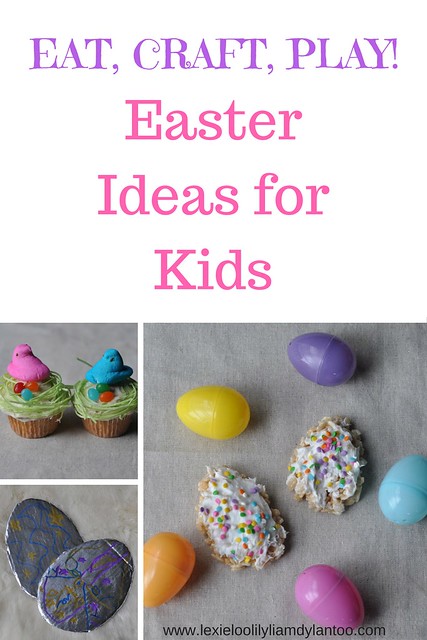
I already shared a few of our favorite Easter traditions, including a Lollipop Garden and Easter Egg Mini-Meals, but these five Easter ideas also got a big thumbs up from my kids!
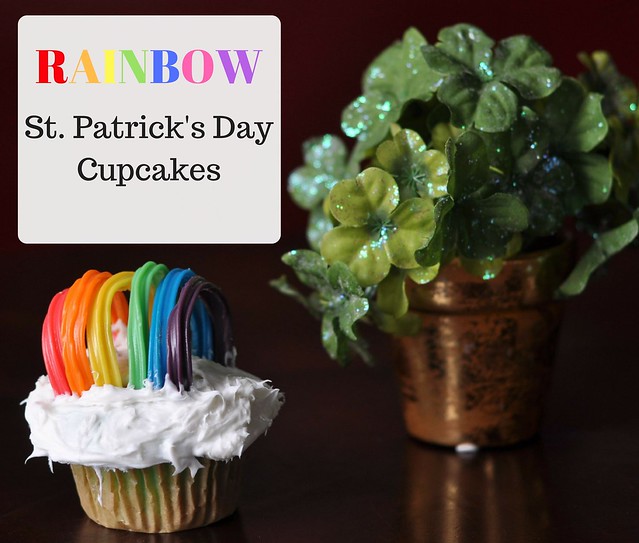
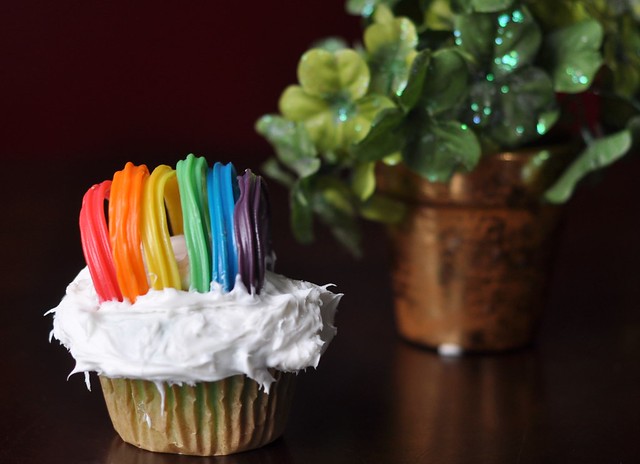
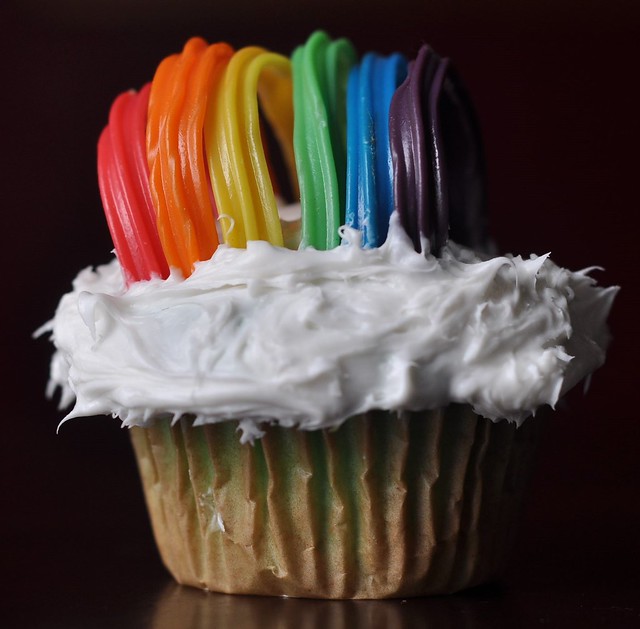
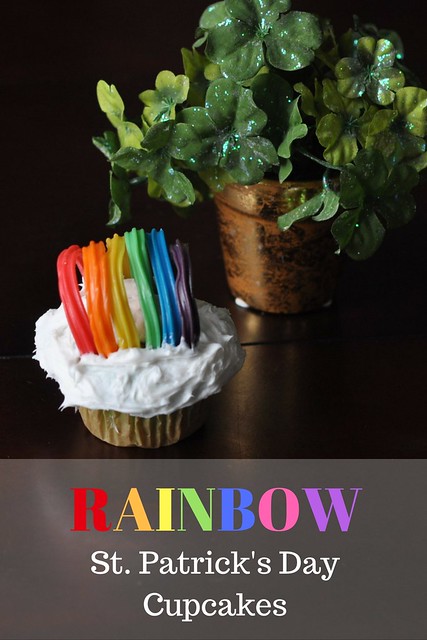
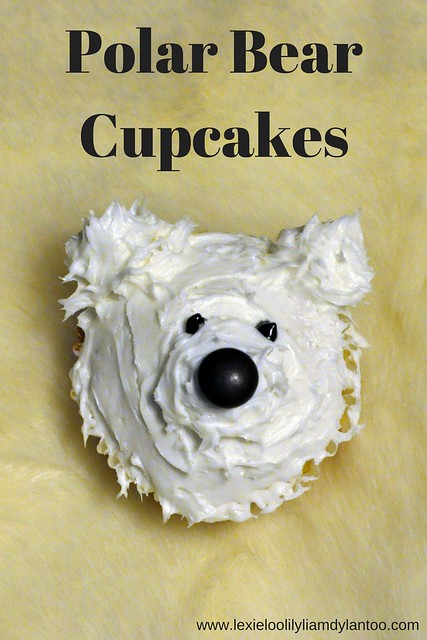
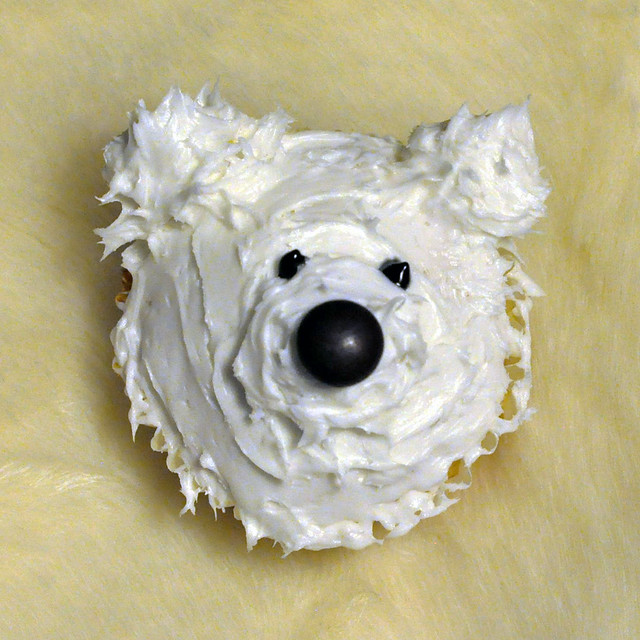
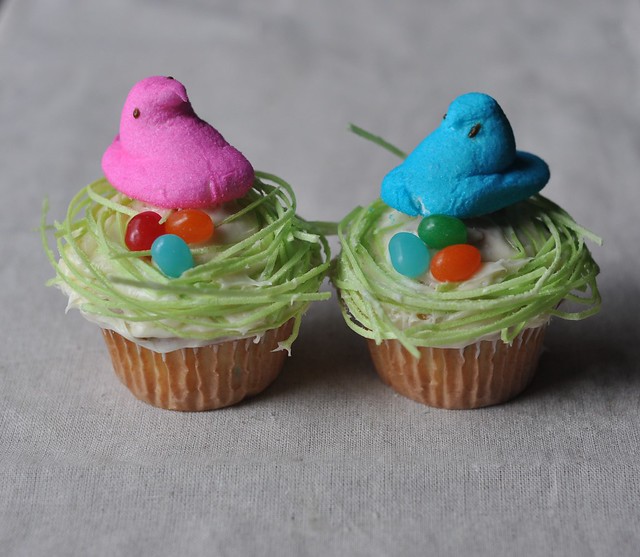
Peeps Nest Cupcakes


Easter Peeps Nest Cupcakes

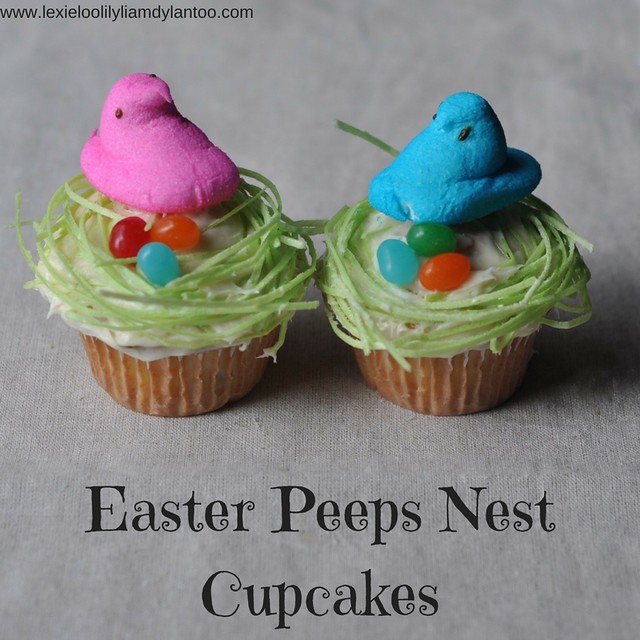
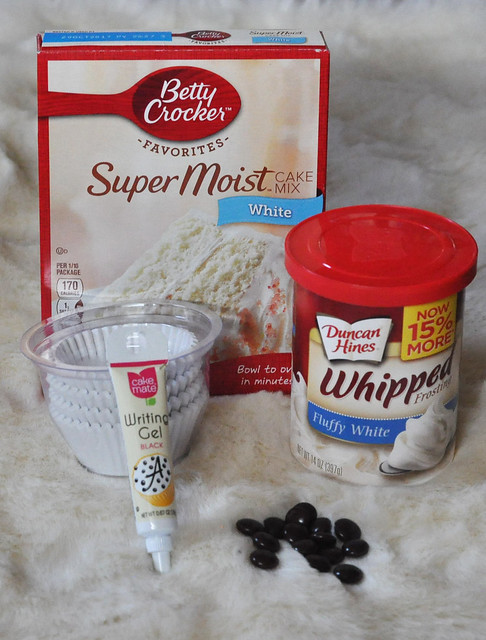
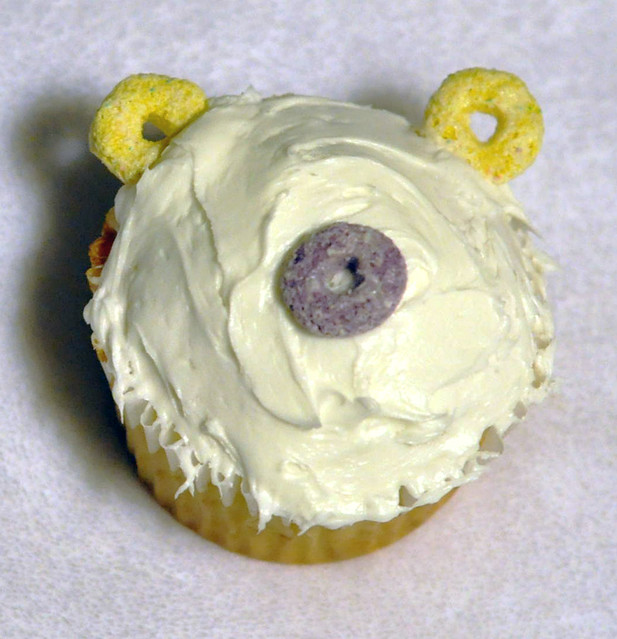
These cupcakes so cute and so easy to make! Just make your favorite cupcake, top it with your favorite frosting, then create a nest and eggs on top using edible Easter grass, jelly beans and Peeps chicks!

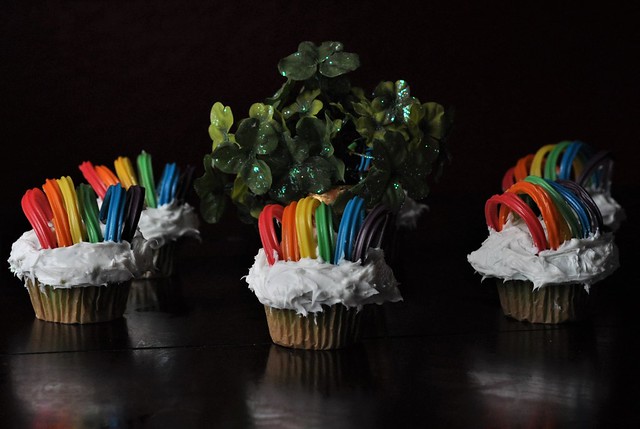
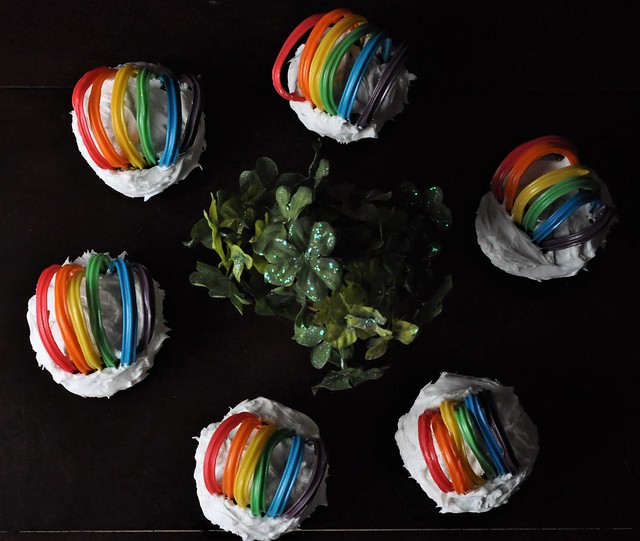
Lily had a lot of fun decorating these cupcakes with me. We had to work quickly, because the toddler tornado kept running over and stealing the Peeps off the top of the cupcakes! There were a few losses, but we ended up with 16 adorable and delicious cupcakes!

Easter Cupcakes

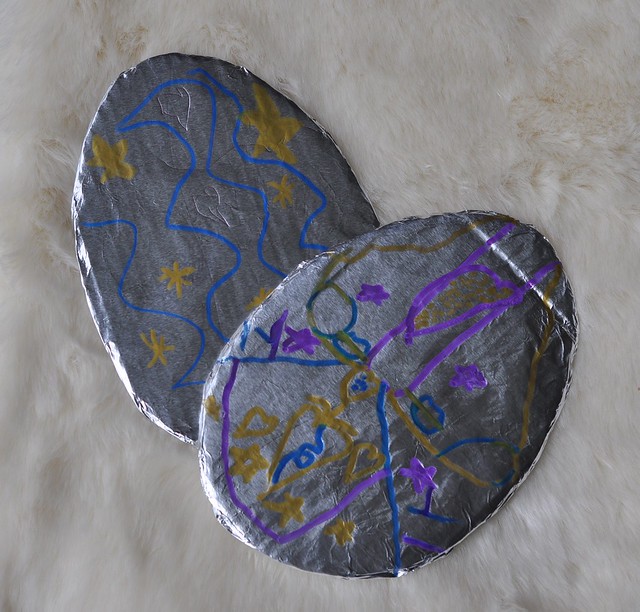
Foil Easter Egg Craft


Some of you may remember our foil fish craft from Camp Mom over the Summer. It was such a simple craft, and the kids loved it! Their foil fish ended up on display until just a few weeks ago. This craft idea is also super cute for Easter!

All you need to create this craft is cardboard, foil and permanent markers. (Metallic or Neon markers work the best.)

Easter Craft

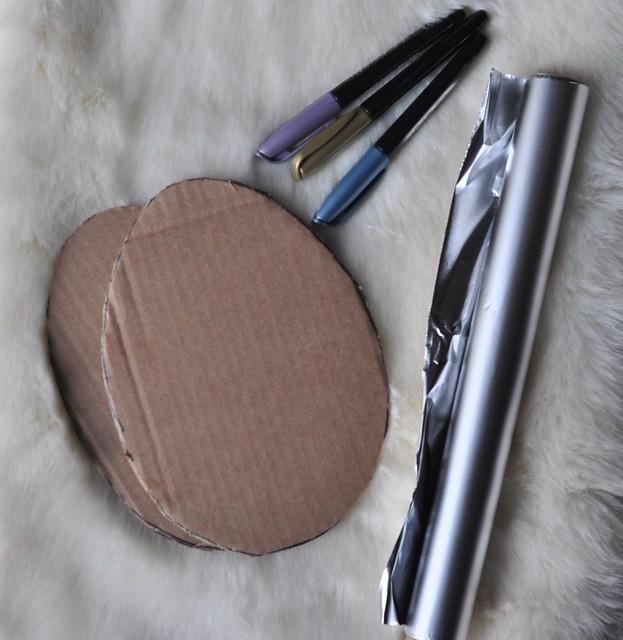
The procedure is easy! Just trace a large egg shape on a piece of cardboard and cut it out. Cover the cardboard egg with a piece of foil that is large enough to be folded over the edges. Smooth out the surface on the front of the egg and let your kids decorate it with permanent markers!

Easter Egg Craft
Easter Egg Craft
Easter Egg Craft
Easter Egg Craft

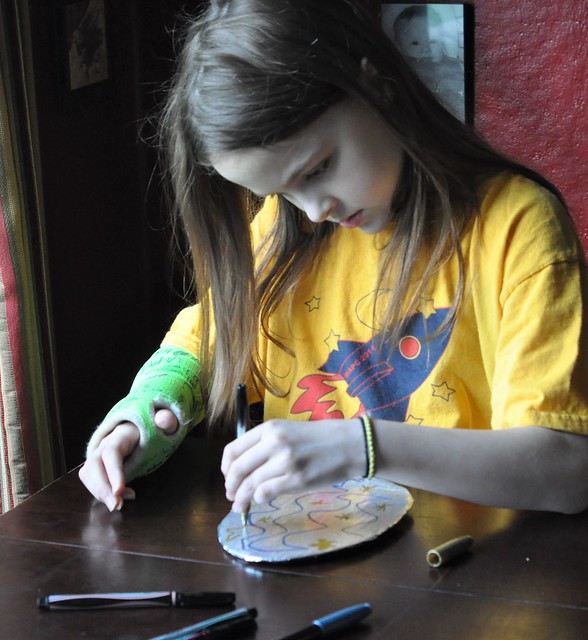
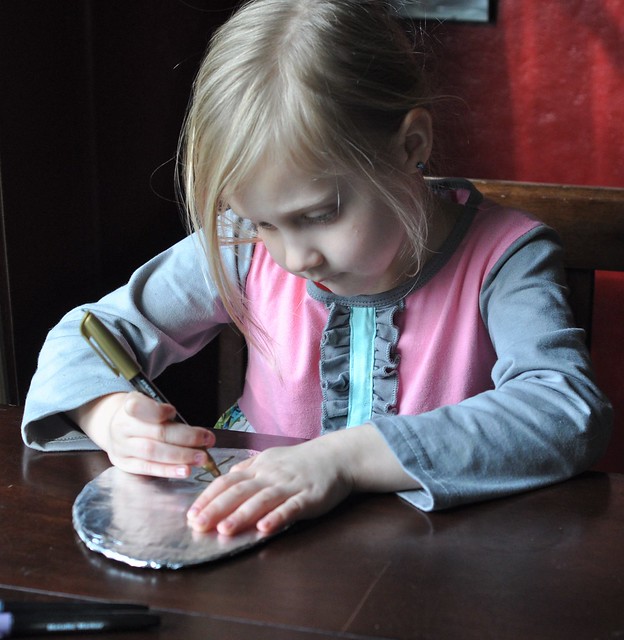
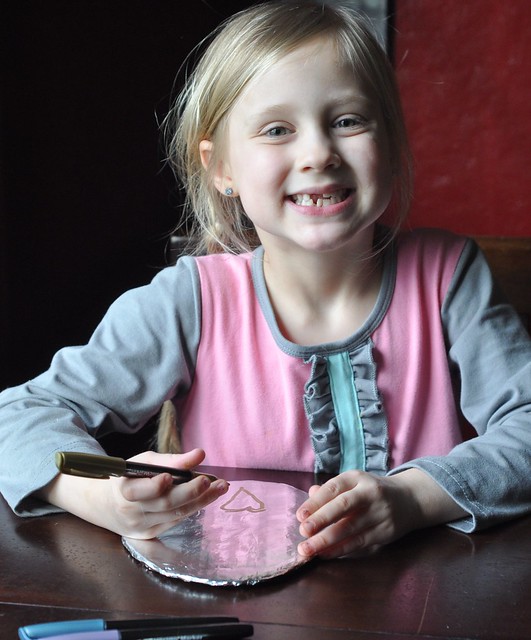
The end result is a really cute art project that can be displayed for the holiday!

Foil Craft

Easter Books


Our collection of Easter books made its way to the holiday book crate, and my kids have been reading them every day. I didn't get the chance to share all of our favorite Easter books, so I figured I would share the two books that are read the most.

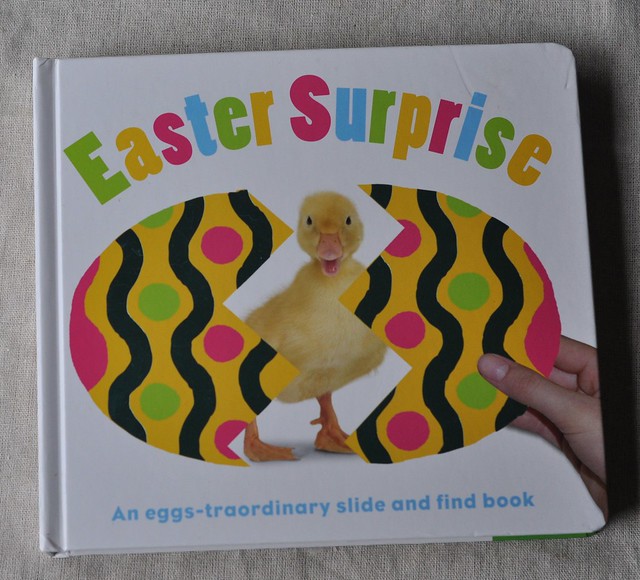
Liam loves to read and he can't get enough of Easter Surprise! He loves to pull the eggs apart to see what's inside!

Easter Books

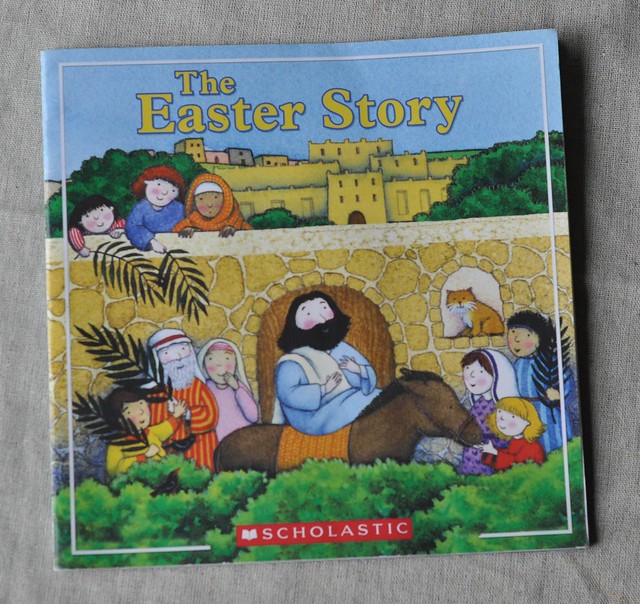
Lily is really into The Easter Story this year. It's a religious book and she has been asking so many questions. This book explains Easter in a simple way so it's easy for younger kids to understand.
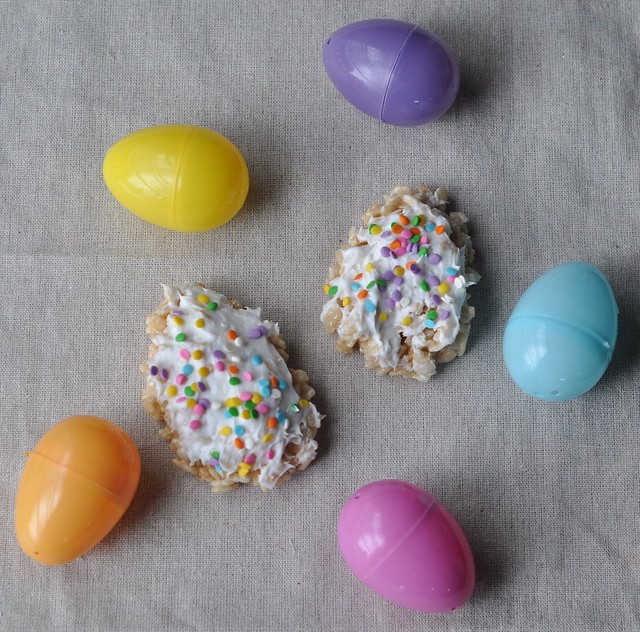
Easter Books

Rice Krispies Eggs


Once upon a time, I tried that awesome idea of filling plastic Easter Eggs with Rice Krispies Treats so they form in the shape of an egg. Yeah...never again. Getting them out of those eggs was a nightmare, even with a ton of cooking spray!

We much prefer the shaping the Rice Krispies Treats into eggs method! It still isn't as easy as it sounds, but it's much easier than the other way. They do turn out really cute!

Rice Krispies Treats Eggs

How To:

  1. Stretch out a piece of wax paper on your counter and spray with cooking spray.
  2. Make the Rice Krispies Treats according to the directions on the back of the box.
  3. Drop the Rice Krispies Treats in large, rounded spoonfuls onto the wax paper.
  4. Allow to mostly cool, then use your cooking oil-covered hands to form them into an egg shape.
  5. Allow to cool completely, then spread a thin layer of frosting on top of each egg.
  6. Top with sprinkles.


Easter Egg Sensory Bin


Sensory Bin

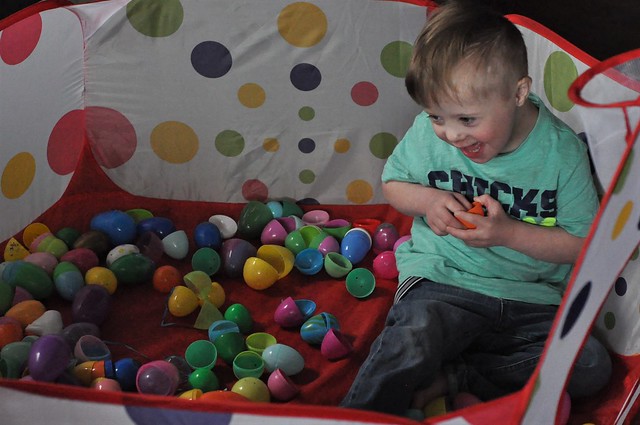
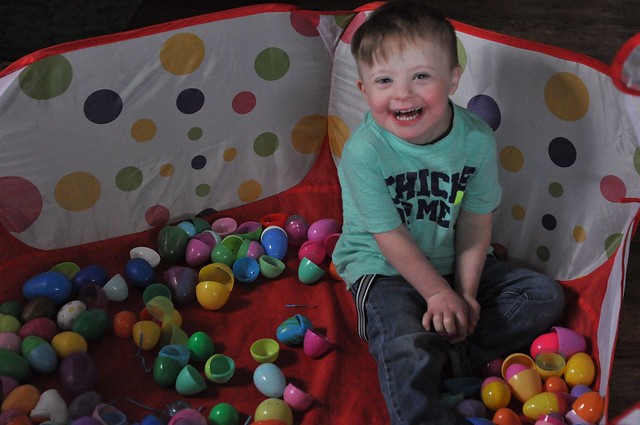
Last year, we had an Easter Egg Sensory Bin, but this year we kicked it up a notch. I grabbed our big box of plastic Easter Eggs and dumped them into Liam's ball pit! His mind was blown. He immediately crawled inside and he stayed there for an hour.

It's such a simple idea, but taking apart plastic Easter Eggs and putting them back together over and over again provides hours of entertainment! (Plus it's awesome for strengthening those fine motor skills!) It's even more fun if you give them little items to put inside. Lily and Liam love it so much that they're going to be sad to see it go!

Down syndrome

Happy Easter, my friends! 


EAT, CRAFT, PLAY! Easter Ideas for Kids!


What did you do to celebrate Easter with your kids this week?


Tuesday, March 14, 2017

Rainbow St. Patrick's Day Cupcakes {Tuesday Talk}

Happy St. Patrick's Day week! I'm not the least bit Irish, but my husband and children are, so we celebrate!


My kids and I are hard at work making lots of St. Patrick's Day themed recipes and crafts this week. But let's be completely honest here. *I* am the one who is doing most of the work while they run circles around me! #keepingitreal (Check back on Friday for more fun ideas and feel free to link up your green St. Patrick's Day posts that day for the "A Year of Color" link party!)

Yesterday, we (I) whipped up some fun Rainbow St. Patrick's Day Cupcakes to kick off our week of celebrating!


St. Patrick's Day Rainbow Cupcakes

Just like everything that I bake, these cupcakes are very simple to make, and kids love them! Now, if you want to channel your inner Martha Stewart and make these cupcakes from scratch, go right ahead. I, however, chose to save time and energy by making our favorite boxed cake mix and adding a few drops of green food coloring to make them more festive! Because in the spirit of keeping things real, my kids only eat the top half of the cupcakes anyway!

INGREDIENTS & SUPPLIES:


  • Boxed Cake Mix or Ingredients for Homemade Recipe
  • Green Food Coloring
  • Classic White Frosting
  • Rainbow Licorice
  • Baking Cups
  • Muffin Pans
  • Gold Coins (optional)


Rainbow St. Patrick's Day Cupcakes

DIRECTIONS:


1. Make the cupcakes according to the directions on your box or the directions on your homemade recipe. Add a few drops of green food coloring to the ingredients before mixing to give them a festive touch.

2. Allow the cupcakes to cool completely.

Rainbow St. Patrick's Day Cupcakes

3. Cut each piece of Rainbow Licorice in half length wise. I was able to cut a small notch in the top of each one, then slowly peel it apart.

4. Stick the end of a piece of red licorice into one side of a cupcake, form an arch, and stick the other end into the other side of the cupcake. You may need to trim off a few inches before sticking the opposite end in, so the rainbow doesn't flop. Repeat with Orange, Yellow, Green, Blue, and Purple.

Rainbow St. Patrick's Day Cupcakes

5. Once all the rainbow arches are formed, carefully ice each cupcake using white frosting. Ice inside the arch, then go around the outside of the cupcake. Add a little extra frosting around the sides of the rainbow for extra support.

6. That's it!  If you have gold coins, add one to each cupcake. I couldn't find any this year, but we did use them last year!

Rainbow St. Patrick's Day Cupcakes

This recipe is so easy to make. I keep the cupcake recipe very simple and just focus on what's on top! These cupcakes make my kids smile every single time I make them!

Rainbow St. Patrick's Day Cupcakes

If your kids are anything like mine, these cupcakes will be gone in no time. Then again, I do have a rather large crew! Snacking on these fun cupcakes was a great way to start our St. Patrick's Day celebration, even if they did disappear rather quickly! (Sneaky little leprechauns.)


Rainbow St. Patrick's Day Cupcakes

Rainbow St. Patrick's Day Cupcakes

It's time for Tuesday Talk! Grab the button, link back to your hosts and add your blog post link on the widget below!

Tuesday Talk

Tuesday Talk Link Party

Crystal at Hall Around Texas | Pinterest | Facebook | Instagram 
Stephanie at Wife Mommy Me | Pinterest | Facebook | Instagram
Becky at BYBMG | Pinterest | Facebook | Instagram
                                        Whitney at Polka-Dotty Place | Pinterest | Facebook | Instagram


Friday, January 20, 2017

A Year of Color: White {BAKE / PLAY / CRAFT}

Welcome to the first monthly edition of A Year of Color!


A Year of Color Link Party

On the third Friday of each month,  I will be co-hosting a monthly linkup called A Year of Color with Little Dove, Macke Monologues, and Work It Mommy. Each month will focus on one color and you can link up any post that revolves around that particular color.  Fashion, Recipes, Activities for Kids, Crafts...ANYTHING is welcome! The link will be open for a month, so you can link up any time. We hope you will join us!

The color for the month of January is: 


A Year of Color Link Party

I had so many ideas go through my head for this month, but I decided to focus on a winter theme. I'm going to share a cute cupcake recipe, an easy and inexpensive winter craft, and a sensory play activity for kids. It's unusually warm in Pittsburgh this month, so we are finding other ways to enjoy winter!

Polar Bear Cupcakes


My mom is a baker so she is the one who always gets to wow my kids with her cute baked goods. My creations are seriously lacking compared to hers, but I was able to impress my kids with this one! (For now. My mom has plans to make polar bear cupcakes with Lily this weekend. I'm sure hers will put mine to shame!)

Polar Bear Cupcakes

When it comes to baking, I am all about easy. I don't have the time or the energy for complex recipes. This recipe is really simple and each cupcake only takes about 2 minutes to assemble.

Ingredients:

  • 1 box of white cake mix
  • White Frosting
  • White Cupcake Liners
  • Black Writing Gel
  • Brown M&M's
  • Cereal Rings (Fruit Loops, Cheerios)
 Polar Bear Cupcakes

Directions: 

1. Make the cupcakes according to the directions on the box and allow to cool. 

2. Cover the top of each cupcake with white frosting. Don't worry about making it smooth. Texture is good! 

3. Place a cereal ring (I used fruit loops) in the middle of each cupcake to form a nose and two at the top of the cupcake to form ears. 

Polar Bear Cupcakes

4. Carefully cover the cereal rings with white frosting.

5. Place a brown M&M in the middle of the nose.

6. Use the black writing gel to make two tiny dots above the nose for the eyes. 

So easy! 

Polar Bear Cupcakes

These cupcakes turned out really cute and went VERY quickly!

Polar Bear Cupcakes

My girls actually squealed when they spotted these cupcakes, which made this not so accomplished baker very happy!
Polar Bear Cupcakes


Two Ingredient Sensory Play Snow 


Sensory Play is very important in our home, and sensory snow is one of the easiest sensory play recipes to make! It can be whipped up in less than a minute. And when you can't experience the real stuff, this is a lot of fun. It's even cold!

2 Ingredient Fake Snow

Ingredients:

  • Baking Soda
  • Shaving Cream

Directions:

  1. Pour a 1 lb box of Baking Soda into a large bowl. (If you're feeling extra adventurous, quadruple the batch and pour it into an under the bed storage container!) 
  2. Squirt shaving cream into the bowl and mix the two ingredients together. Continue adding small amounts of shaving cream until you get the desired consistency. The "snow" should be crumbly but stick together when molded.
Fake Snow

Not only is Sensory Play Snow quick and easy to make, but the ingredients are inexpensive and you can control the amount.  Kids can play with a small batch and mold it into shapes, or they can use shovels and other sand toys in a bigger batch. This is one of my kids favorite sensory play recipes!

Fake Snow Recipe


Winter Snowball Banner


This easy craft is perfect for kids ages 5 and up (under supervision), is very inexpensive, and is a great addition to your winter home decor!

Winter Snowball Banner

Items Needed: 

  • Cotton Balls
  • White Thread
  • Needle
Snowball Banner

Directions:


1. Decide where you want to hang the banner and measure the length needed. Add 2 extra feet to allow for draping and tying.

2. Tie one end of the thread to the head of the needle. Tie the other end of the thread into a triple knot.

3. Thread the needle through the middle of a cotton ball, then use your fingers to push it gently to the other end. Tie the end of the string around the cotton ball. This will be the end piece.

Snowball Banner

4. Continue threading the needle through cotton balls and pushing them to the end of the thread until you have the desired amount.

Snowball Banner
Snowball Banner
Snowball Banner

5. Cut the thread and tie it around the cotton ball at the opposite end of where you started. Trim the ends of the thread on both sides.

6. Use your fingers to space out the cotton balls evenly.

Snowball Banner

7. Hang out of reach of toddlers and young children. Trust me on this one. This is a delicate banner and my toddler tornado took the cotton balls off the first one we made in approximately 30 seconds!

This craft is a lot of fun and all the threading helps strengthen those fine motor skills that are so important for so many tasks.

Snowball Banner

The snowball banner is quick, cheap and easy to make and it looks so cute hanging up!

Snowball Banner

It may not be white outside right now, but we had so much fun with these winter-themed activities!


Please join us for A Year of Color next month on February 17th!  February's color of the month will be:

A Year of Color Linkup

Link up your color white themed posts with us all month long! XOXO