Welcome to the first monthly edition of A Year of Color!
On the third Friday of each month, I will be co-hosting a monthly linkup called A Year of Color with
Little Dove,
Macke Monologues, and
Work It Mommy.
Each month will focus on one color and you can link up any post that revolves around that particular color. Fashion, Recipes, Activities for Kids, Crafts...ANYTHING is welcome! The link will be open for a month, so you can link up any time. We hope you will join us!
The color for the month of January is:
I had so many ideas go through my head for this month, but I decided to focus on a winter theme. I'm going to share a cute cupcake recipe, an easy and inexpensive winter craft, and a sensory play activity for kids. It's unusually warm in Pittsburgh this month, so we are finding other ways to enjoy winter!
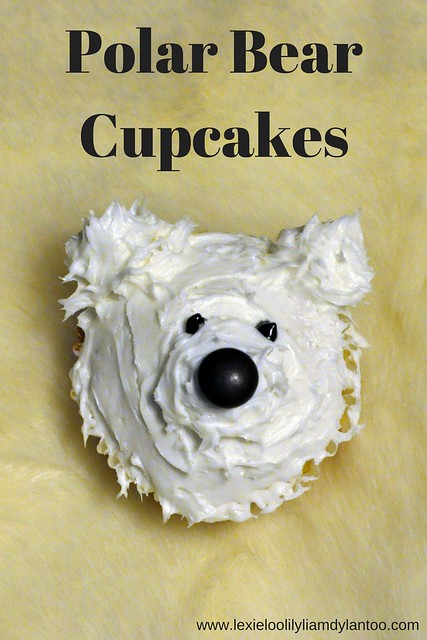
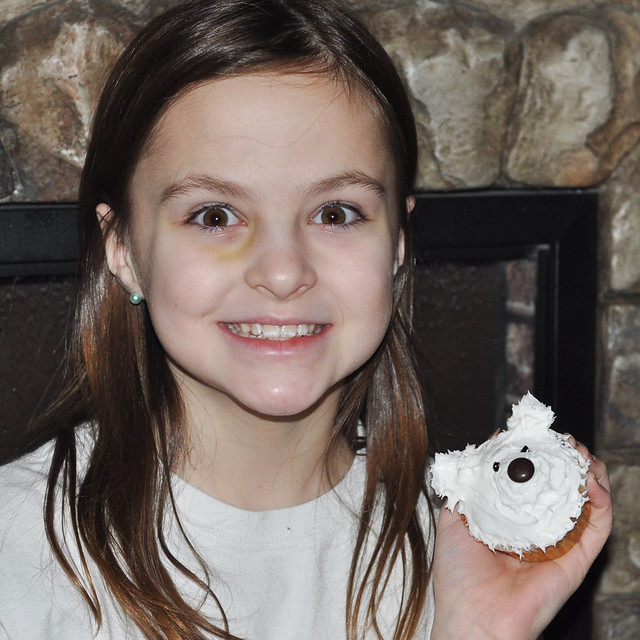
Polar Bear Cupcakes
My mom is a baker so she is the one who always gets to wow my kids with her cute baked goods. My creations are seriously lacking compared to hers, but I was able to impress my kids with this one!
(For now. My mom has plans to make polar bear cupcakes with Lily this weekend. I'm sure hers will put mine to shame!)
When it comes to baking, I am all about easy. I don't have the time or the energy for complex recipes. This recipe is really simple and each cupcake only takes about 2 minutes to assemble.
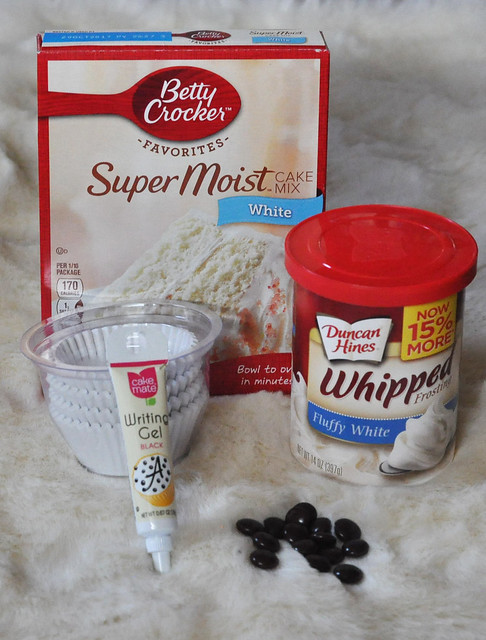
Ingredients:
- 1 box of white cake mix
- White Frosting
- White Cupcake Liners
- Black Writing Gel
- Brown M&M's
- Cereal Rings (Fruit Loops, Cheerios)
Directions:
1. Make the cupcakes according to the directions on the box and allow to cool.
2. Cover the top of each cupcake with white frosting. Don't worry about making it smooth. Texture is good!
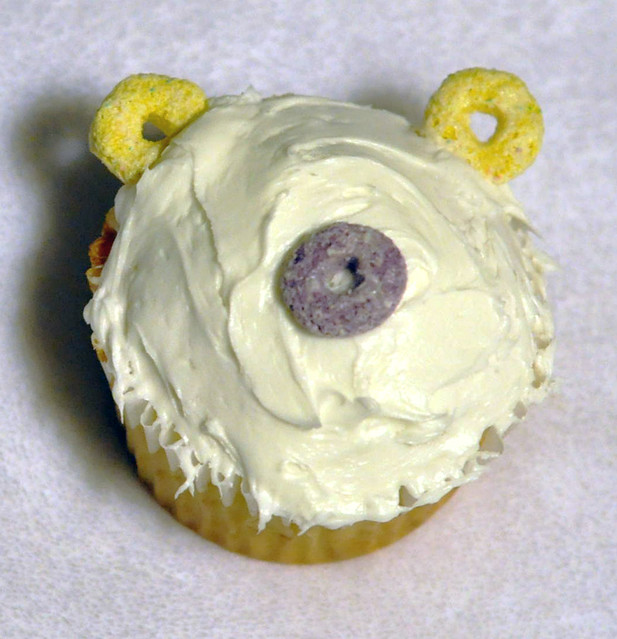
3. Place a cereal ring (I used fruit loops) in the middle of each cupcake to form a nose and two at the top of the cupcake to form ears.
4. Carefully cover the cereal rings with white frosting.
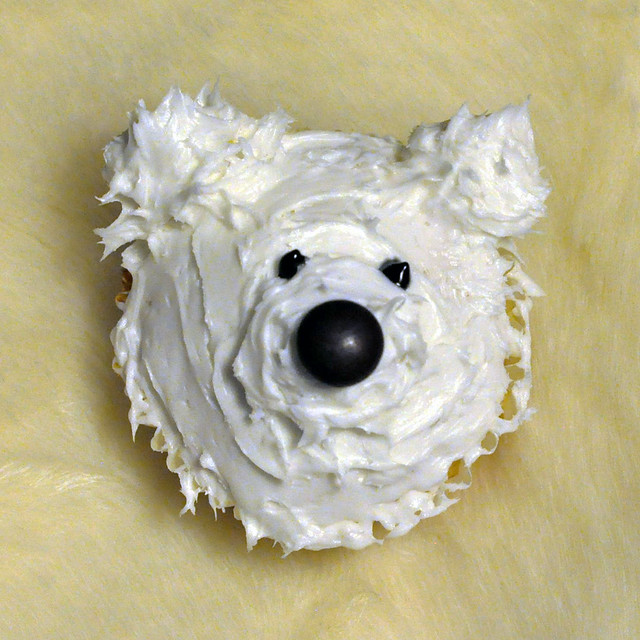
5. Place a brown M&M in the middle of the nose.
6. Use the black writing gel to make two tiny dots above the nose for the eyes.
So easy!
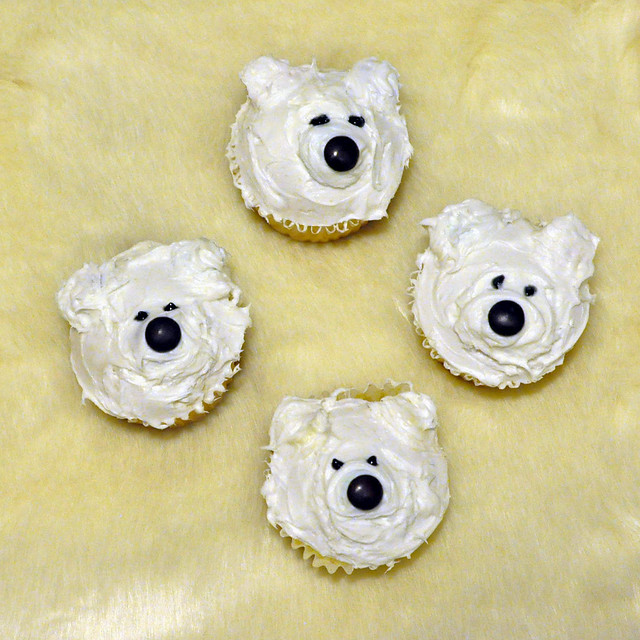
These cupcakes turned out really cute and went
VERY quickly!
My girls actually squealed when they spotted these cupcakes, which made this not so accomplished baker very happy!
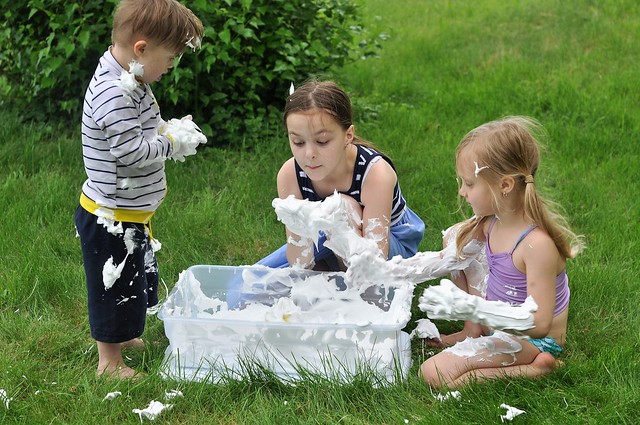
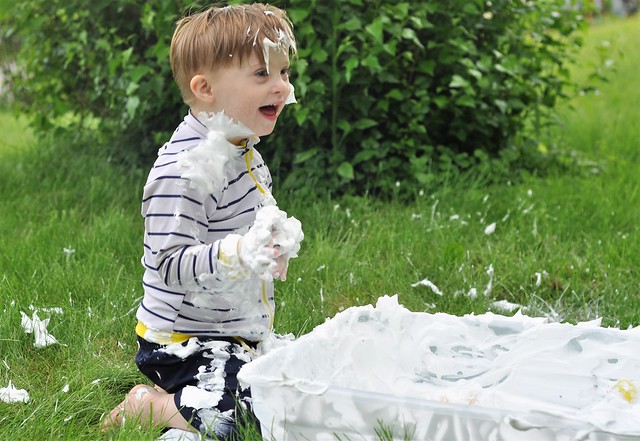
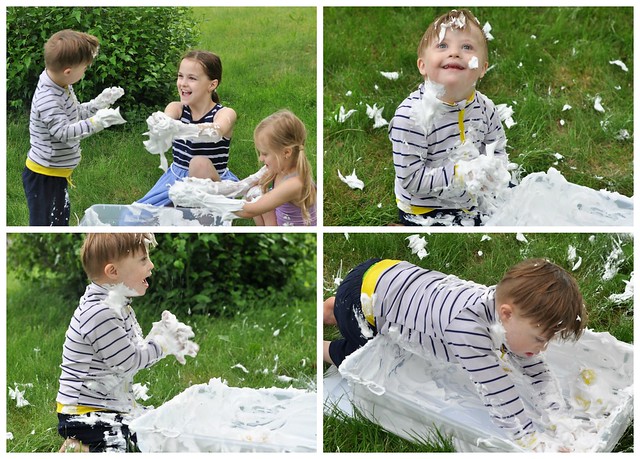
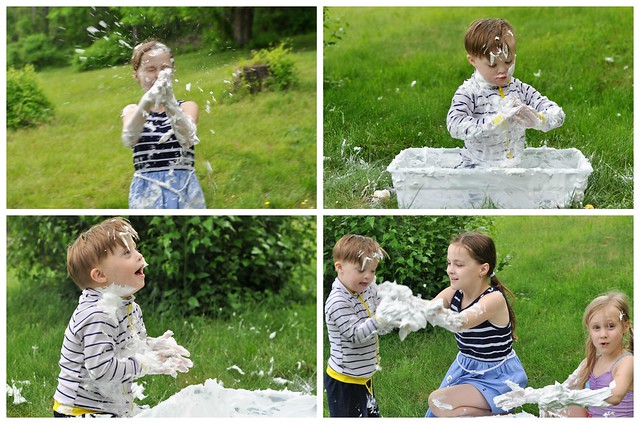
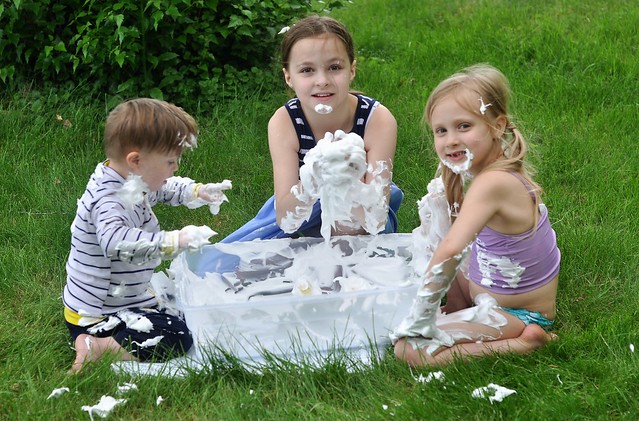
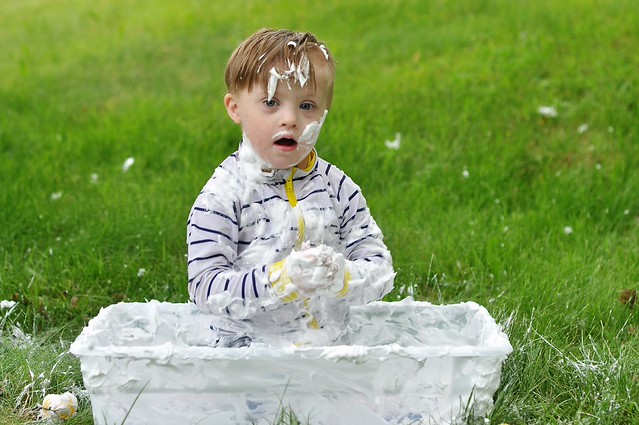
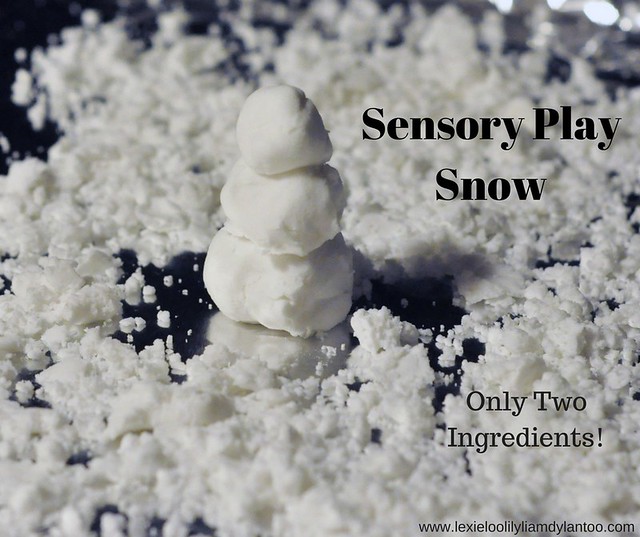
Two Ingredient Sensory Play Snow
Sensory Play is very important
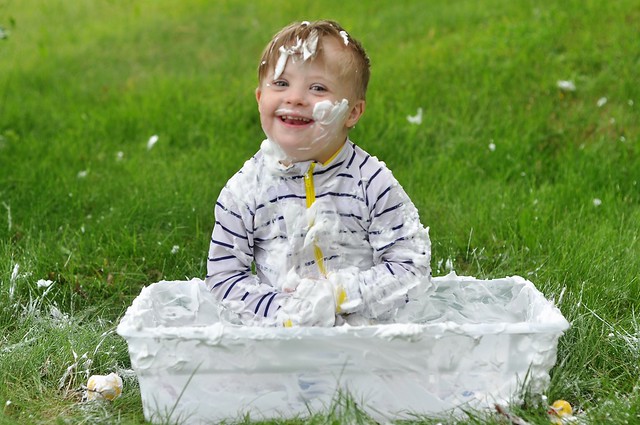
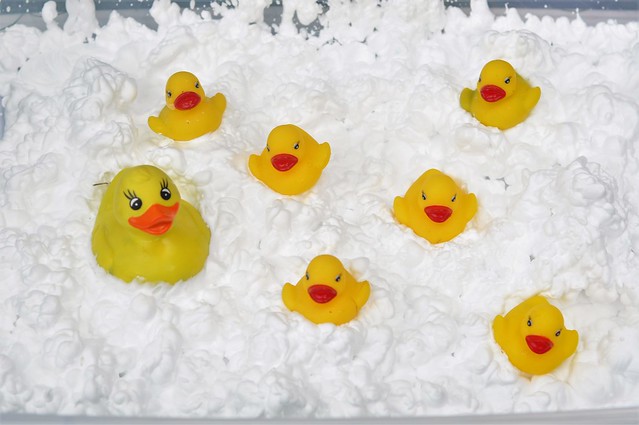
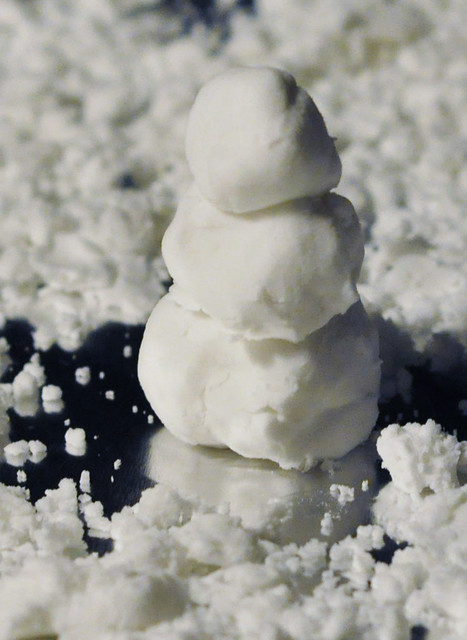
in our home, and sensory snow is one of the easiest sensory play recipes to make! It can be whipped up in less than a minute. And when you can't experience the real stuff, this is a lot of fun. It's even cold!
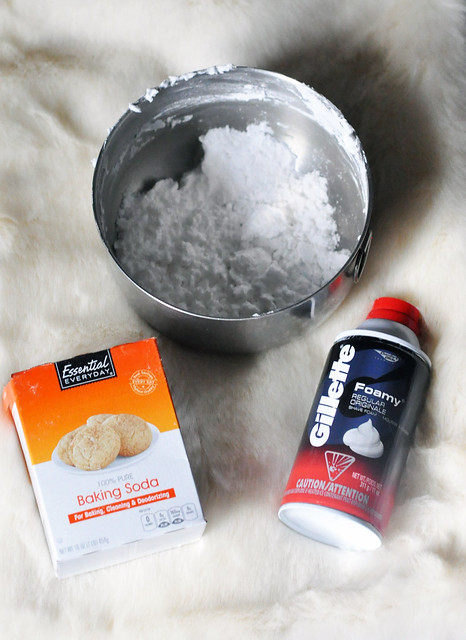
Ingredients:
- Baking Soda
- Shaving Cream
Directions:
- Pour a 1 lb box of Baking Soda into a large bowl. (If you're feeling extra adventurous, quadruple the batch and pour it into an under the bed storage container!)
- Squirt shaving cream into the bowl and mix the two ingredients together. Continue adding small amounts of shaving cream until you get the desired consistency. The "snow" should be crumbly but stick together when molded.
Not only is Sensory Play Snow quick and easy to make, but the ingredients are inexpensive and you can control the amount. Kids can play with a small batch and mold it into shapes, or they can use shovels and other sand toys in a bigger batch. This is one of my kids favorite sensory play recipes!
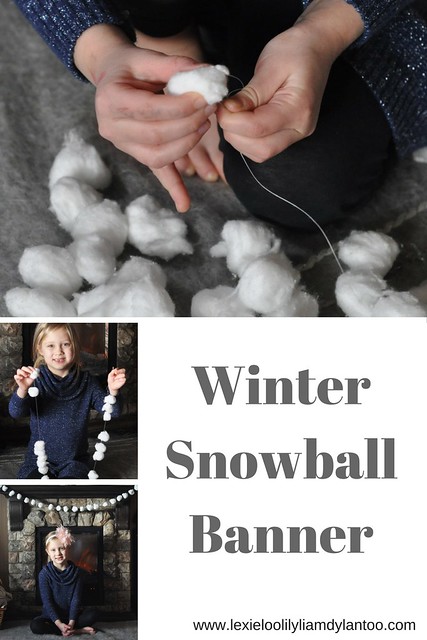
Winter Snowball Banner
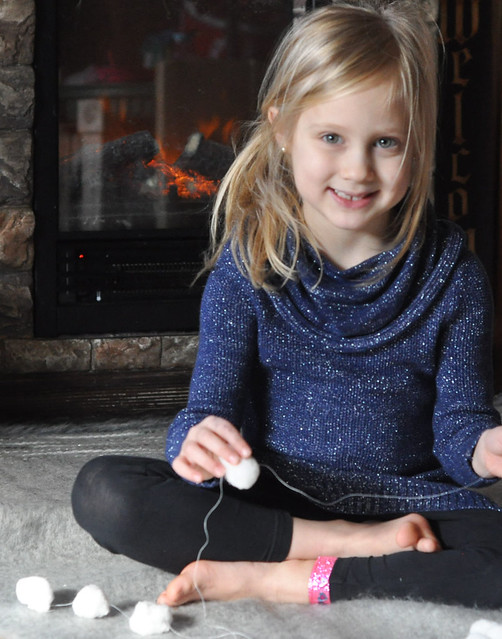
This easy craft is perfect for kids ages 5 and up (under supervision), is very inexpensive, and is a great addition to your winter home decor!
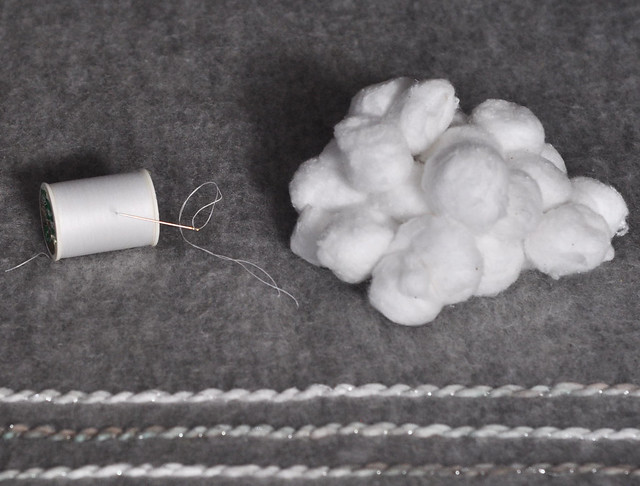
Items Needed:
- Cotton Balls
- White Thread
- Needle
Directions:
1. Decide where you want to hang the banner and measure the length needed. Add 2 extra feet to allow for draping and tying.
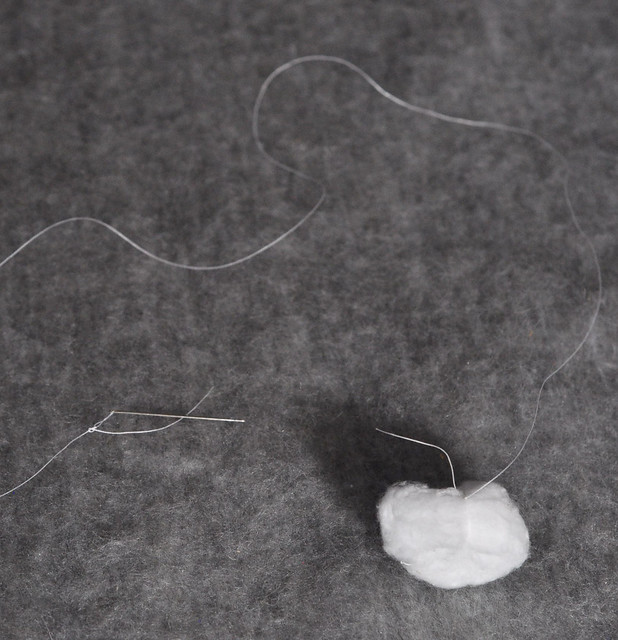
2. Tie one end of the thread to the head of the needle. Tie the other end of the thread into a triple knot.
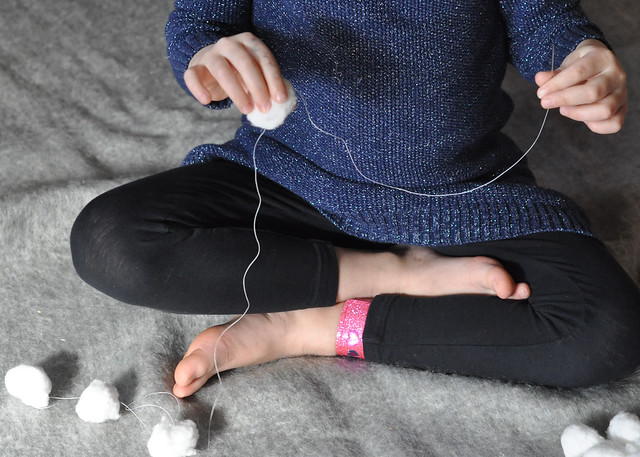
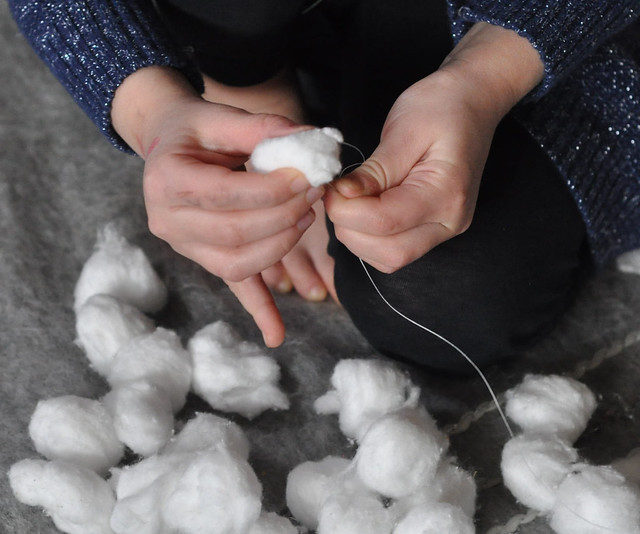
3. Thread the needle through the middle of a cotton ball, then use your fingers to push it gently to the other end. Tie the end of the string around the cotton ball. This will be the end piece.
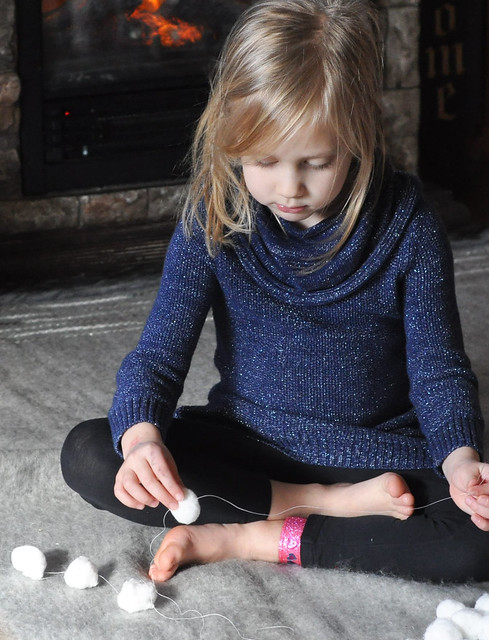
4. Continue threading the needle through cotton balls and pushing them to the end of the thread until you have the desired amount.
5. Cut the thread and tie it around the cotton ball at the opposite end of where you started. Trim the ends of the thread on both sides.
6. Use your fingers to space out the cotton balls evenly.
7. Hang out of reach of toddlers and young children. Trust me on this one. This is a delicate banner and my toddler tornado took the cotton balls off the first one we made in approximately 30 seconds!
This craft is a lot of fun and all the threading helps strengthen those fine motor skills that are so important for so many tasks.
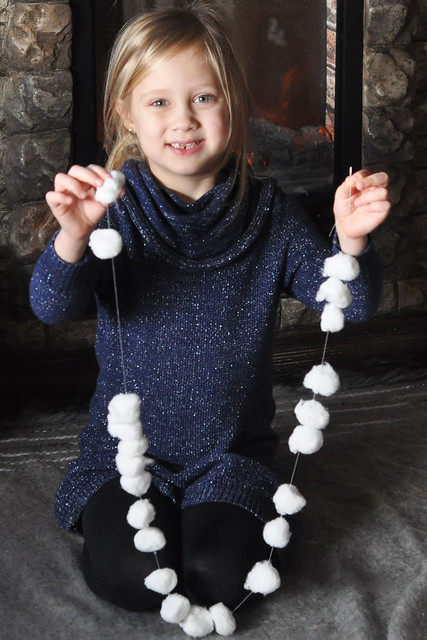
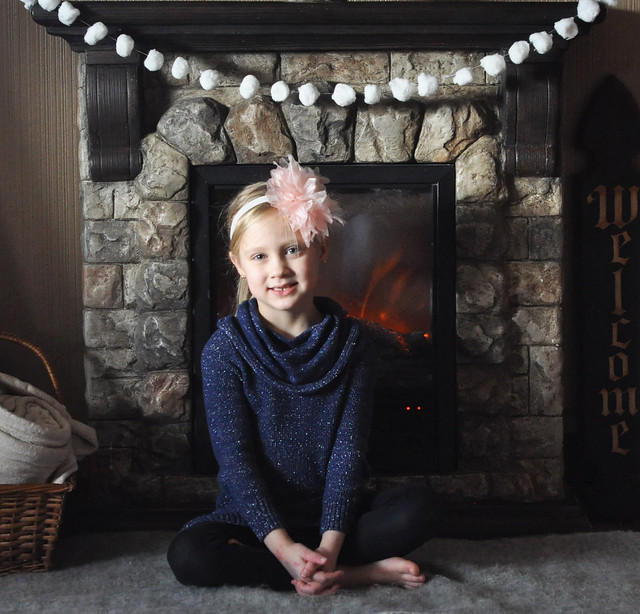
The snowball banner is quick, cheap and easy to make and it looks so cute hanging up!
It may not be white outside right now, but we had so much fun with these winter-themed activities!
Please join us for A Year of Color next month on February 17th! February's color of the month will be:
Link up your color white themed posts with us all month long! XOXO