Showing posts with label desserts. Show all posts
Showing posts with label desserts. Show all posts
Sunday, April 22, 2018

Saturday, November 18, 2017
Orange Creamsicle Jello Recipe - Delicious, easy & quick to make! {Tuesday Talk}
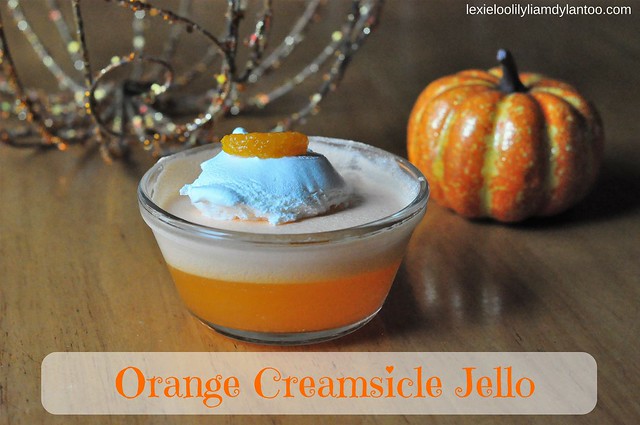
Thanksgiving is less than a week away, and I'm currently thinking about all the delicious food I'm going to eat! I mean, of course I'm going to whip up some recipes, too, but thinking about eating is much more fun. Our upcoming Thanksgiving meal inspired me to share an Orange Jello family recipe that has been a part of every holiday meal for literally as long as I can remember!
Tuesday, August 29, 2017
Pineapple Love: Frozen Pineapple Whip & Adorable Pineapple Style

DISCLOSURE: The clothing from French Toast that is featured in this post was received complimentary.
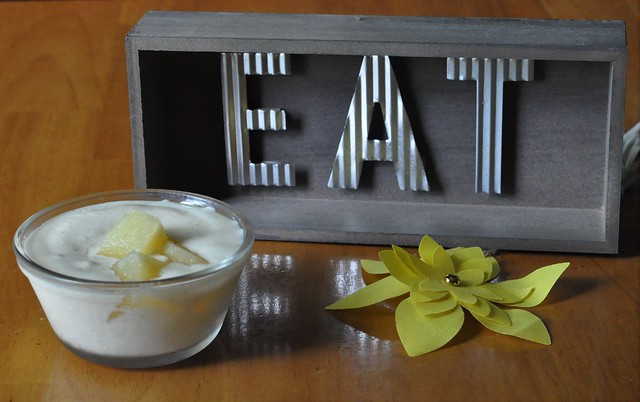
My family loves pineapple! It's one of our favorite snacks year round, and any recipe that features pineapple is an instant hit. At the beginning of the Summer, we tried Pineapple Dole Whip for the first time, and my kids begged me to duplicate the recipe. After some trial and error, we found a homemade recipe that we love!
This recipe is simple to make and absolutely delicious! The first time I made it, my family devoured it in one sitting and immediately requested more. It's an incredibly refreshing treat that is perfect for Summer days!
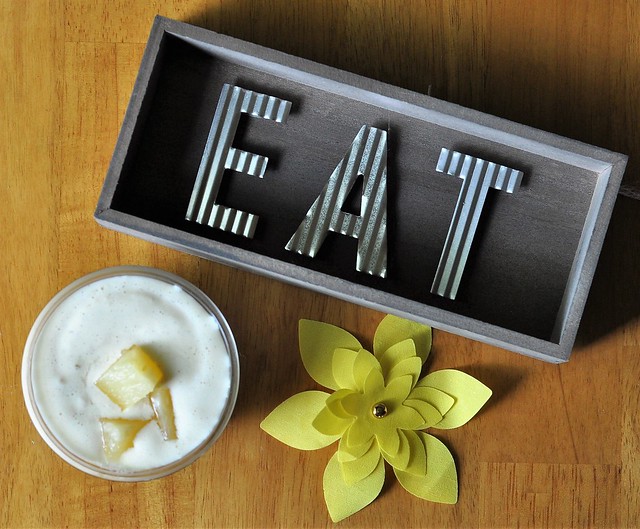
This 3-ingredient recipe is so easy to make that even Dylan and Lexie can quickly whip it up on their own! It can be served straight from the blender for those who prefer a softer frozen dessert (ME!), or placed in the freezer for a few minutes for those who prefer a more frozen dessert (like my strange husband). Either way, everybody wins!
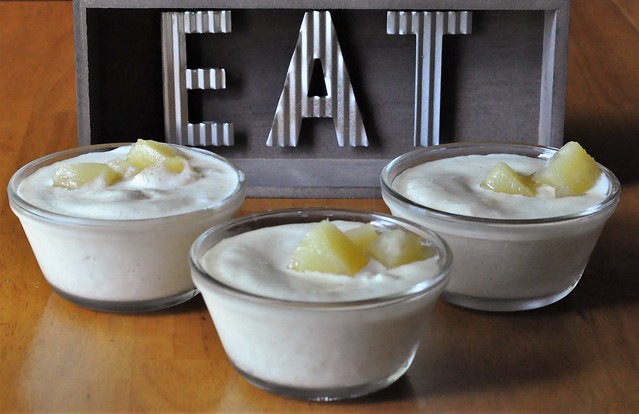
FROZEN PINEAPPLE WHIP
INGREDIENTS:
- 1/2 cup crushed pineapple, frozen
- 3 cups vanilla ice cream
- 1/2 cup pineapple juice
- OPTIONAL: pineapple chunks for garnish
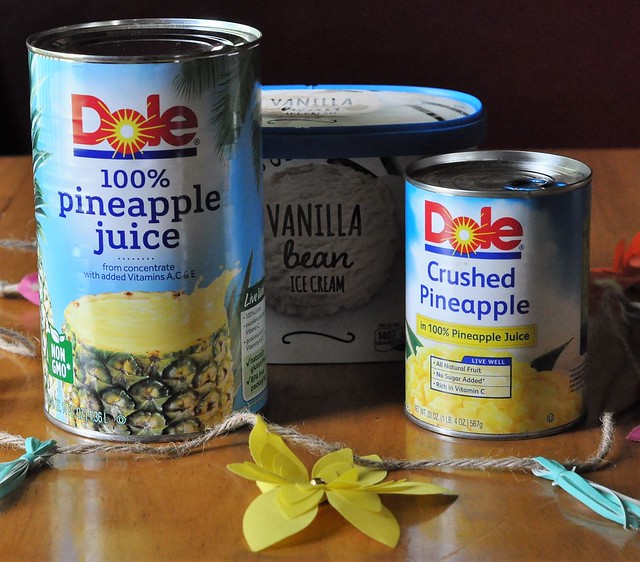
The great thing about this recipe is that it can be easily adjusted for personal taste. Although the recipe above is a family favorite, some family members occasionally like to add a bit more pineapple punch! Sometimes, I bump up the crushed pineapple measurement to 1 cup.
We have also made it more like a milkshake by using crushed pineapple that isn't frozen, and bumping up the pineapple juice to 1 cup!
MAKE IT:
- Place all 3 ingredients in the blender and blend until smooth.
- Pour into dessert cups and serve immediately, or place in the freezer for 30 minutes for a more frozen dessert.
- OPTIONAL: Garnish with pineapple chunks.
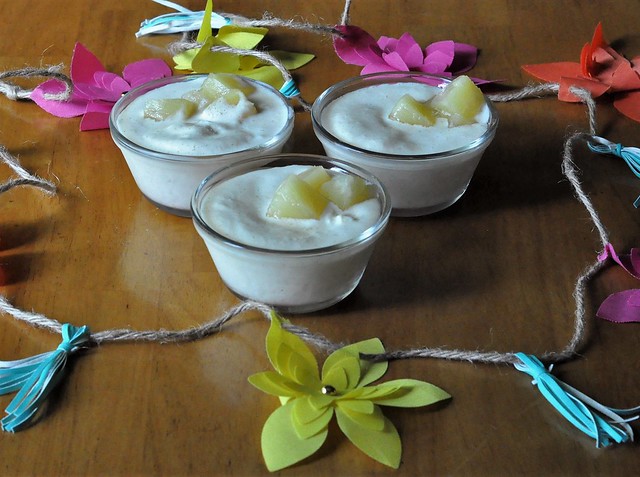
It really is as easy - and DELICIOUS - as it sounds!
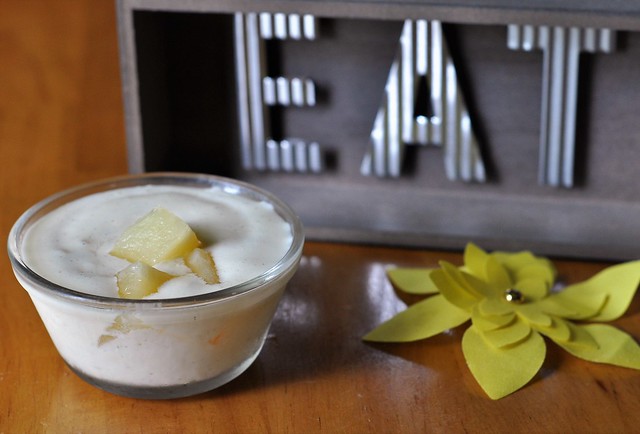
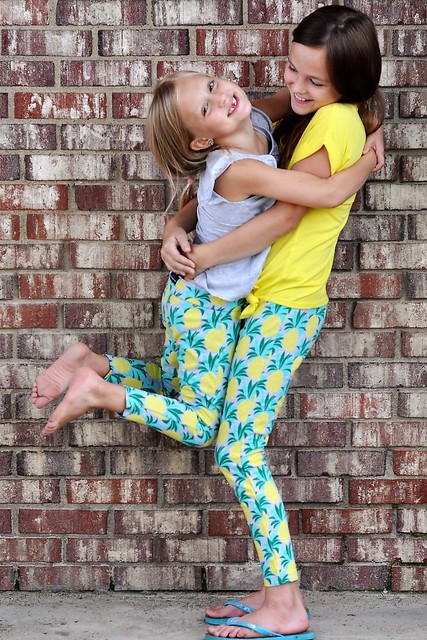
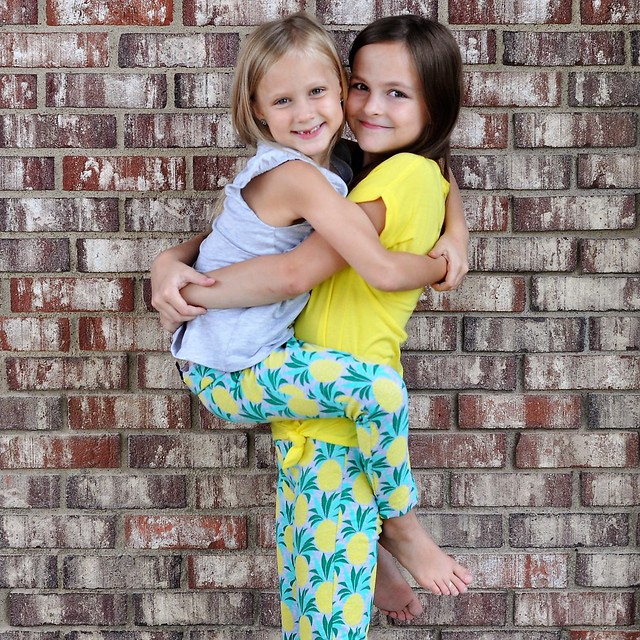
While we're on the topic of pineapple love, let's talk pineapple style! This year, pineapples seem to be everywhere, including on clothing. My girls adore their pineapple outfits from French Toast!
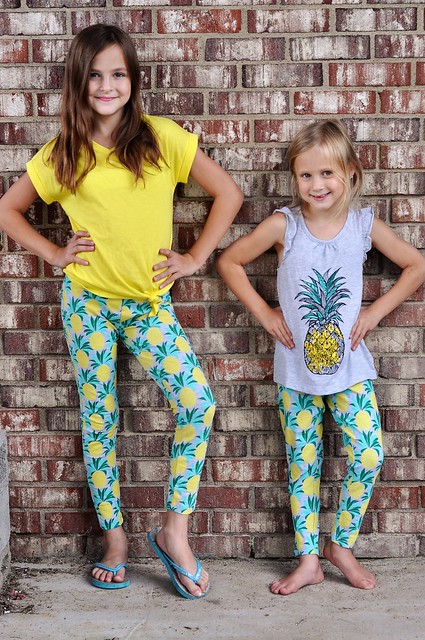
French Toast offers mix and match clothing in styles that kids love! Not only is the clothing affordable, but it's also comfortable. It's perfect for school (hence why they specialize in uniforms) or the playground!


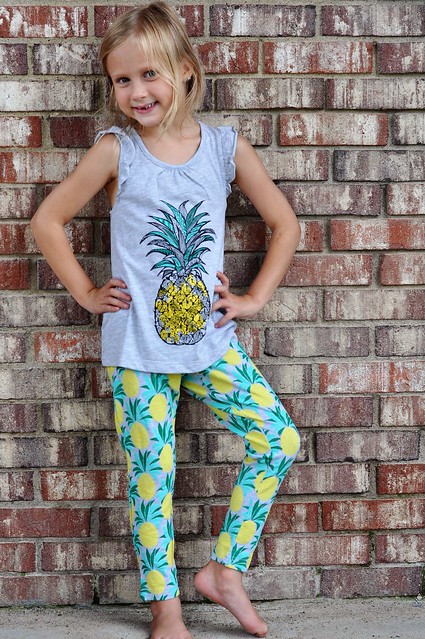
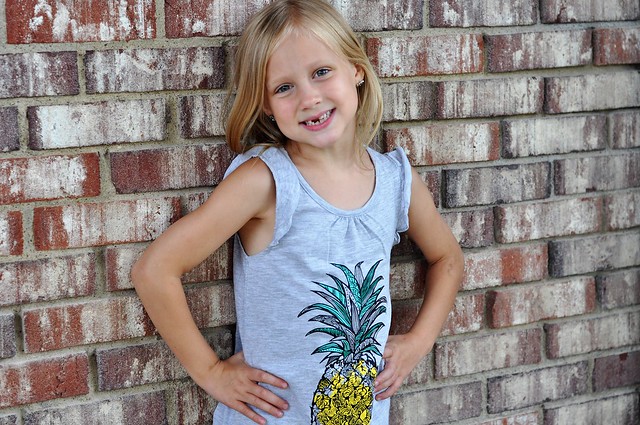
Lexie and Lily loved their pineapple leggings, but they were even more excited about their coordinating styles!
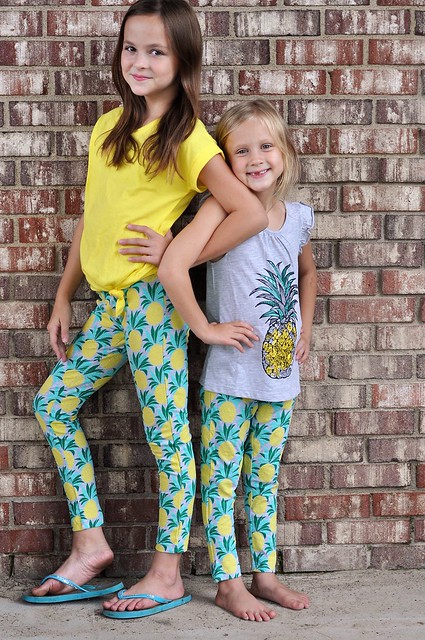
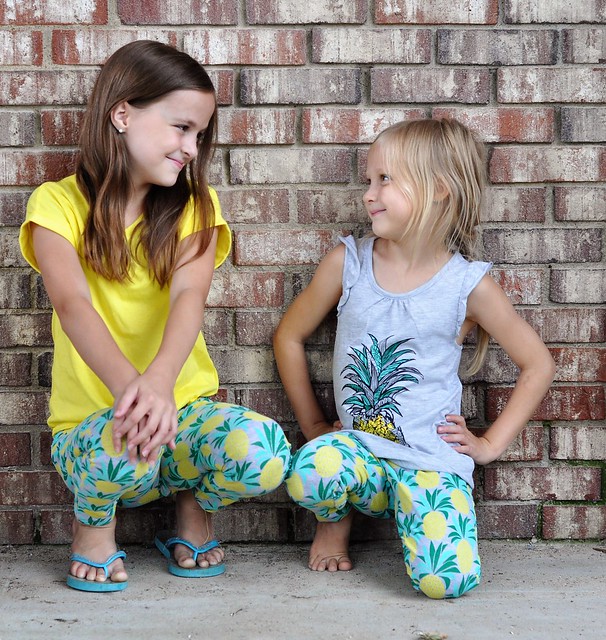
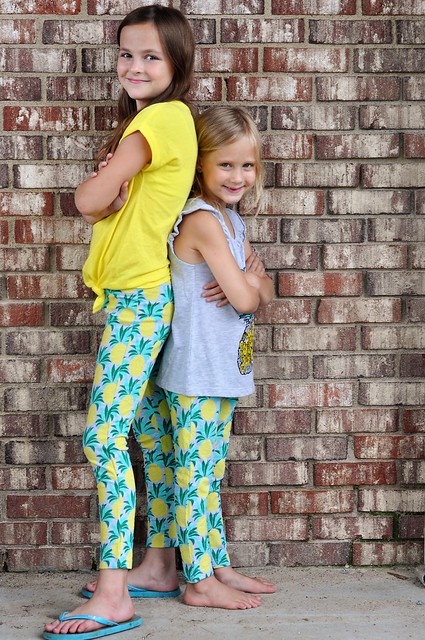
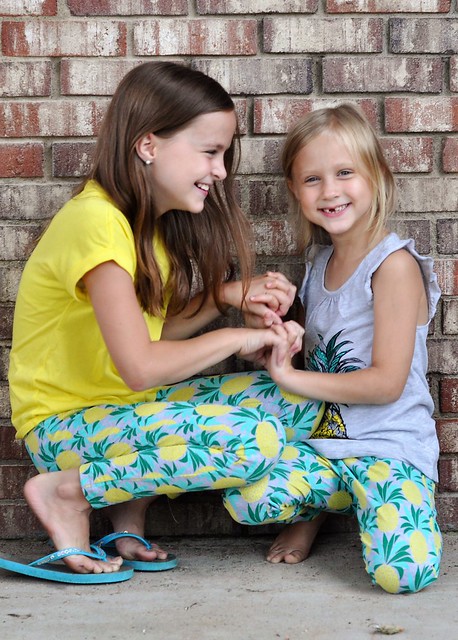
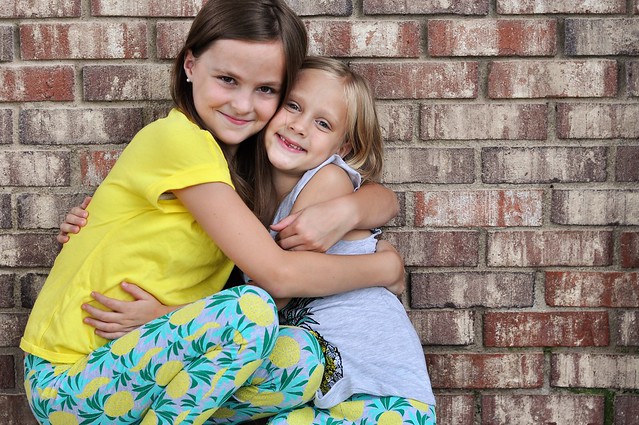
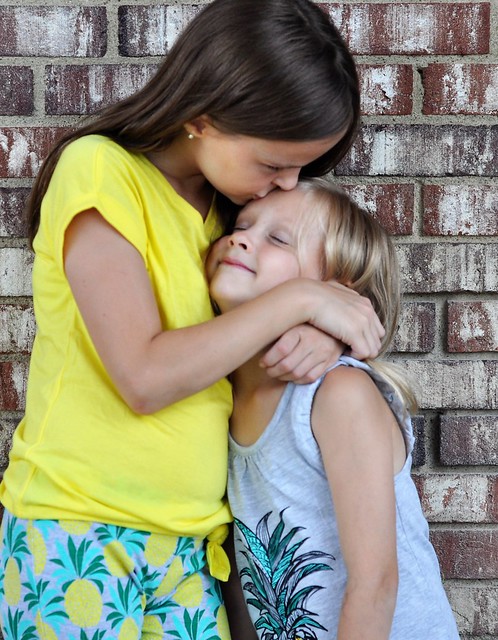
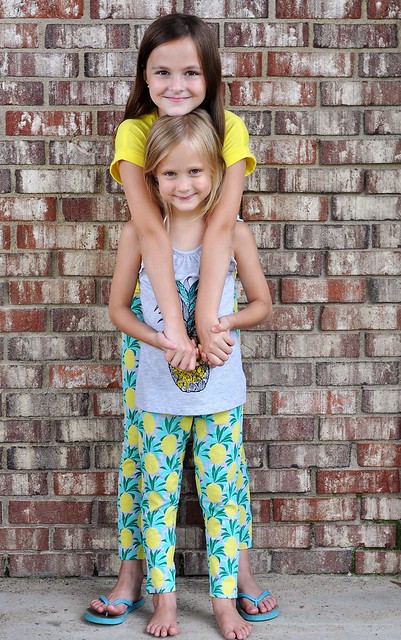
They really DO love each other! (Most of the time!)
Pineapple Love is strong with my family! Frozen Pineapple Whip is one of our new favorite treats. Not only is it incredibly delicious, but I love how I can make it in just a few minutes and make my entire family happy. Enjoy!
Have you tried Pineapple Whip?

You might also like:
TUESDAY TALK
It's time for Tuesday Talk! Grab the button, link back to your hosts and add your blog post link on the widget below!

Friday, March 17, 2017
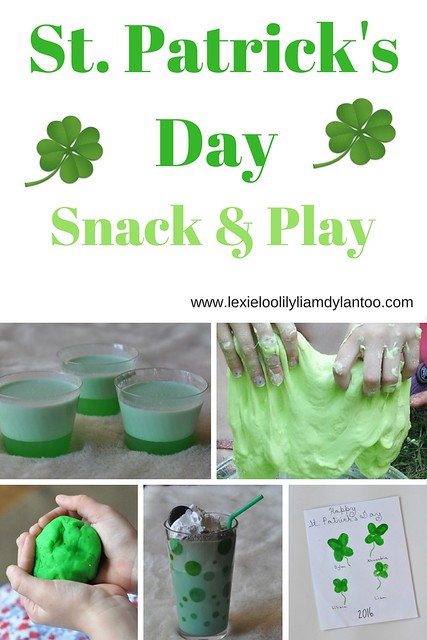
St. Patrick's Day Snack & Play {A Year of Color: Green}
Happy St. Patrick's Day, my friends!!!
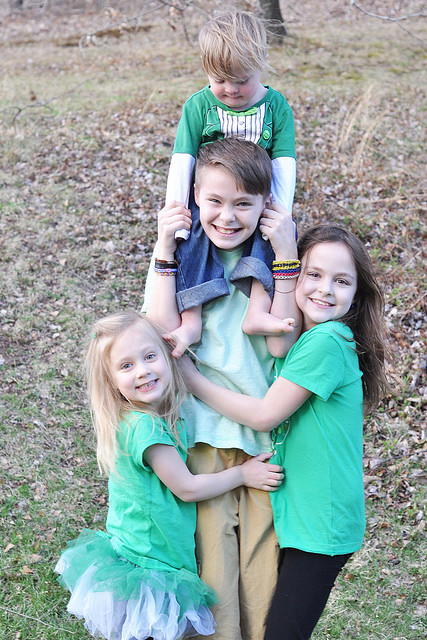
We are wearing our festive green clothing and we will be spending our day snacking on lots of green food! That's pretty much the extent of our celebration. With four kids, that's how we roll!
The "A Year of Color" Link Party fell on the perfect day this month!
On the third Friday of each month, I co-host a monthly linkup called A Year of Color with Little Dove, Macke Monologues, and Work It Mommy. Each month focuses on one color and you can link up any post that revolves around that particular color: Fashion, Recipes, Activities for Kids, Crafts...ANYTHING is welcome! The link will be open for a month, so you can link up any time. We hope you will join us!
The color for the month of March is fitting for today!

This month, I'm going to share a few of our favorite green desserts and green sensory play activities in honor of St. Patrick's Day, along with an adorable craft that we do every year on the holiday!
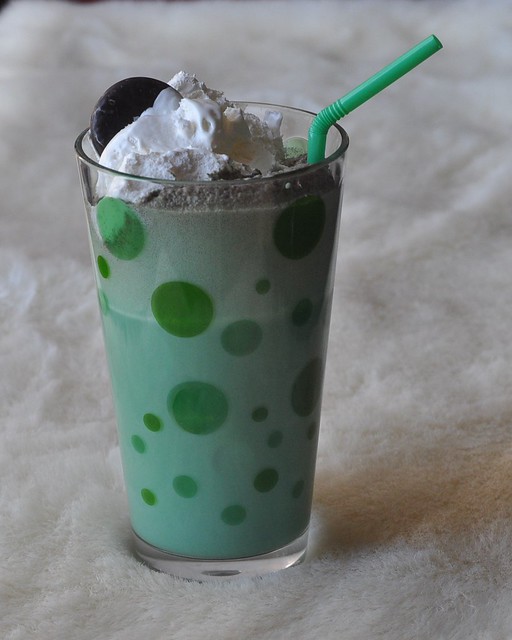
St. Patrick's Day Mint Cookie Shakes
These green shakes, made with vanilla ice cream and mint cookies, and topped with whipped topping and peppermint patties, are a hit with my kids!
INGREDIENTS:
- Vanilla Ice Cream
- Mint Cookies
- Milk or Cream
- Frozen Whipped Topping
- Peppermint Patties
DIRECTIONS:
1. Fill blender halfway with vanilla ice cream.
2. Crush 10 mint cookies and sprinkle into the blender.
3. Add milk or cream until the blender is about 3/4 full.
4. Blend until shake is only slightly thick. Add more milk or cream or more ice cream if necessary, and blend again.
5. Pour milkshake into cups.
6. Top with a scoop of frozen whipped topping and a mini peppermint patty candy!
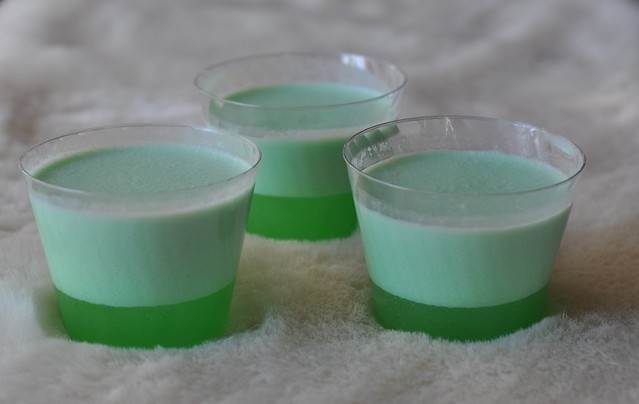
St. Patrick's Day Creamy Jello
This creamy jello dessert is a staple at every holiday dinner. It's usually a different flavor, but I break out the lime jello in honor of St. Patrick's Day!
INGREDIENTS:
- Two 3 oz boxes of lime jello
- 16 oz frozen whipped topping
DIRECTIONS:
1. Sit the whipped topping on the counter for 15 minutes to soften.
2. Prepare jello according to the quick set method on the back of the box.
3. Stir in 16 oz whipped topping and continue to stir until it melts.
4. Pour into small cups or bowls and refrigerate for 1 1/2 to 2 hours.
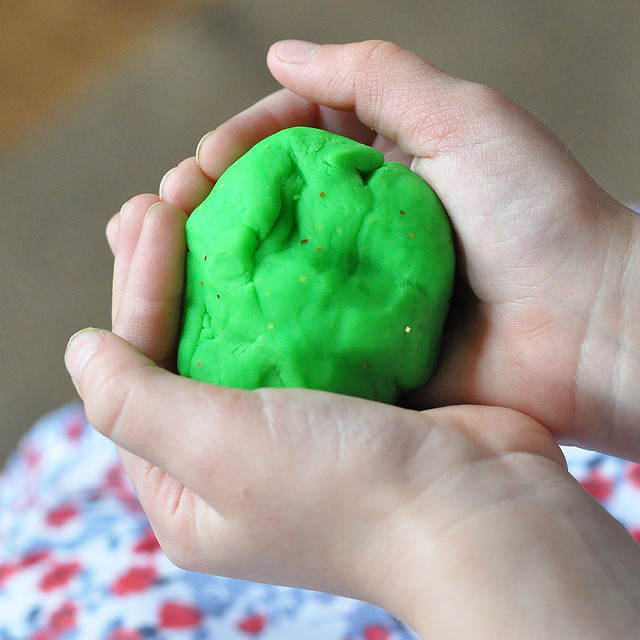
Homemade Glitter Play Dough
My kids love sensory play and one of their favorite things to make is play dough! A little bit of green food coloring and gold glitter make it perfectly festive for St. Patrick's Day!
INGREDIENTS:
- 1 cup flour
- 1/4 cup salt
- 1/2 cup warm water
- green food coloring
- gold glitter
DIRECTIONS:
Mix the flour and salt, add a few drops of food coloring to the water, and slowly pour the water mixture into the flour mixture while stirring. Add more flour as needed until the mixture isn't sticky. Sprinkle in some gold glitter and knead with your hands to blend.
Give your child some shamrock cookie cutters, a rolling pin and a plastic child-safe knife, and let them create!
Homemade Green Slime
Making slime is another sensory play favorite! Green always seems to be the preferred color!
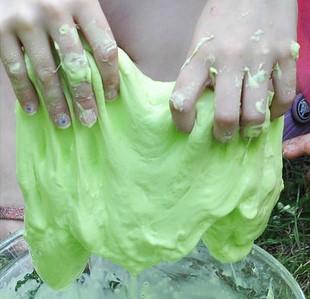
INGREDIENTS:
- 8 oz white school glue
- 1 tsp Borax (laundry detergent aisle)
- 1 cup warm water
- Green food coloring
DIRECTIONS:
STEP ONE: Empty glue into a
large bowl.
STEP TWO: Fill glue bottle completely with 1/2 cup warm water, shake, then pour into the bowl that contains the glue. Stir.
STEP THREE: Add several drops of green food coloring to the glue mixture.
Stir.
STEP FOUR: Mix 1 tsp
Borax into 1/2 cup warm water. Stir until the Borax dissolves.
STEP FIVE: Slowly pour the Borax solution into the glue solution while
stirring. Keep a close eye on this process! This is where the science
aspect of it begins. You will see the glue solution almost immediately
begin to form into a solid as it meets the Borax solution!
STEP SIX: Dig in and knead the slime!
STEP SEVEN: Store in an airtight container or a storage bag.
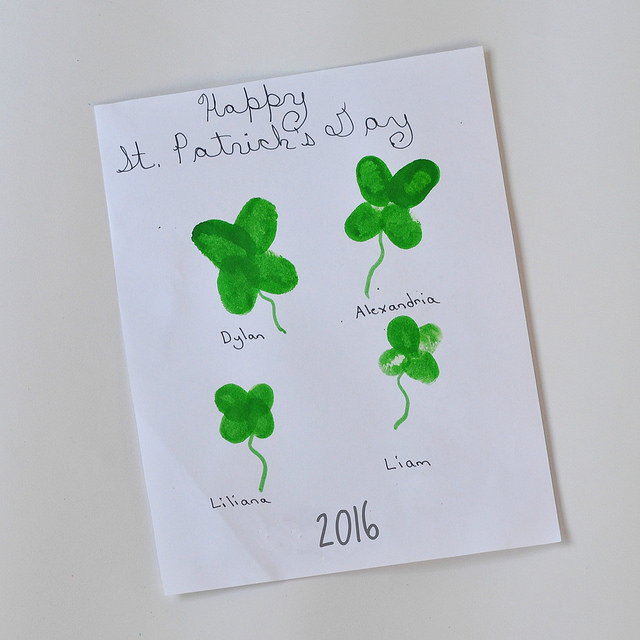
Thumbprint Shamrocks Craft
This is a simple craft/keepsake that we make every year! I'm sharing last year's version since we didn't make the 2017 version yet. I absolutely love pulling these out each year and adding them to our decor!
SUPPLIES:
- White paper
- Green paint
- Sharpie
DIRECTIONS:
Have your child/children make a four leaf clover with their thumb. Carefully paint on a thin stem to each shamrock. Write the name(s) underneath each shamrock, and add the holiday and the year to the finished project!
These are just a few of our favorite ways to celebrate St. Patrick's Day! St. Patrick's Day books and movies, green shamrock pancakes, Lucky Charms, and green muffin pan meals are also part of our holiday fun. Maybe, just maybe, you will be able to use one of these as a last minute idea!
Feel free to link up your "green" posts on the widget below and start planning your posts for the upcoming months!
April 21st
May 19th
June 16th
Happy St. Patrick's Day to you and yours! How will you be celebrating?
Wednesday, June 15, 2016
Teddy Bear Beach Party Jello Cups
I love making fun food for my four kids! I love it even more if it's an easy recipe!
This cute dessert was part of my Camp Mom activity schedule for this week. It will be included in my Camp Mom Recap on Tuesday, but it was just so cute that it deserved to be featured!
My inspiration came from a similar idea on Pinterest that used pudding and gummy bears, but I wanted to alter it a bit! I love the idea of using paper umbrellas, but all I could envision was Liam or Lily poking themselves or an older sibling in the eye. I decided to skip those and make it completely kid friendly!

Ingredients:
I made the Jello in the evening, poured it into individual cups and let it set in the fridge overnight. The following day, I recruited the older kids to help assemble the Jello Cups.
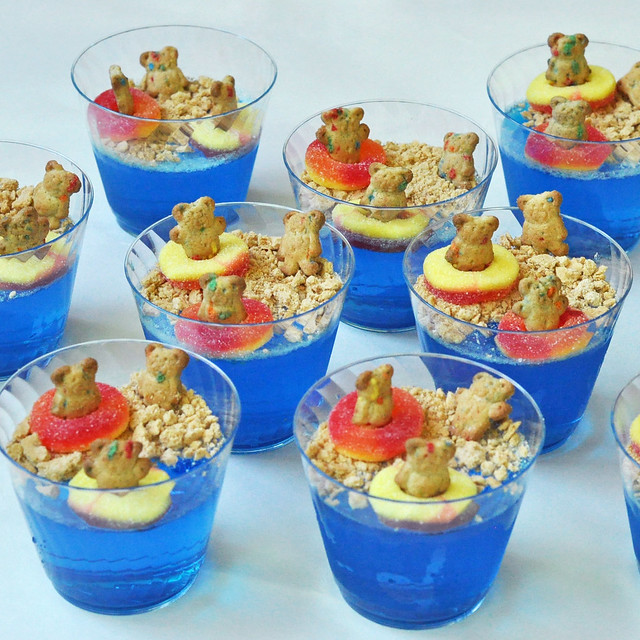
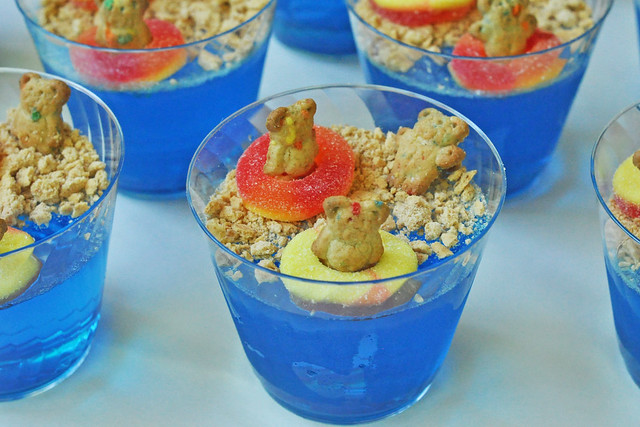
We crushed a package of graham crackers with a hammer, then added a handful to half of each cup. The kids put 2 gummy rings in each cup, positioned Teddy Graham bears inside each ring, then added an extra Teddy Graham bear to the sand.
Although the initial wait time is longer because the Jello has to set, the actual assembly took less than 5 minutes!
The older kids were great helpers. I love including them when we make a recipe because they learn that hard work (or in this case...easy) pays off. They couldn't wait to try their fun treat!
The Teddy Bear Beach Party Jello Cups were a hit with my crew!
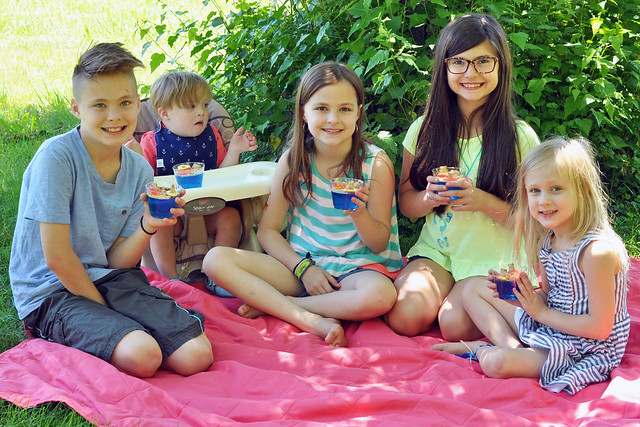
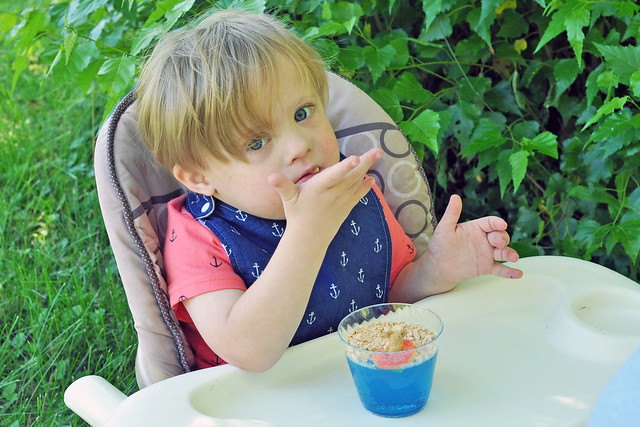
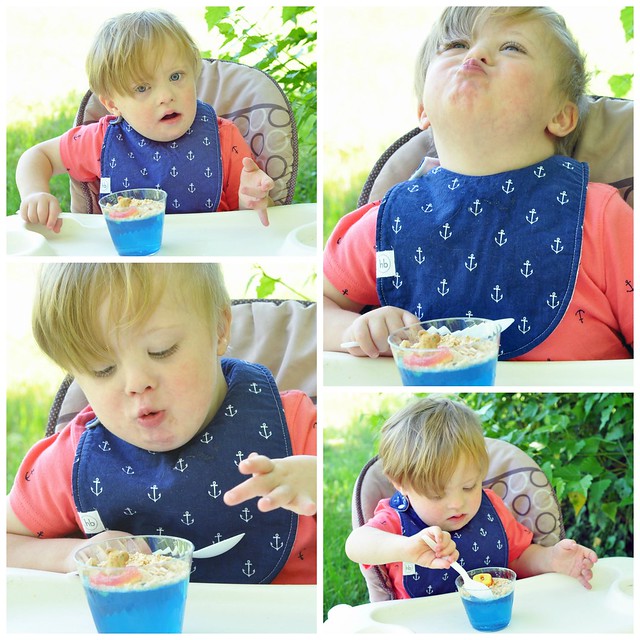
My kids loved this treat so much and quickly asked for seconds. We'll definitely be making this fun and easy dessert again!
What is your favorite Jello recipe?
You might also like:
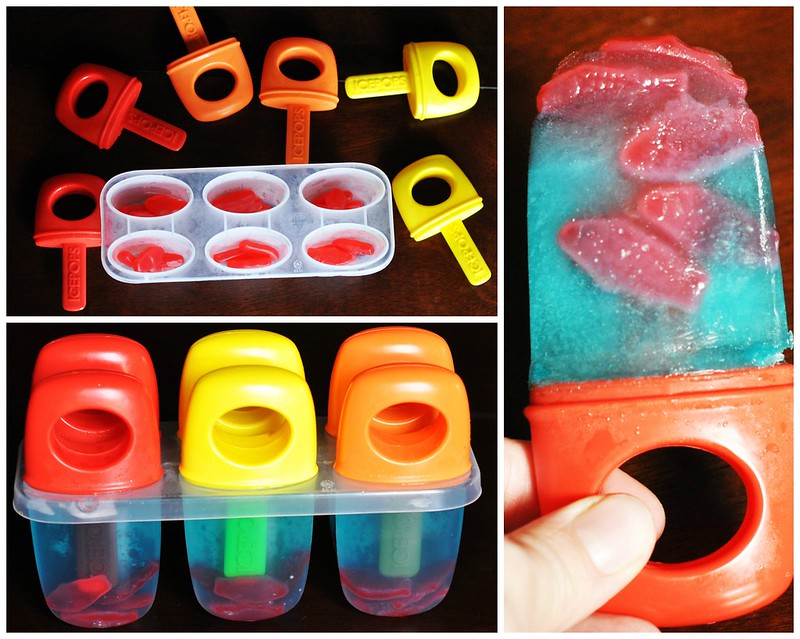
Under-the-Sea Ice Pops
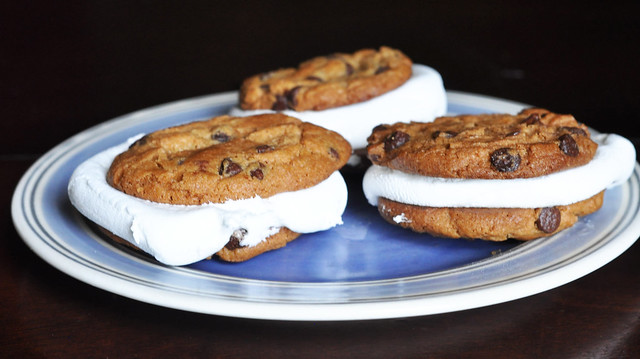
Chocolate Chip Cookie S'mores
This cute dessert was part of my Camp Mom activity schedule for this week. It will be included in my Camp Mom Recap on Tuesday, but it was just so cute that it deserved to be featured!
My inspiration came from a similar idea on Pinterest that used pudding and gummy bears, but I wanted to alter it a bit! I love the idea of using paper umbrellas, but all I could envision was Liam or Lily poking themselves or an older sibling in the eye. I decided to skip those and make it completely kid friendly!
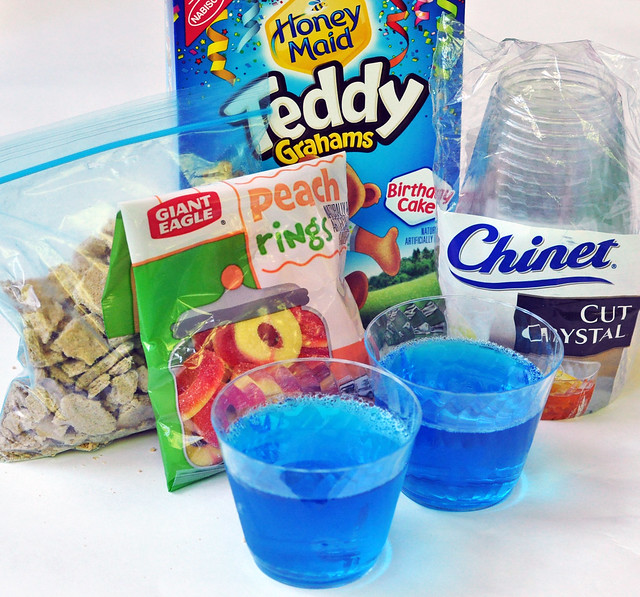
Ingredients:
- 3 boxes of blue Jello (makes 10 cups)
- Clear disposable cups
- 8 graham crackers, crushed
- Teddy Grahams
- Gummy Peach Rings
I made the Jello in the evening, poured it into individual cups and let it set in the fridge overnight. The following day, I recruited the older kids to help assemble the Jello Cups.
We crushed a package of graham crackers with a hammer, then added a handful to half of each cup. The kids put 2 gummy rings in each cup, positioned Teddy Graham bears inside each ring, then added an extra Teddy Graham bear to the sand.
Although the initial wait time is longer because the Jello has to set, the actual assembly took less than 5 minutes!
The Teddy Bear Beach Party Jello Cups were a hit with my crew!
My kids loved this treat so much and quickly asked for seconds. We'll definitely be making this fun and easy dessert again!
What is your favorite Jello recipe?
You might also like:
Under-the-Sea Ice Pops
Chocolate Chip Cookie S'mores
LET'S CONNECT!


