Back to School Supplies have taken over stores, which means all the things you need to complete the project are REALLY cheap right now!
Dylan, Lexie, and Lily love arts and crafts. We had so many art supplies, but they were just tossed into storage totes in our hall closet. The kids had to dig through them to find what they wanted. They eventually lost interest, and only used the items that were easily accessible.
When we started to turn our basement into a family room/playroom, I knew I wanted an arts and crafts area for our kids. I didn't want an in-depth project at the time. I wanted a simple project that I could finish quickly, at very little cost!
I pulled out our well-loved (thanks to a Great Dane) antique farm table from storage, brought all the storage totes down to the basement, picked up a few items from the store, then started my project!
It only took about an hour of work, and the end result was SO worth it!
SUPPLIES:
- Table and chairs
- Shower Curtain Liner ($2/Walmart)
- Pails ($1 each/Target Dollar Spot)
- Paper Trays ($1 each/Target Dollar Spot)
- Sterilite Clear Storage Totes (84 cents/Target)
- Chalkboard Labels ($1 for 12/Target Dollar Spot
- Art Supplies (we already had them, but currently between 25 cents-$3)
{STEP ONE} Find the perfect place for your table! Make sure you put it in a room the kids will use. Placing it near a storage spot is ideal! When I started the project, I knew I wanted to make cleanup as easy as possible. I positioned the table far away from the carpeting, so any paint spills could be wiped up easily.
{STEP TWO} Cover your table! My biggest tip is a simple one: buy an inexpensive shower curtain liner (the dollar store carries them) and use it as a tablecloth! With a little bit of bleach spray and a quick wipe down, it looks like new. If it rips, it's really inexpensive to replace! Just for the record, our table has been used every day for the past 4 weeks, and it still looks like new!
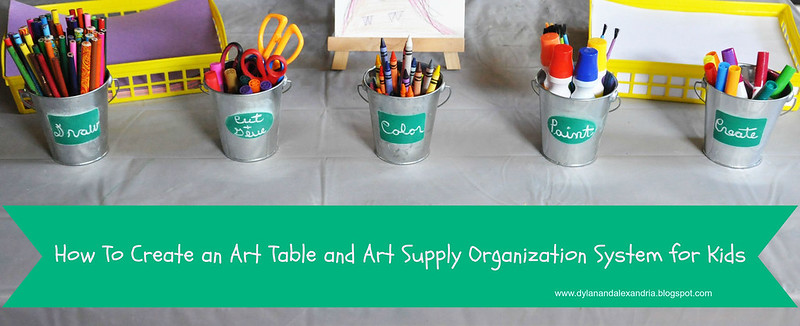
{STEP THREE} Decide which storage containers you want to use on your table. Target always carries mini-pails in the Dollar Spot. I already used them in our Homework Caddy, so I knew they would be perfect for the Art Table! I was so excited to find some that had chalkboard labels on them! I also knew I wanted white paper and construction paper within easy reach, so I picked up some paper trays in the Target Dollar Spot.
{STEP FOUR} Decide which art supplies you want to put in the containers, and group them together. I chose to use 5 pails, and I filled them with the most used items: markers, crayons, colored pencils, paintbrushes and paint dabbers, and scissors/glue sticks/glitter glue. And paper, of course! You can certainly use as many containers as you'd like. Fill the containers, and write on the labels!
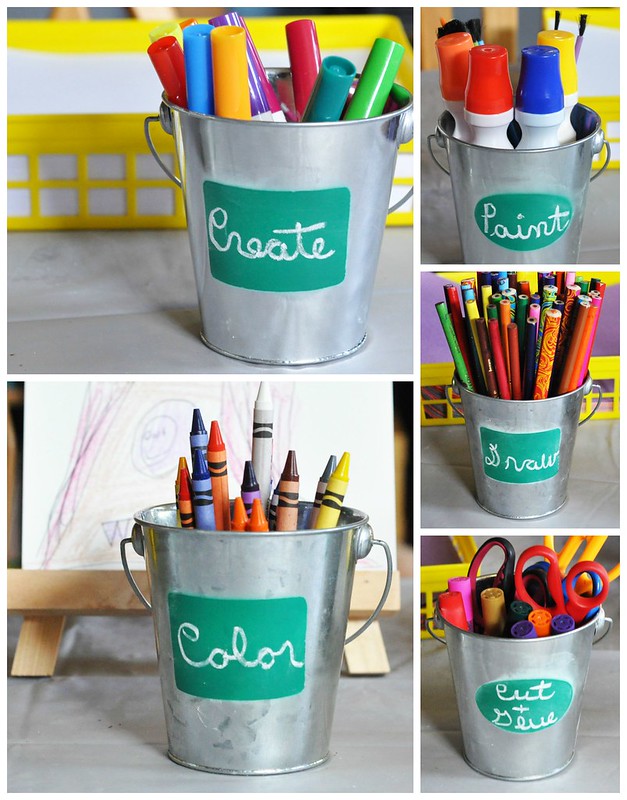
Easy, right?!?

If you're anything like us, you most likely have a LOT of arts and crafts supplies. My goal was to organize all our supplies so the kids could easily find exactly what they were looking for!
There are so many great art supply organization ideas, but I wanted simple, inexpensive, and functional! I opted for 12 Sterilite Clear Storage Totes and some cute chalkboard labels I found in the Target Dollar Spot.
Filling the bins took the most time out of the entire project! I sat down and separated our supplies into groups, and ended up filling twelve bins.
Here's how I grouped the items:
- School: Pencils, Pens, Erasers, Sharpeners, Chalk, Rulers, and extra boxes of Crayons
- Markers
- Paint: Paint Tools and Brushes
- Paint: Paints
- Beads + Crafts: Pipe Cleaners, Craft Sticks, Pompoms, Googly Eyes, Ribbon, String/Rope, Jingle Bells, and Beads
- Glitter + Glue
- Stencils + Stamps: Stencils, Stamps, and Ink Pads
- Crayons
- Playdoh: Playdoh, Cookie Cutters, and Tools
- Stationary + Scrapbook: All the items needed for writing letters and creating scrapbooks
- Stickers
- Foam Crafts
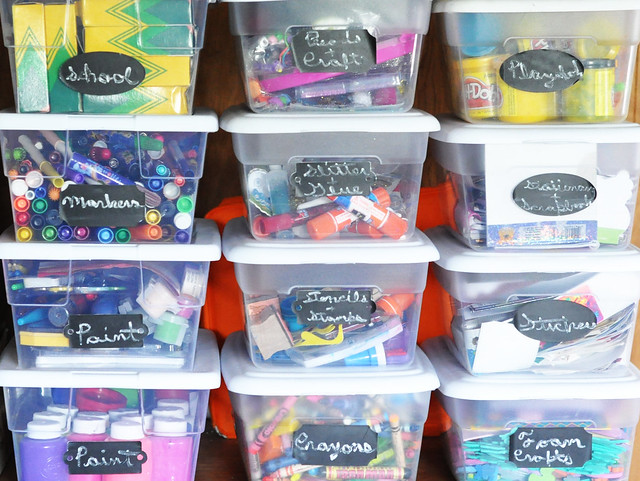
My system certainly isn't as pretty as glass jars filled with crayons and art supplies, but it works really well! The kids can easily find what they're looking for and just as easily clean up after themselves when they're done with their projects!
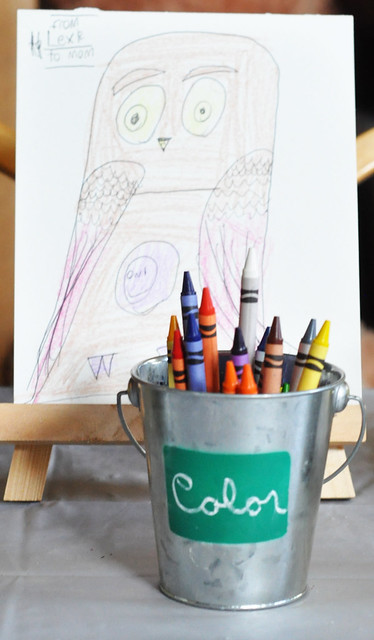
I'm happy to report we've had almost a month of happy crafting and creating! The kids use the table every single day and the art projects are piling up!
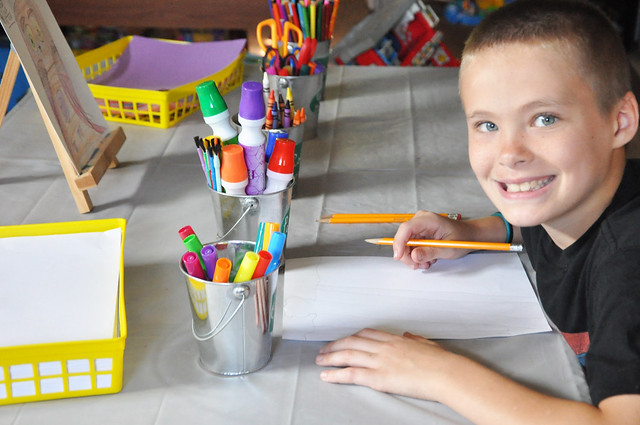
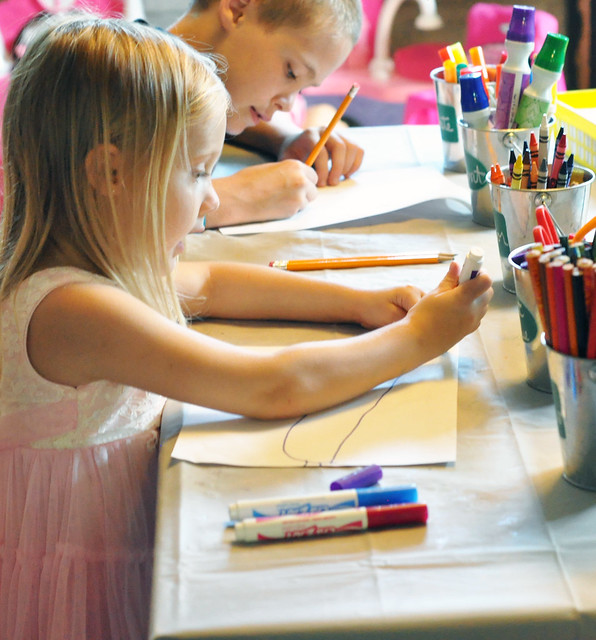
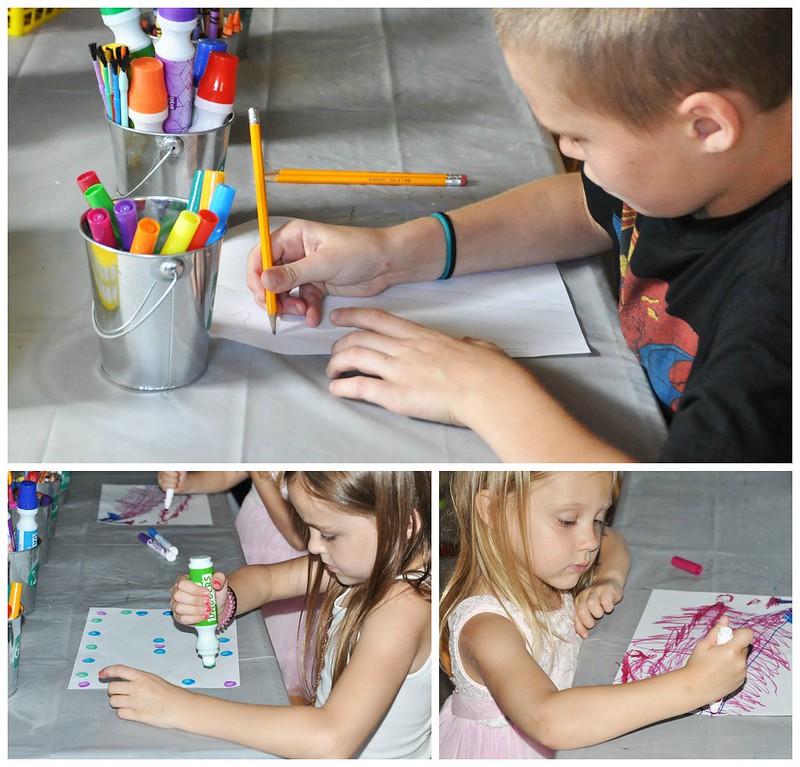
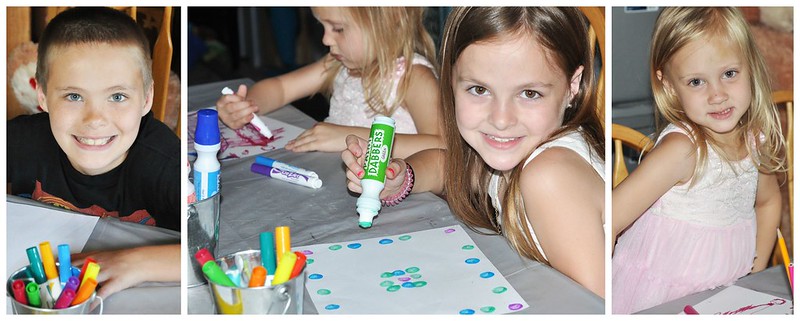
I'm so glad I finally created an organized Arts and Crafts space for the kids! They are actually choosing to craft and create over watching TV and playing with electronics. It has quickly become one of the most used areas in our home!
What are you waiting for?!? Happy Crafting!!!
Do you have an Arts and Crafts area? What is your favorite tip when it comes to crafting?
LET'S CONNECT!
TWITTER // FACEBOOK // INSTAGRAM // BLOGLOVIN // GOOGLE+ // PINTEREST

Your art table looks amazing. The colours and pictures make it more nice! :)
ReplyDeleteThank you! XOXO
DeleteI love this! I recently splurged at the dollar store and got a bunch of craft supplies so it was meant for me to see this post so I can properly organize this stuff lol. Thanks for posting…like seriously lol.
ReplyDeleteThe dollar store is a great place to buy arts and crafts supplies. I get all our craft sticks, googly eyes, and pompoms there!
DeleteI love this! I'm hoping our next house will have the space for a large creative area. All of our craft supplies are starting to pile up; I definitely need to get myself organized with some of those bins!
ReplyDeleteThat's how ours were! They get used all the time now!
DeleteWhat a great idea! I wish we had the space for something like this because my daughter would love it. Are your kids good at putting away their art supplies when they're done or do you leave them out and do a big clean up every once in a while? If did ever do something like this, I think clean up would be our biggest problem...
ReplyDeleteThey are! We have one big rule: If you use it, you put it away before moving on to something else. I check every night, and if they forgot to clean up the art table, they all have to stop what they're doing and go clean!
DeleteI just found the exact same pails at Target this weekend and bought the last 6 they had. They were PERFECT for my art cart that I made from my IKEA Raskog.
ReplyDeleteThey're the best! I use them as vases on my mantle, too!
DeleteI love it!! We have a small space in our basement, but when we finally get our upstairs finished, we will have a craft room! Love these ideas, it looks great and perfectly organized!
ReplyDeleteA craft room will be awesome! I would love to have a room dedicated to crafting!
DeleteOkay. That's it. You've just inspired me to organize our art supplies...I mean....like........reaaaaaally organize them. Thanks for the inspiration, girl!
ReplyDeleteOh, do it! It's so worth it! XOXO
DeleteThat is seriously awesome! What a fun spot for the kids, I am sure they love it!
ReplyDelete